





Step by Step installing Oracle 11g R2 on Oracle Solaris 10
Posted by admin on 27th March 2011
In this step by step tutorial I’m going to show you the steps of installing Oracle 11gR2 on Oracle Solaris 10. For this, download Oracle 11gR2 and Oracle Solaris 10, create virtual machine and install Oracle Solaris 10 using my following step by step tutorial:
http://kamranagayev.wordpress.com/2010/11/03/step-by-step-installing-oracle10gr2-on-oracle-solaris/
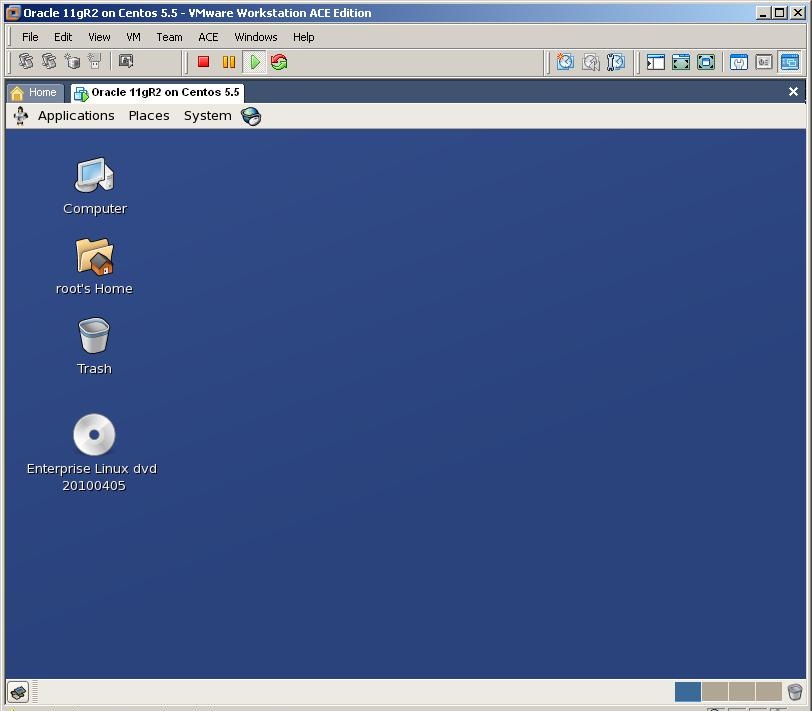
After installing the Solaris, login with root user. As a first step let’s install VMware tools. For this, disconnect the installation dvd and select “Install VMware tools” from the VM menu
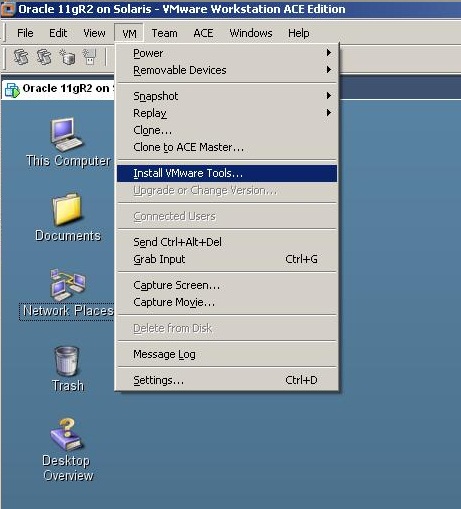
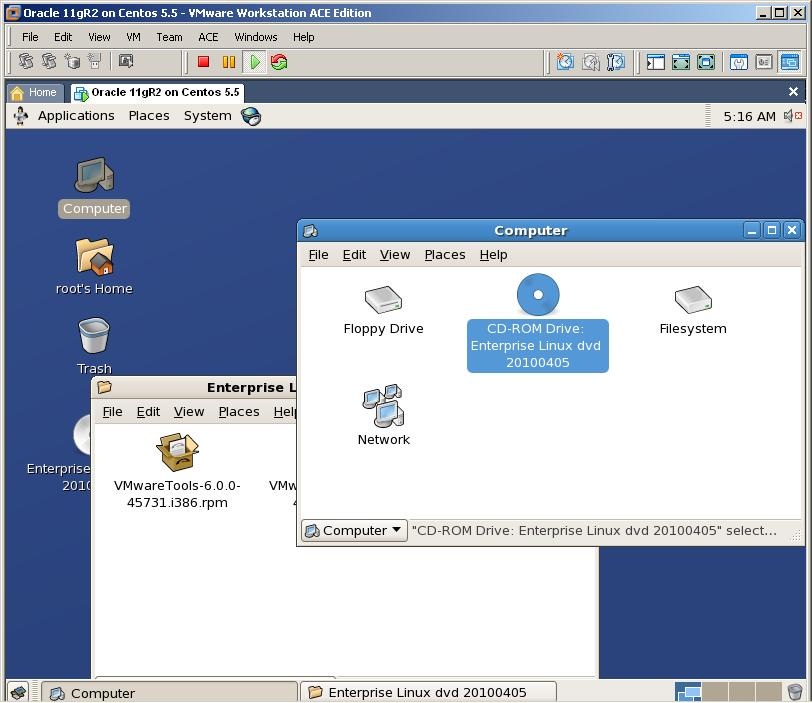
After some seconds a new window will appear.
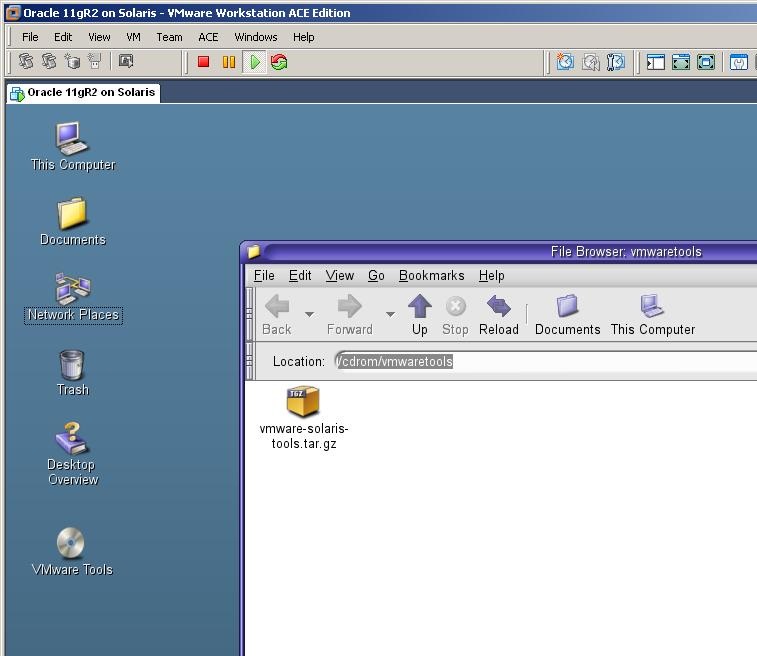
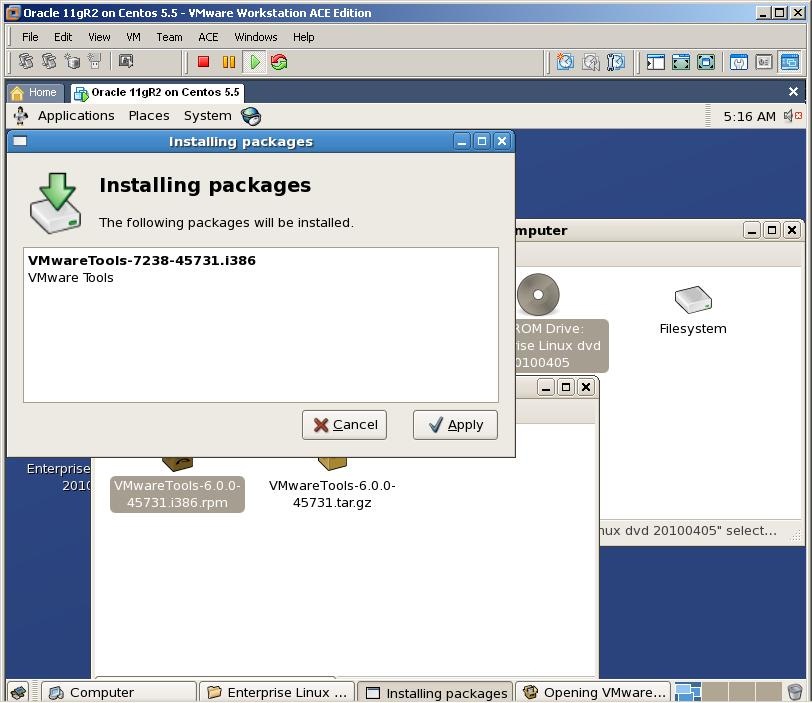
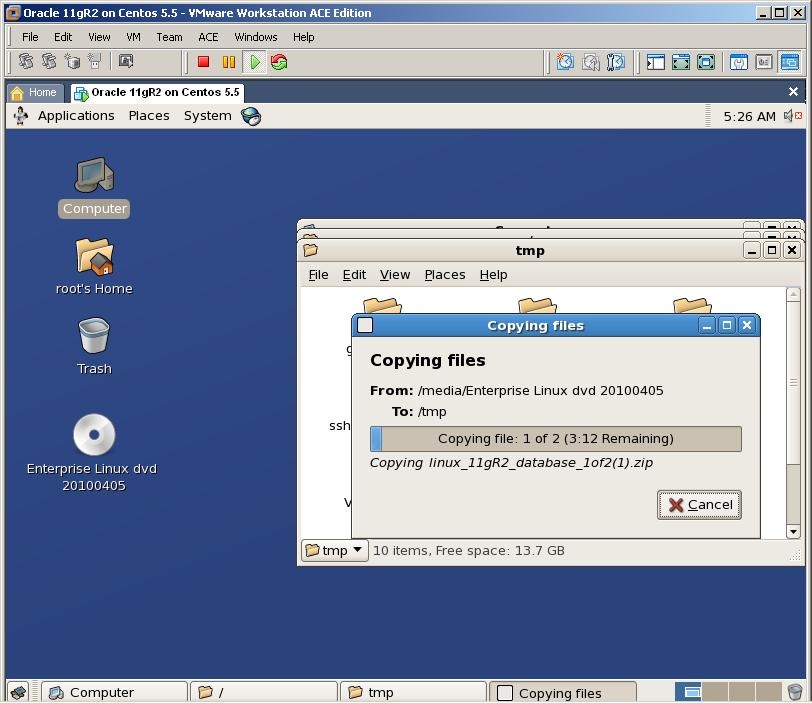
Get its address, copy the file from to the /tmp directory using a terminal window, unzip and install it

Get into the unzipped folder and run the installation file.
cd vmware-tools-distrib
./vmware-install.pl
After the installation completes, logout from the root user and login again
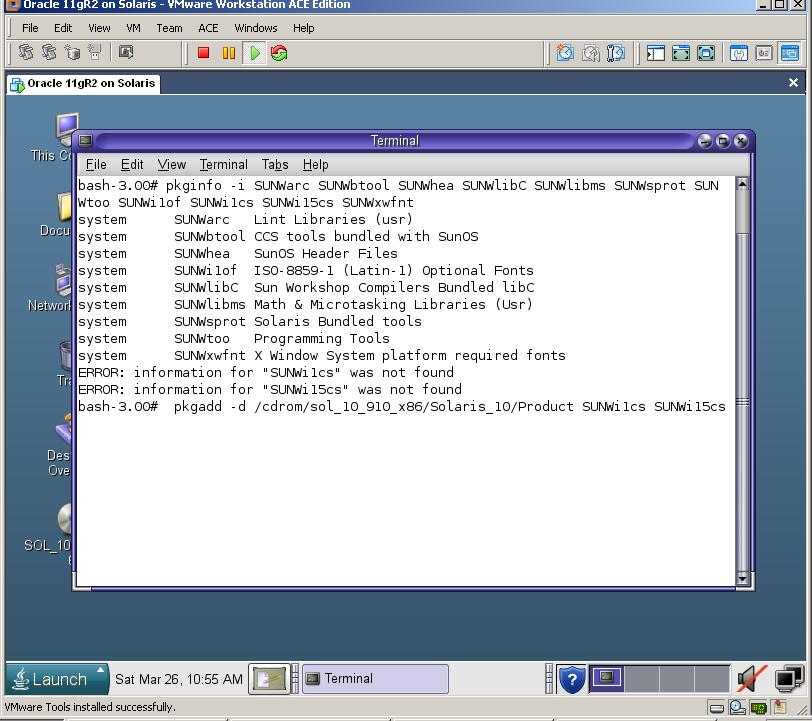
Now, let’s check the installed OS packages that are required for the Oracle installation. For this, run the following command:
pkginfo -i SUNWarc SUNWbtool SUNWhea SUNWlibC SUNWlibms SUNWsprot SUNWtoo SUNWi1of SUNWi1cs SUNWi15cs SUNWxwfnt
You should miss two packages – 1) SUNWi1cs 2) SUNWi15cs
To install them, mount the Solaris installation dvd and run the following command:
pkgadd -d /cdrom/sol_10_910_x86/Solaris_10/Product SUNWi1cs SUNWi15cs
If the mount point of the cdrom is different in your environment, specify the correct path to the dvd
After installation completed perform the following steps:
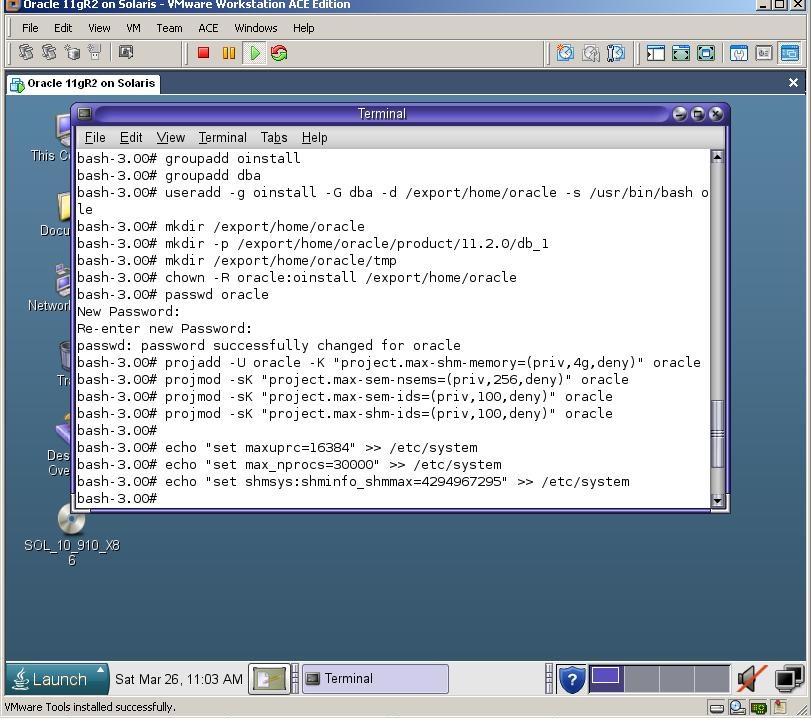
1) Create necessary groups and a user
groupadd oinstall
groupadd dba
useradd -g oinstall -G dba -d /export/home/oracle -s /usr/bin/bash oracle
passwd oracle
2) Create necessary folder for the installation
mkdir -p /export/home/oracle/product/11.2.0/db_1
mkdir /export/home/oracle/tmp
chown -R oracle:oinstall /export/home/oracle
3) Change kernel parameters
projadd -U oracle -K "project.max-shm-memory=(priv,4g,deny)" oracle
projmod -sK "project.max-sem-nsems=(priv,256,deny)" oracle
projmod -sK "project.max-sem-ids=(priv,100,deny)" oracle
projmod -sK "project.max-shm-ids=(priv,100,deny)" oracle
echo "set maxuprc=16384" >> /etc/system
echo "set max_nprocs=30000" >> /etc/system
echo "set shmsys:shminfo_shmmax=4294967295" >> /etc/system
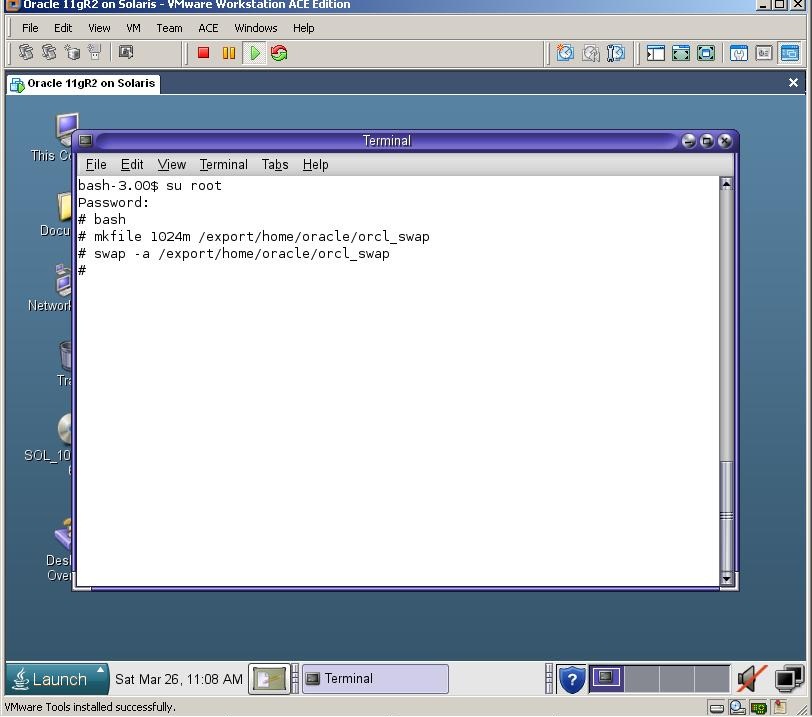
Now reboot the machine and login with an oracle user. Let’s create a new swap file with 1Gb size, as it’s required for the Oracle installation
mkfile 1024m /export/home/oracle/orcl_swap
swap -a /export/home/oracle/orcl_swap
Now change the .profile file of the oracle user and set necessary environment variables:
gedit /export/home/oracle/.profile
export ORACLE_BASE=/export/home/oracle
export ORACLE_HOME=$ORACLE_BASE/product/11.2.0/db_1
export PATH=$ORACLE_HOME/bin:$PATH
export TMP=/export/home/oracle/tmp
export TMPDIR=/export/home/oracle/tmp
export DISPLAY=:0.0

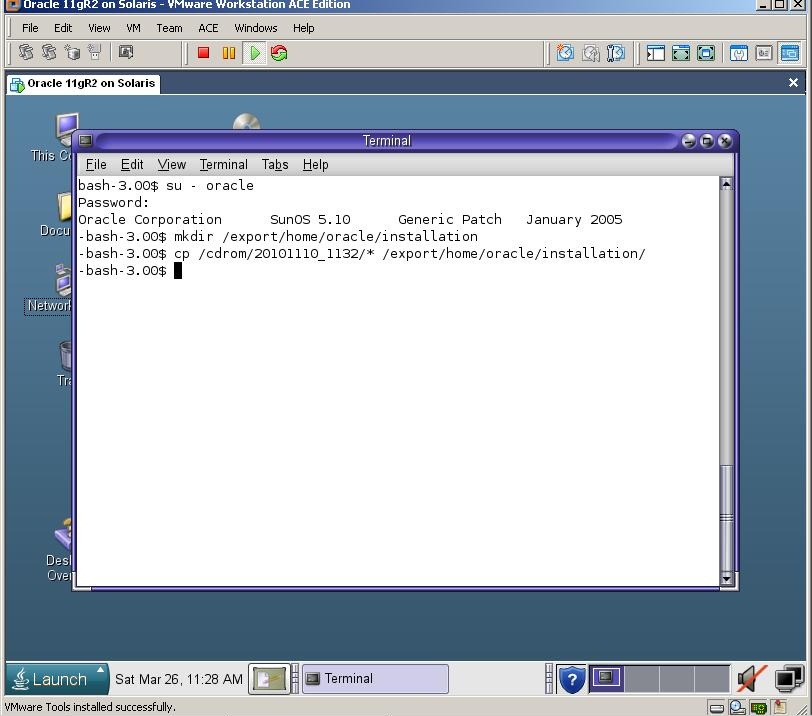
Now create an “installation” direcotry under /export/home/oracle
Then mout the cdrom device and copy the installation files to that directory
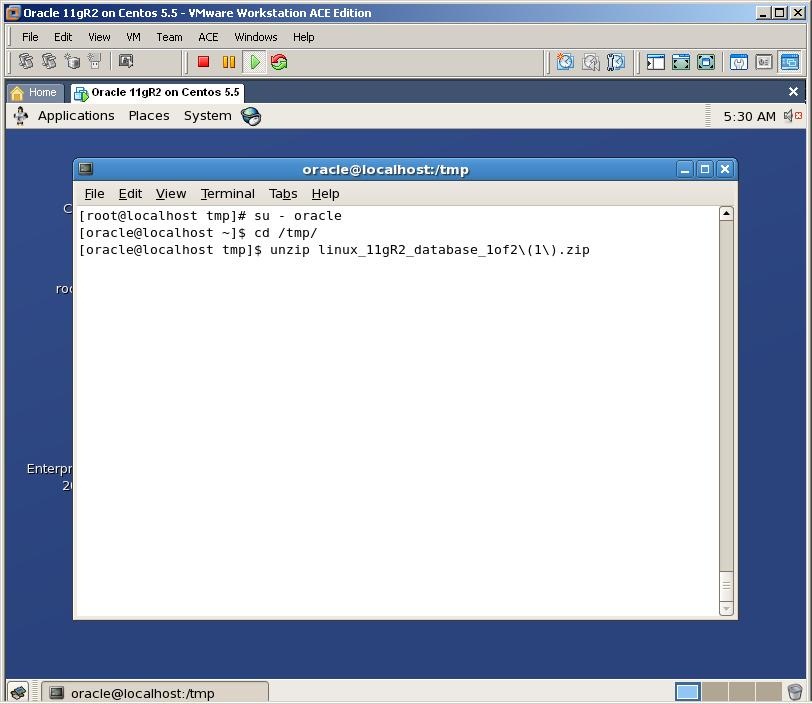
Extract both files uzing unzip utility, and start the installation
unzip your_file1.zip

unzip your_file2.zip

cd database

./runInstaller
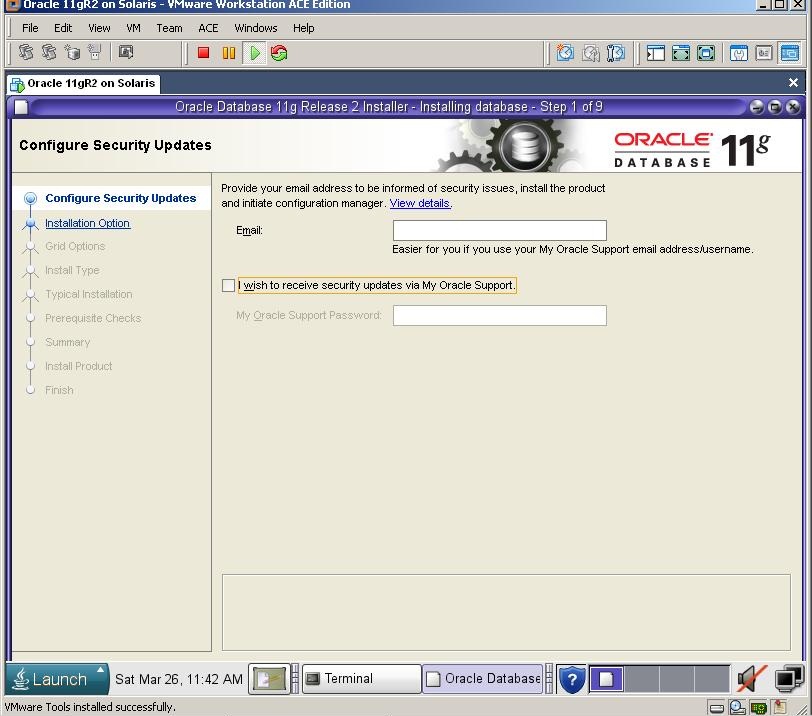
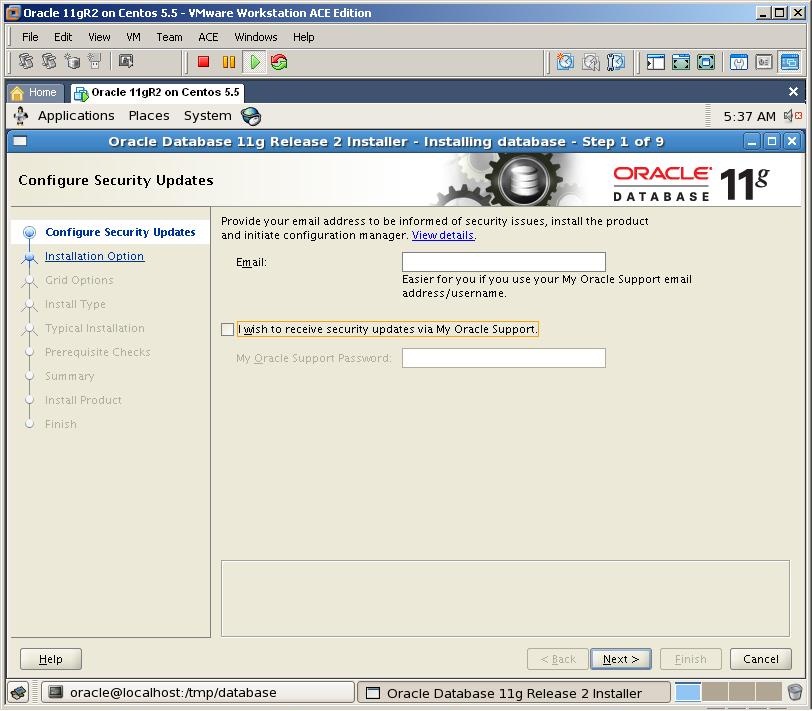
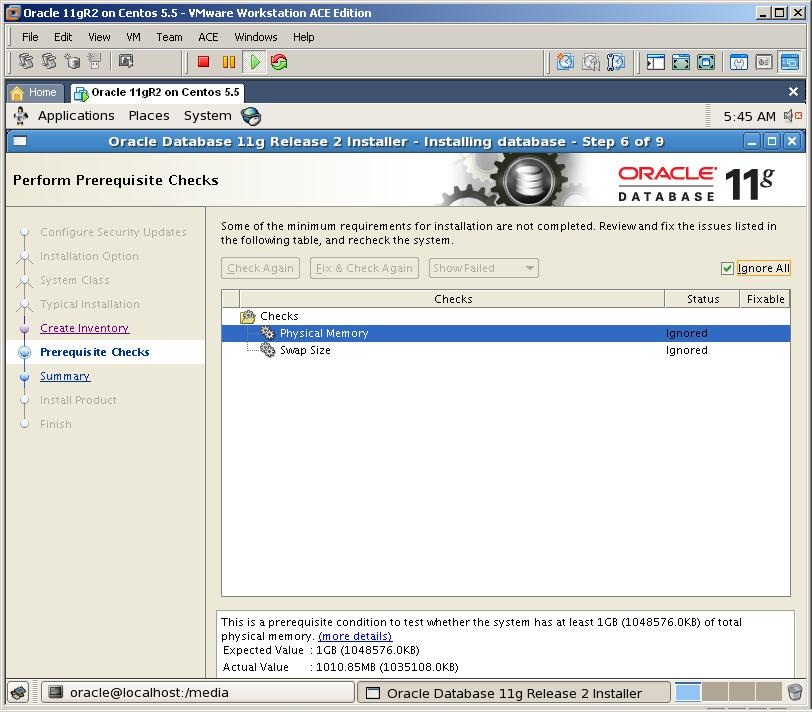
Uncheck the checkbox and click next. If you can’t see the Next button, use Alt+N combination 🙂
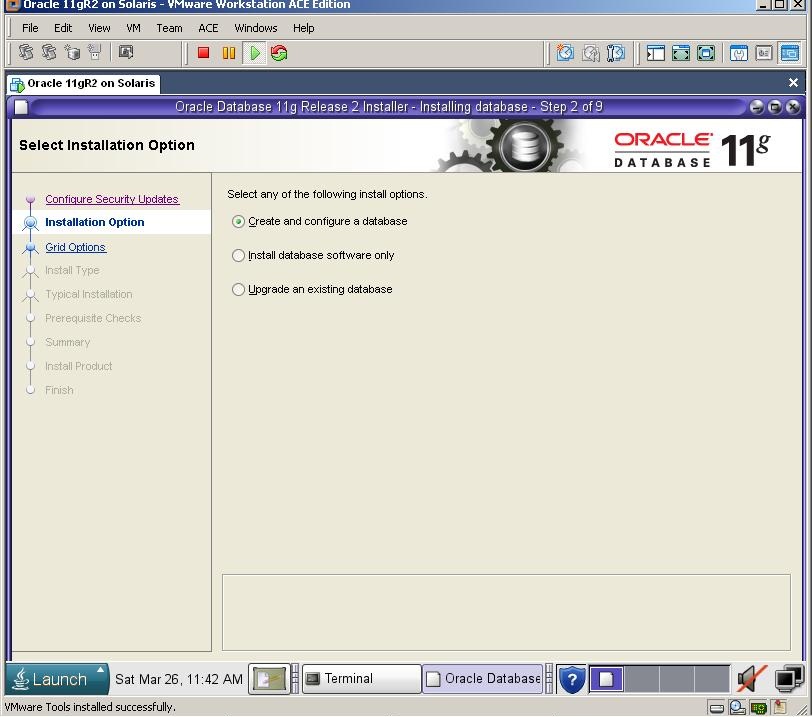
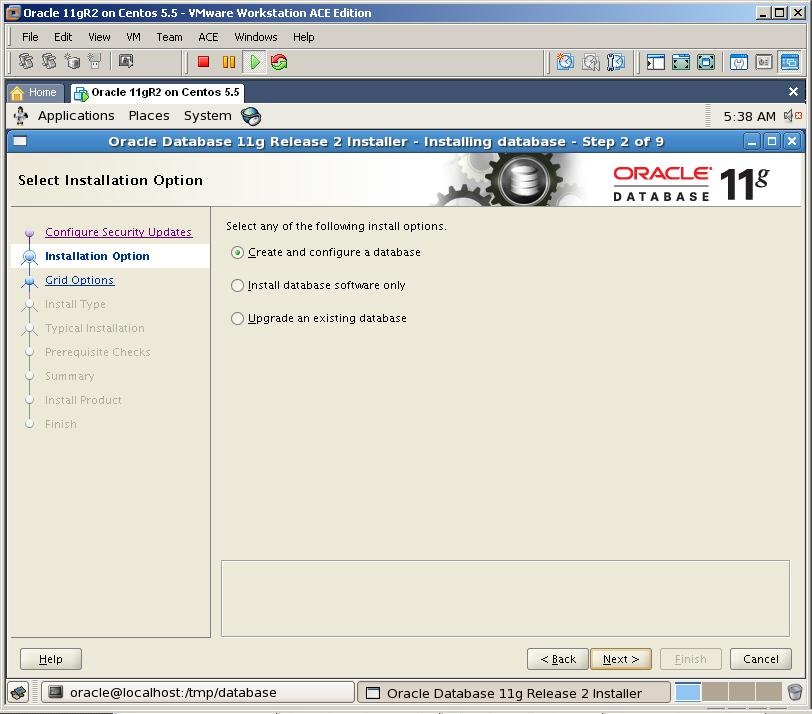
Select the first option and click next
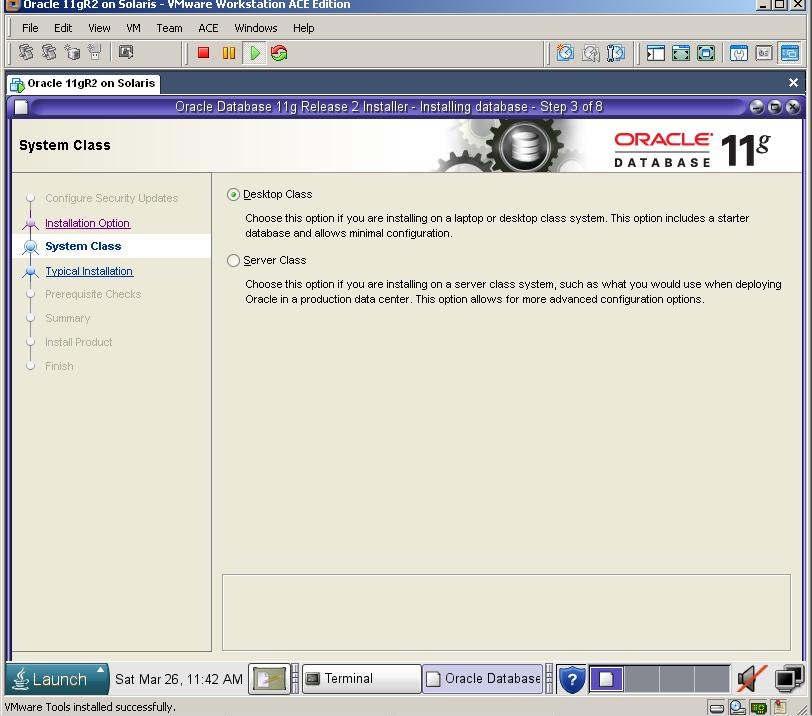
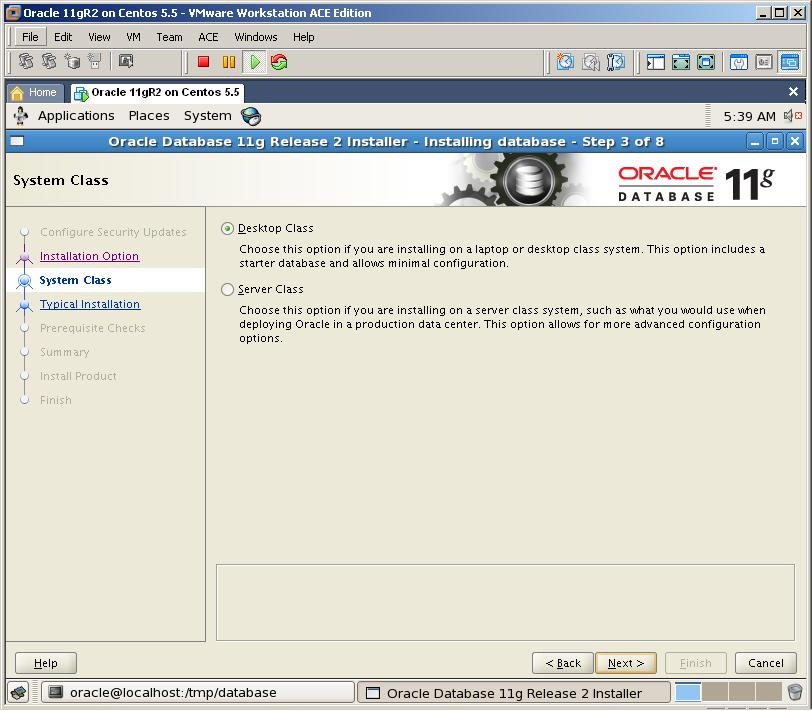
Click Next
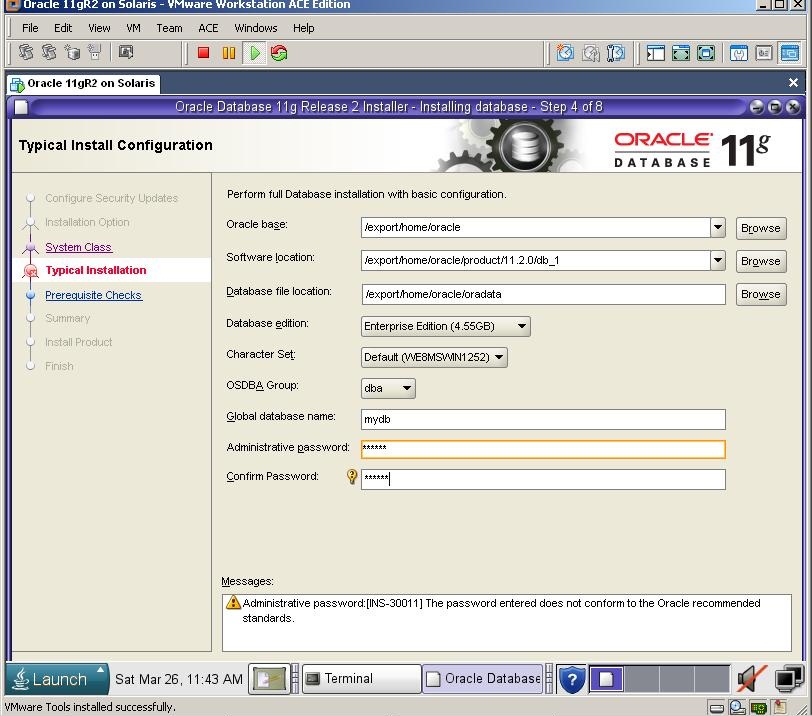
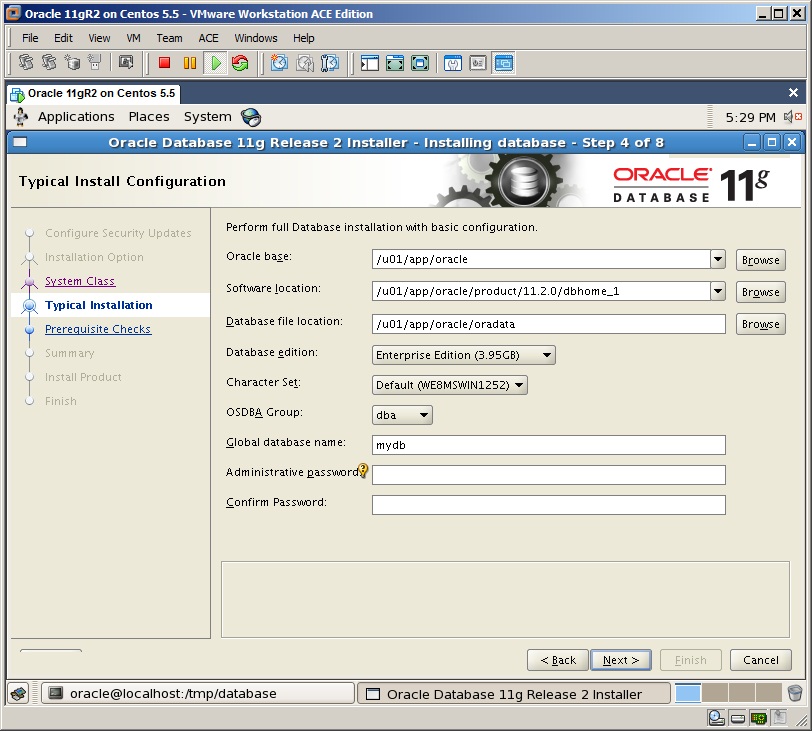
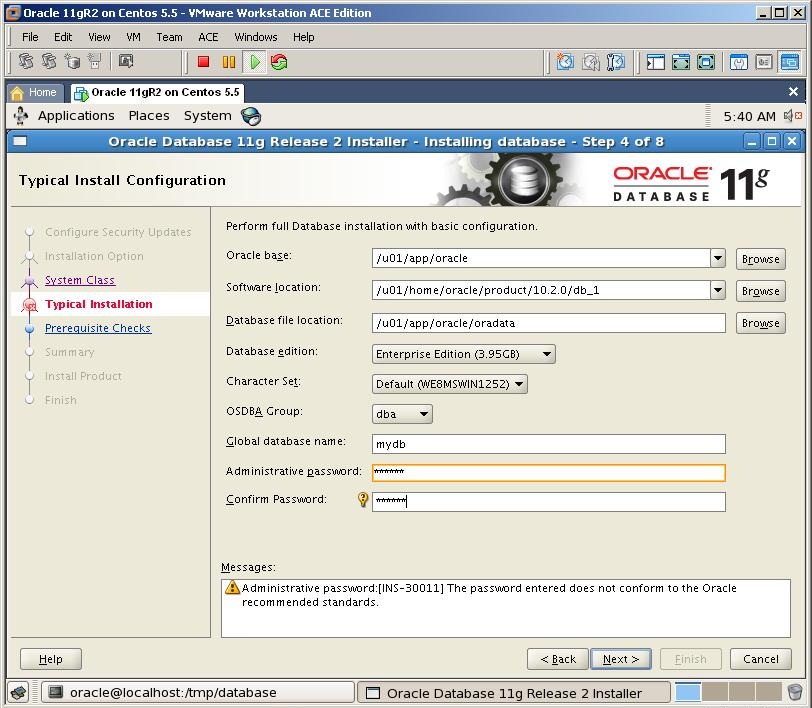
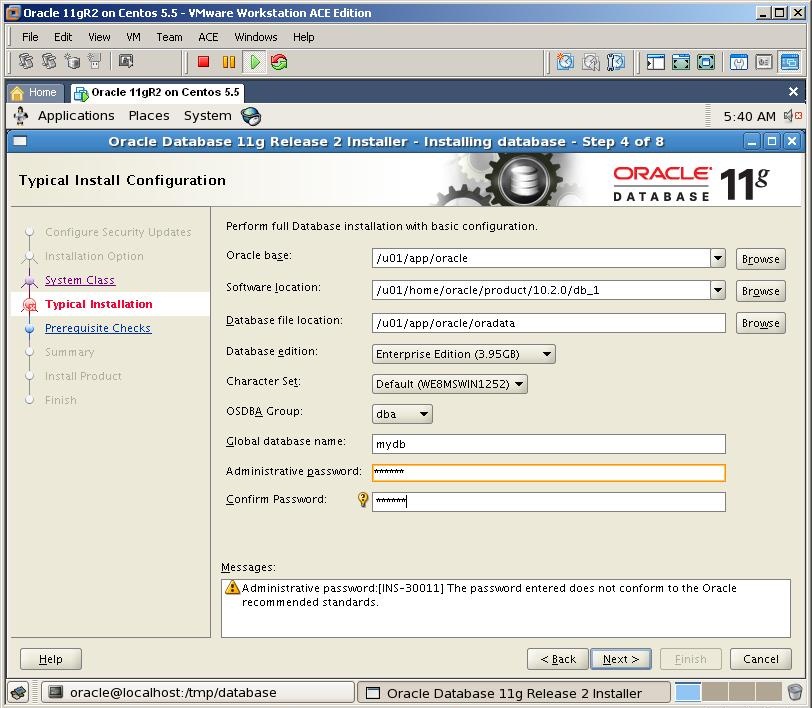
Defint the folder for Oracle installation, database name and passwords and click next
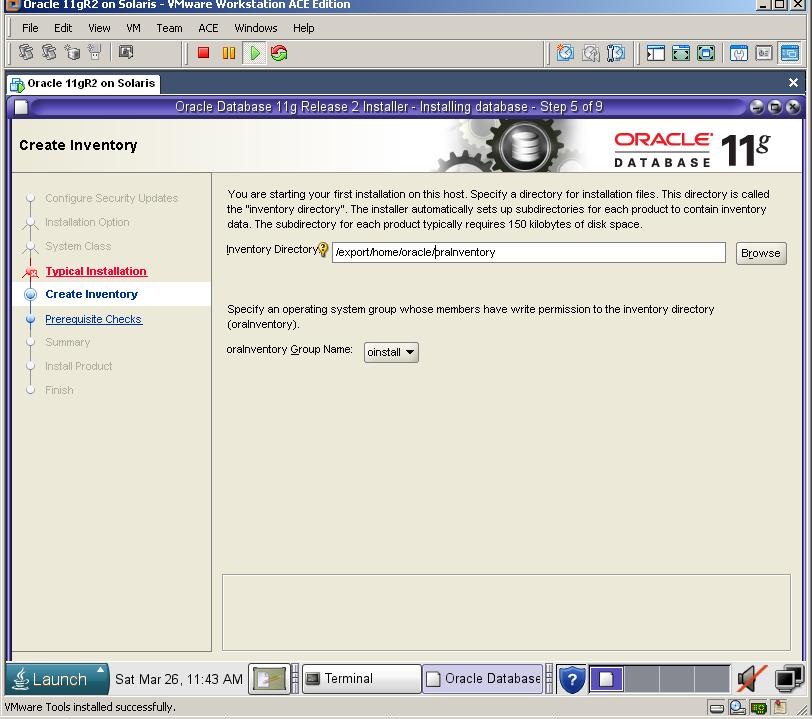
Click Next
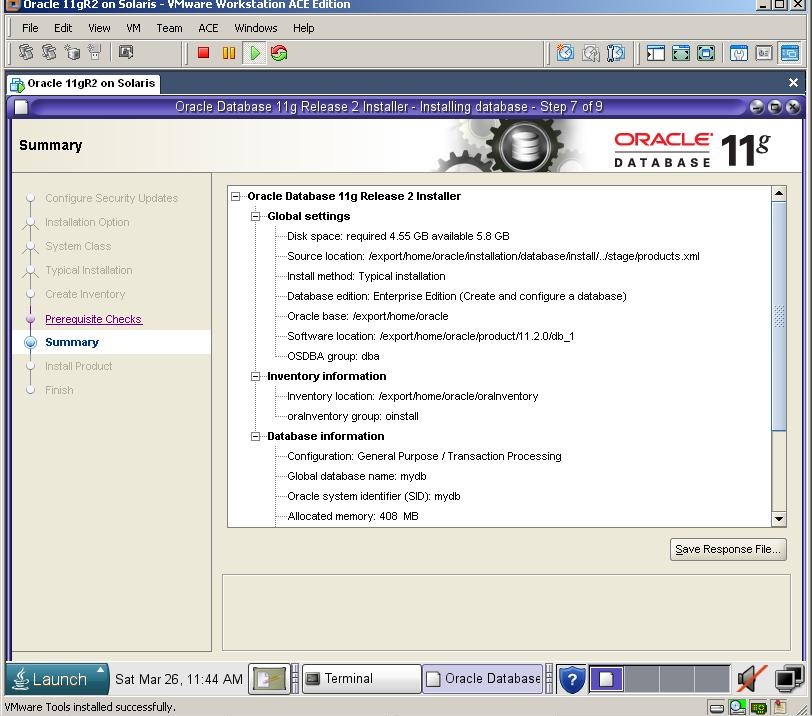
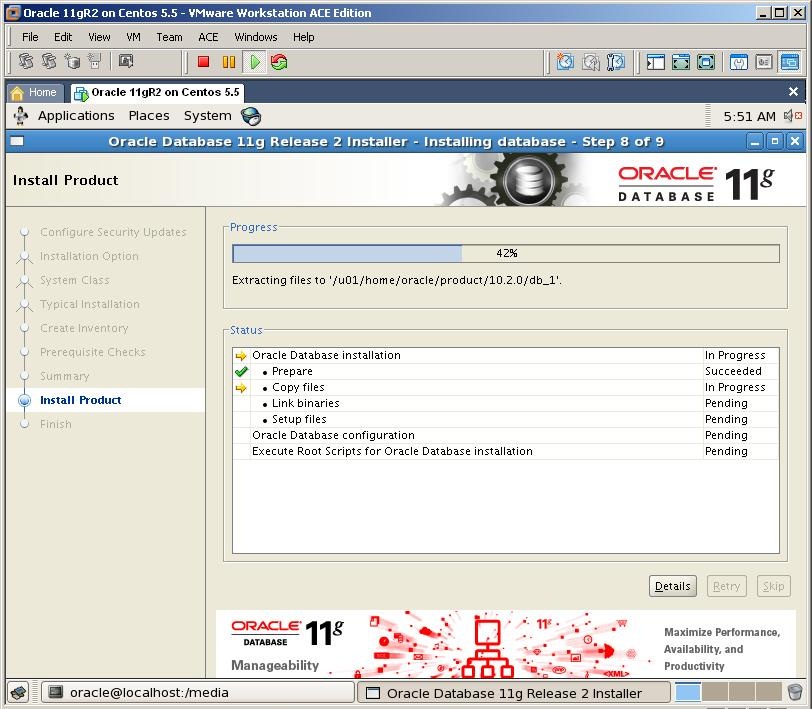
Click Finish to start the installation.
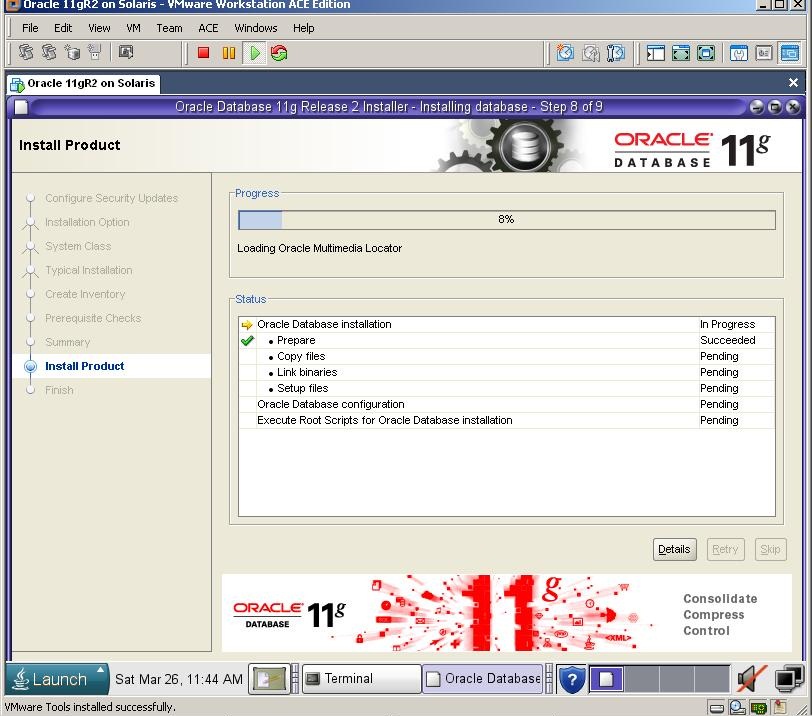
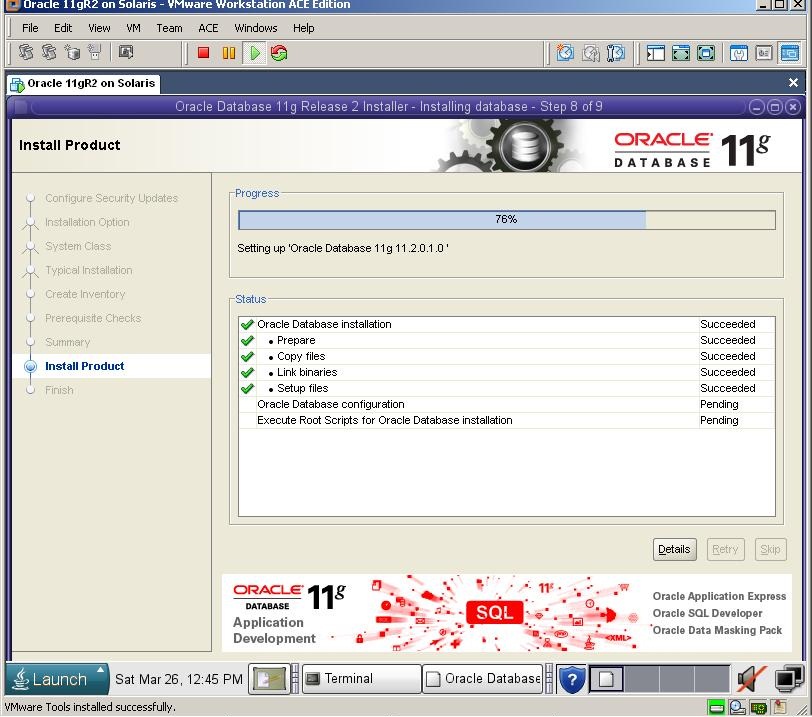
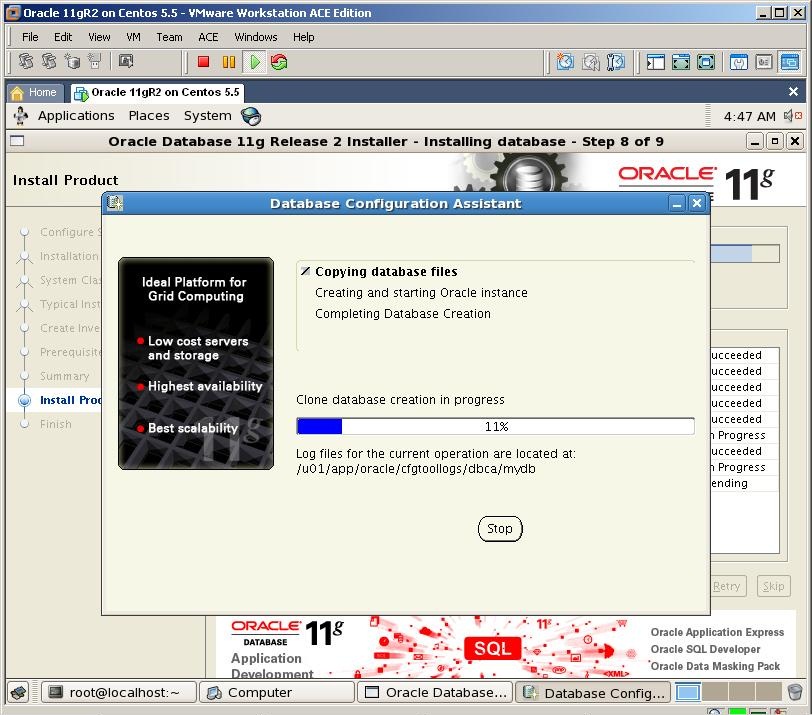
After the installation of the software finishes, installer automatically runs the DBCA to create the database
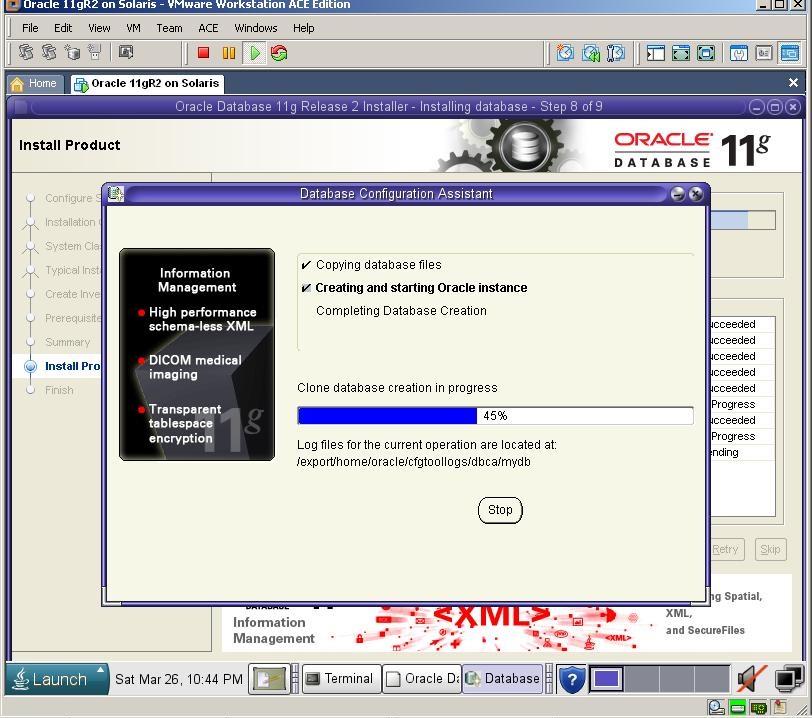
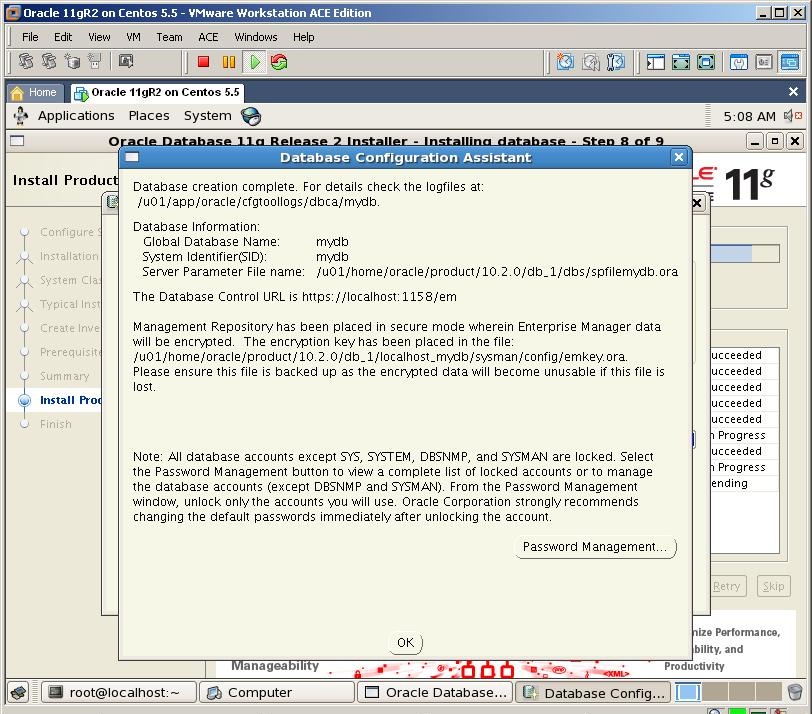
After a while, installation finishes.

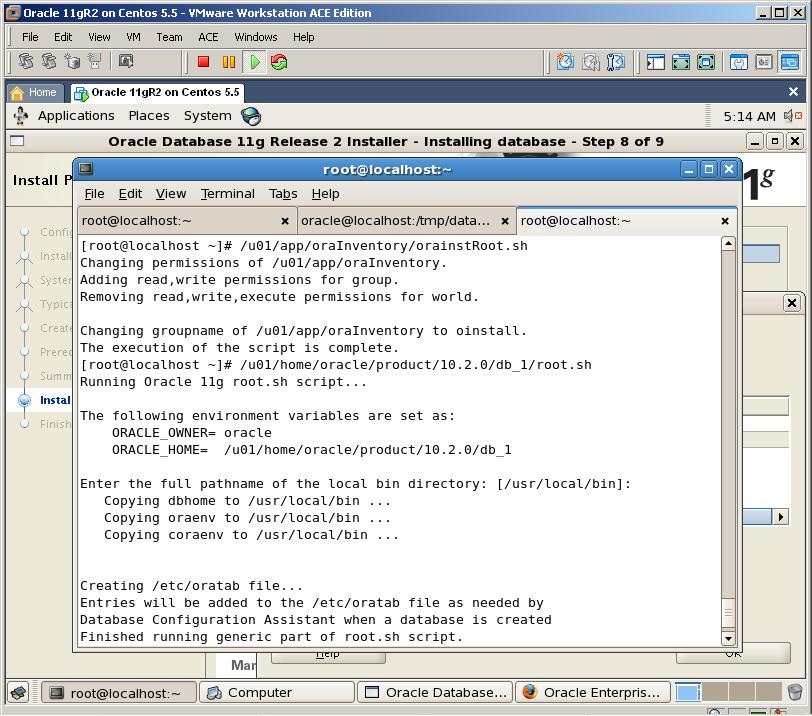
Click OK and you’ll be prompted to run orainstRoot.sh and root.sh
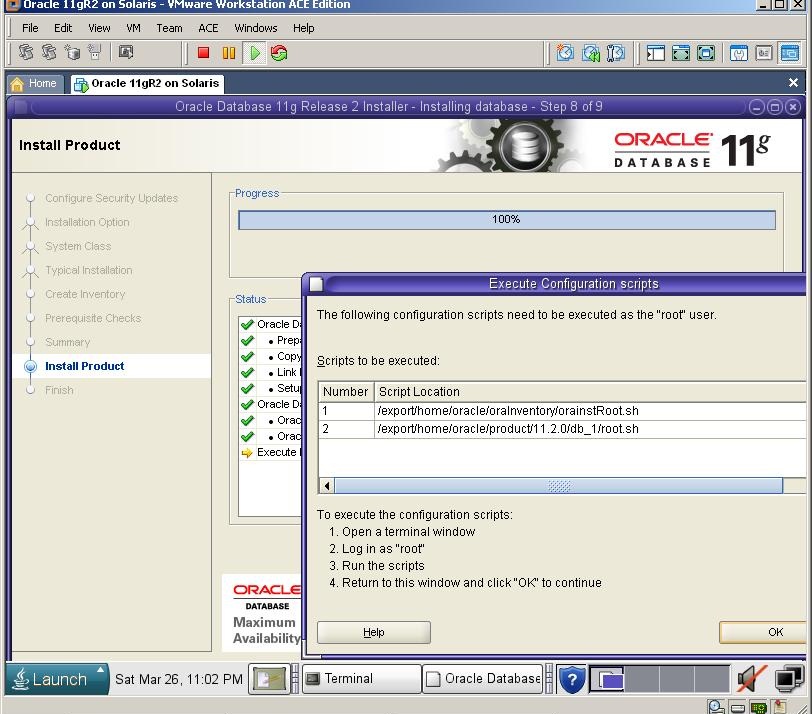
Switch to the previous Terminal, create new window, login with a root user and run both shell scripts

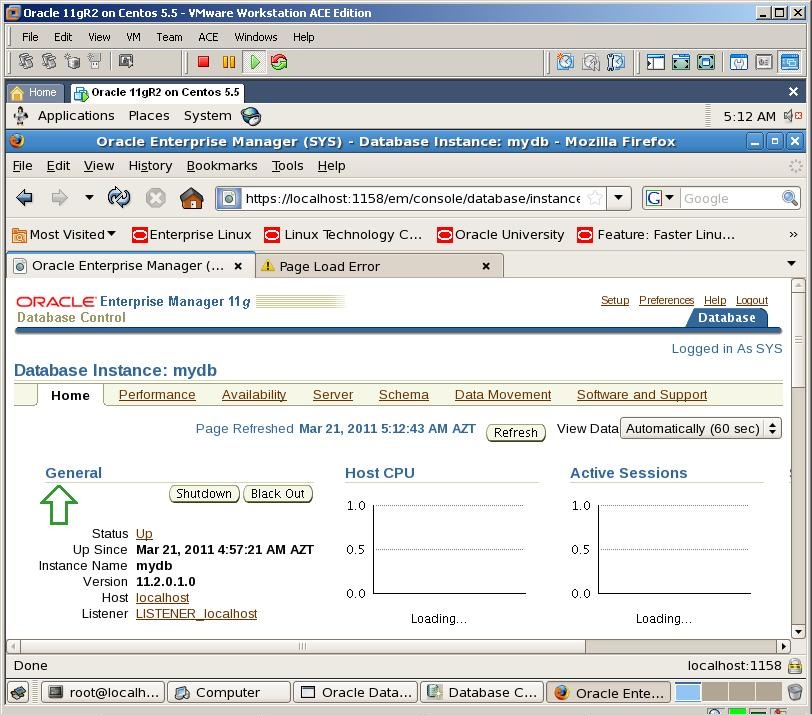
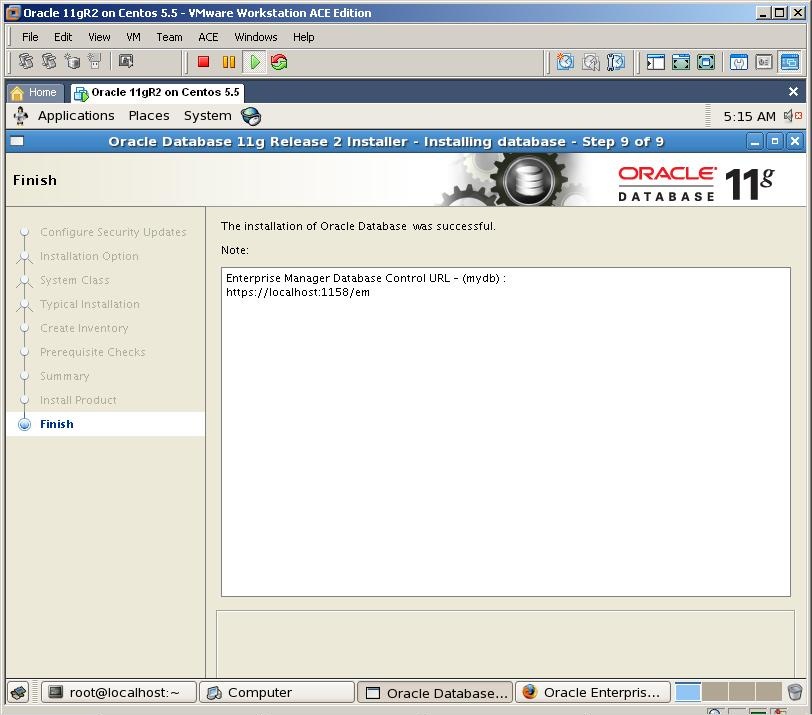
At last, you’ll get success message

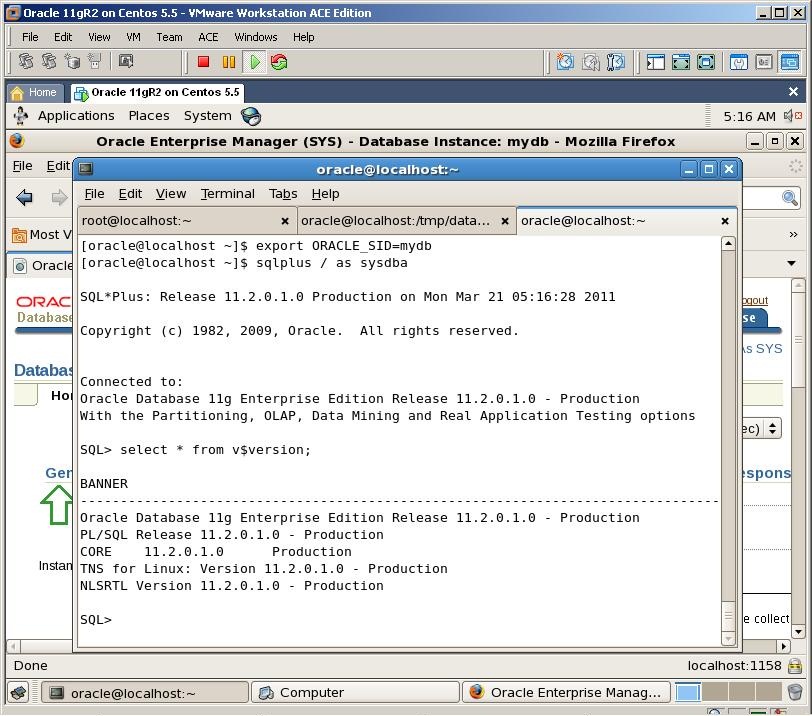
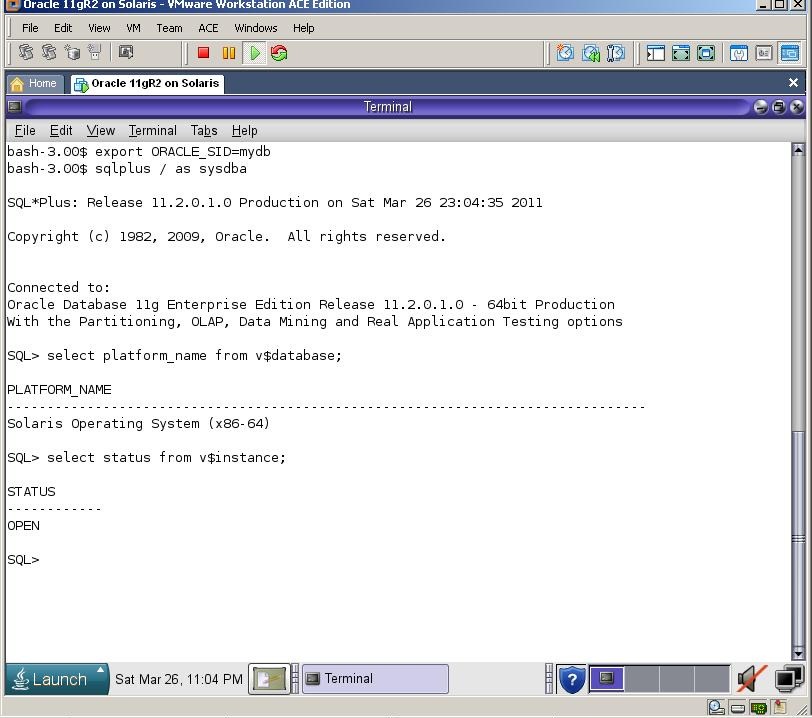
Now let’s connect to the database from Sql*Plus
Posted in Administration | 76 Comments »