Step by Step Installing Oracle Database 10gR2 on Oracle Solaris 10
Posted by Kamran Agayev A. on 3rd November 2010
At last I’ve found time to create a Step by Step instruction on installing Oracle 10gR2 on Oracle Solaris 10. If you follow this instruction, you’ll successfully install Oracle on Solaris. If you get any error, do not hesitate to contact me
So, let’s begin. As a first step, download Oracle 10gR2 and Oracle Solaris , create a virtual machine using my previous instruction, but don’t forget to select “Solaris 10” on “Operating System types”.
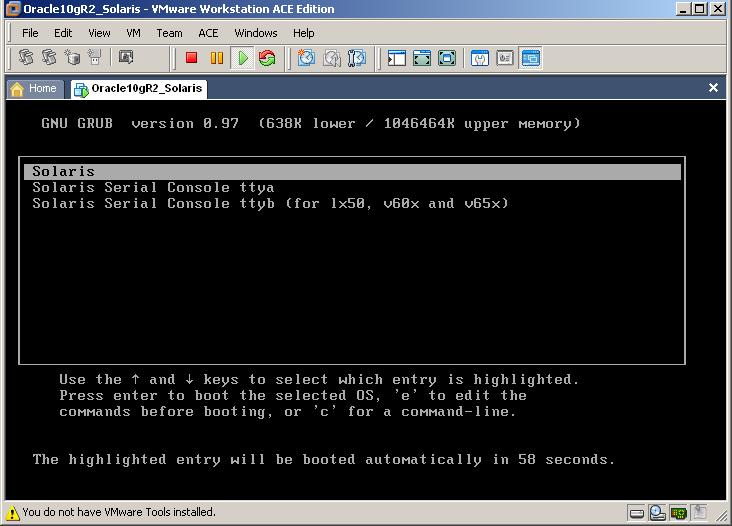
Next, unzip downloaded Solaris zip file, mount .iso file and start the virtual machine. You should get the following screen:
Press Enter
In the above screen type “1” and press Enter
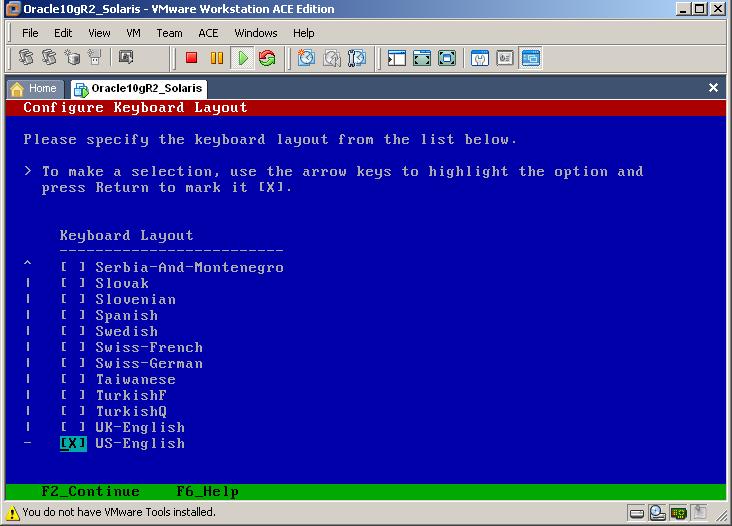
Select appropriate keyboard layout and press F2
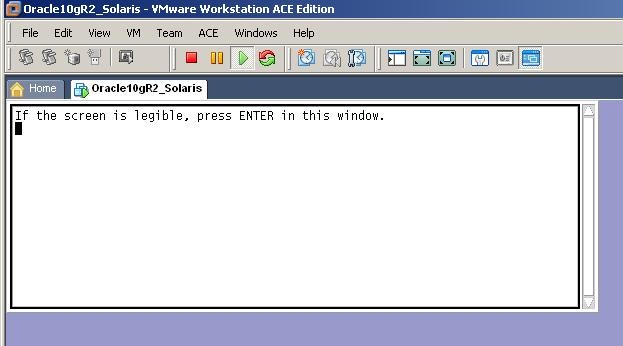
If you see the above screen, the click on the opened window and press Enter
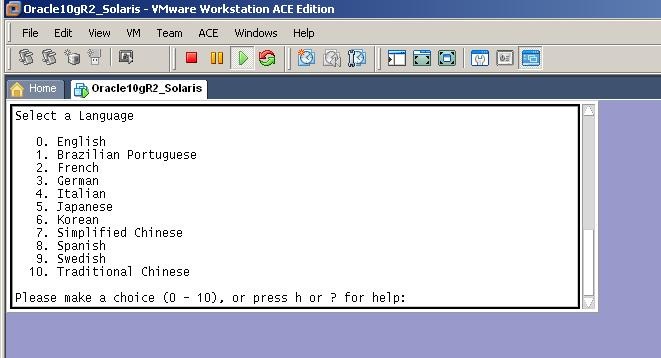
Select the language and press Enter
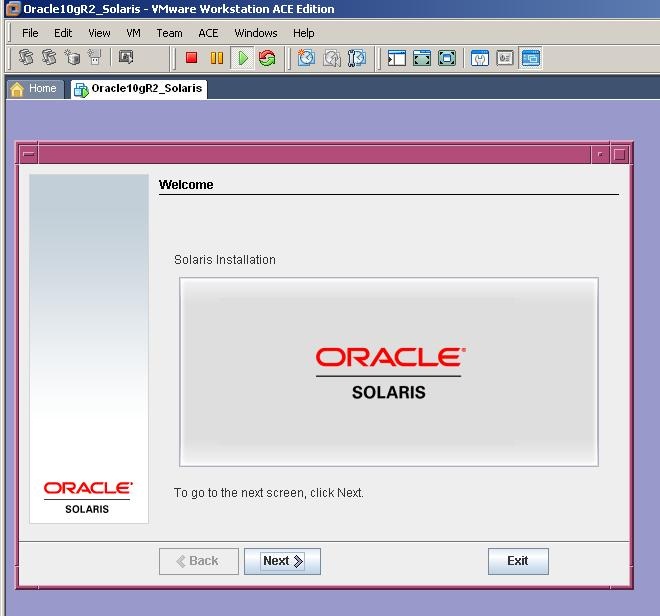
Click Next
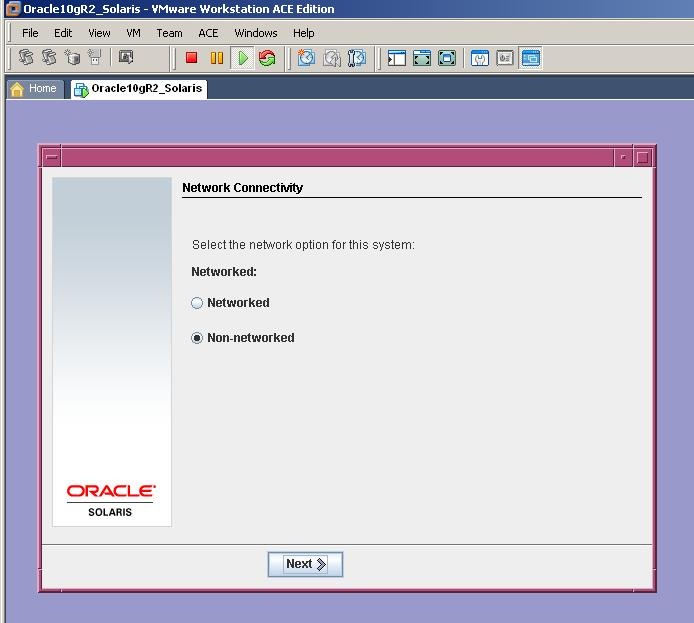
Selet the Network Connectivity and click Next
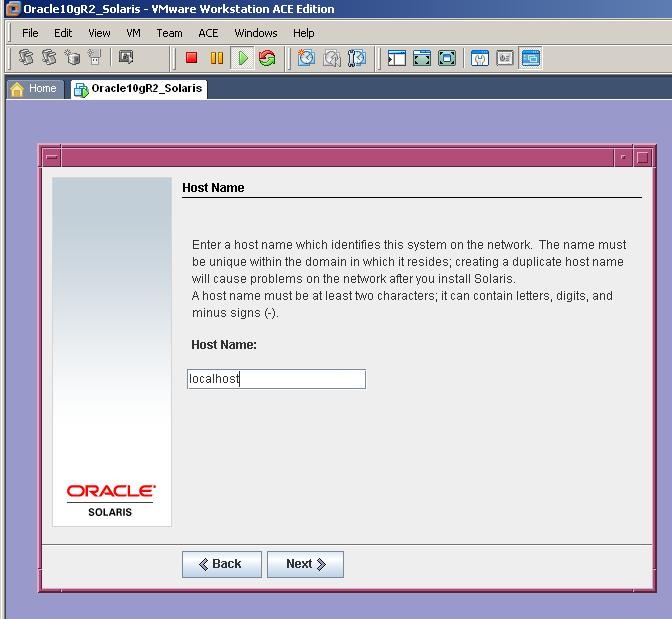
Provide the name of the host and click Next
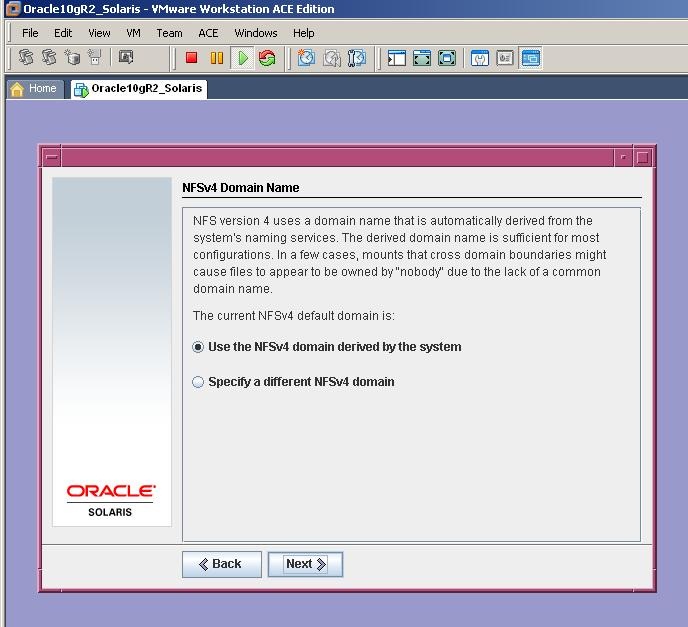
Click Next
Click Next
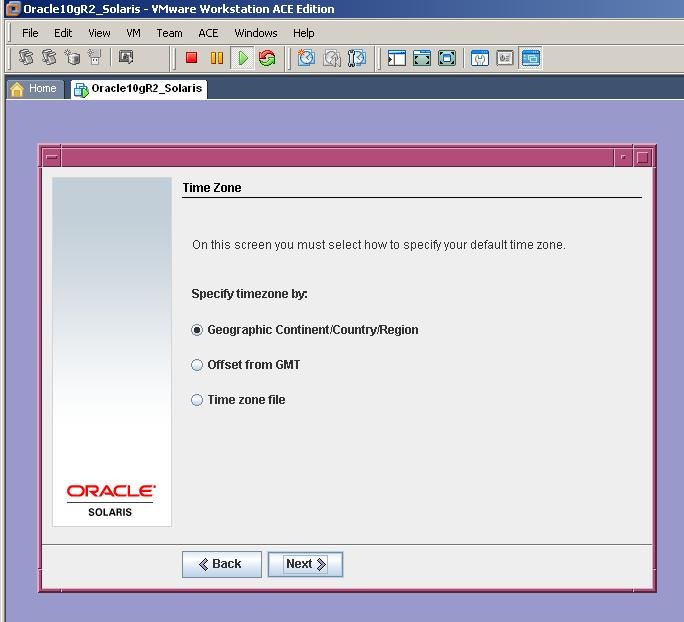
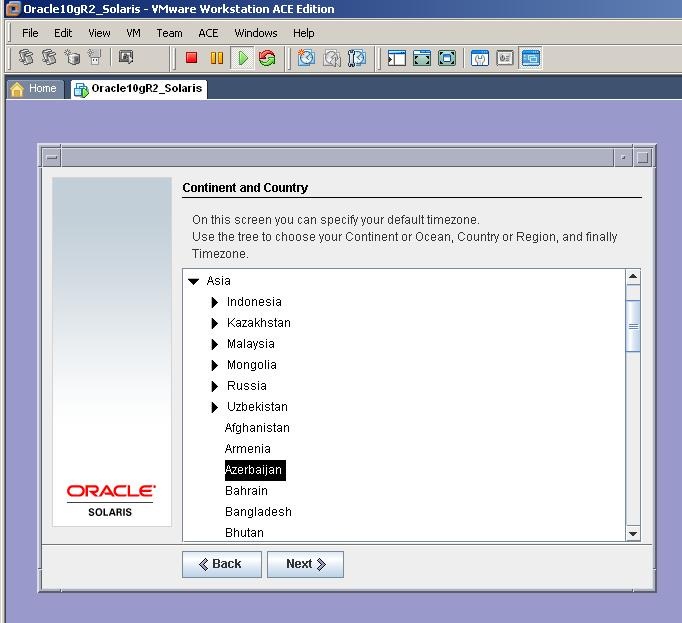
Select your country and click Next
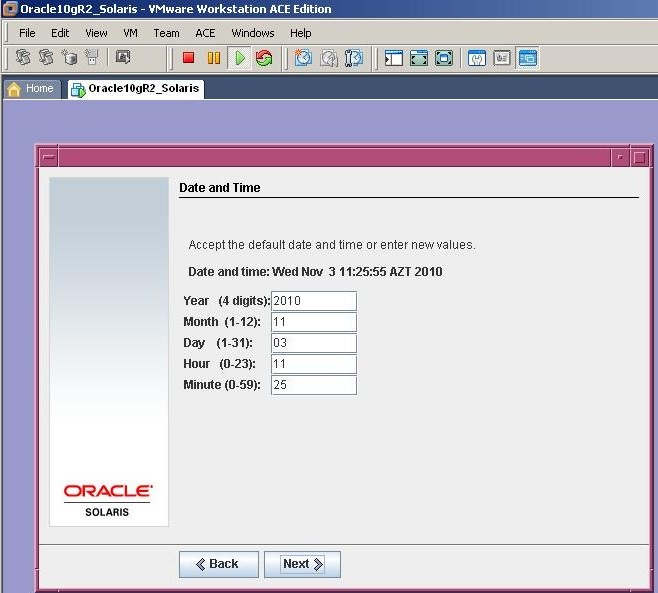
Provide correct date and time and click Next
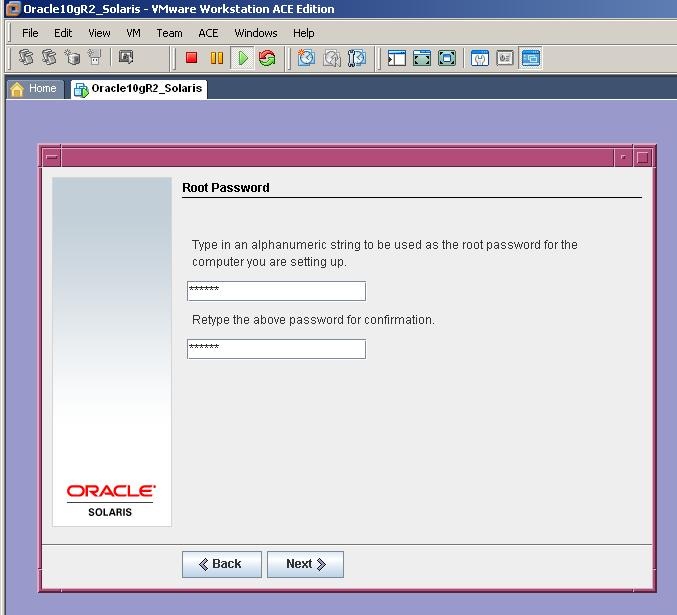
Provide a password for the root user and click Next
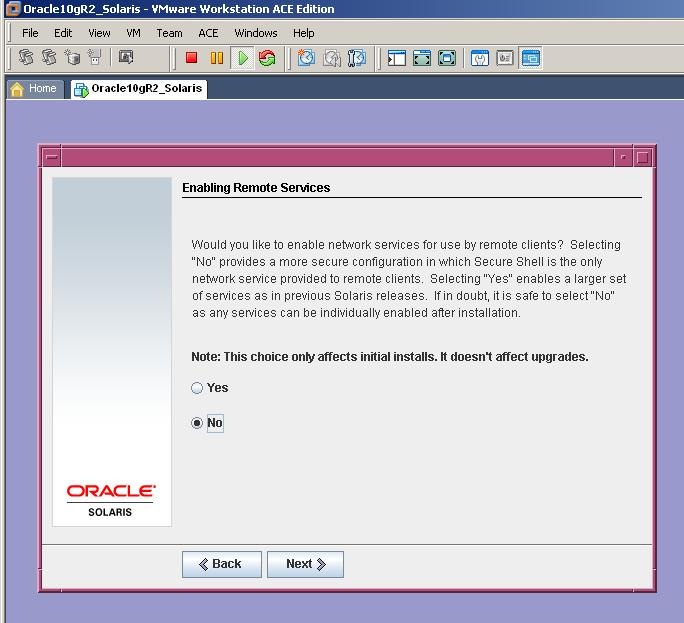
Select No and click Next
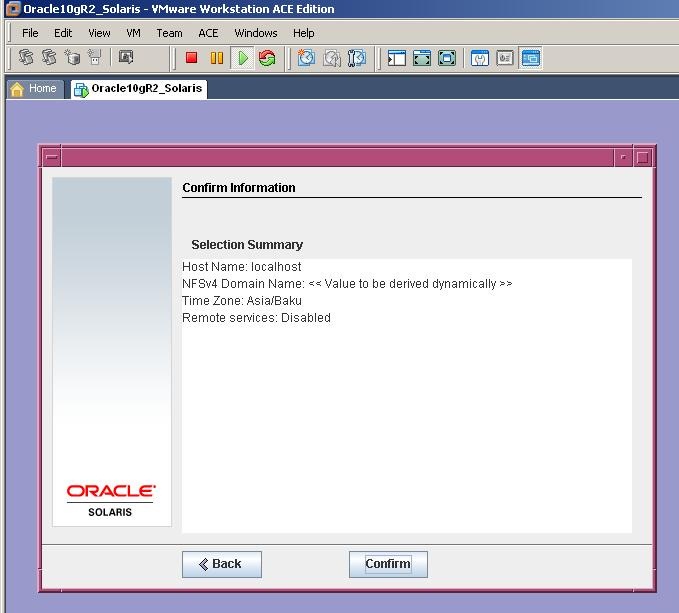
Press Confirm to proceed the installation
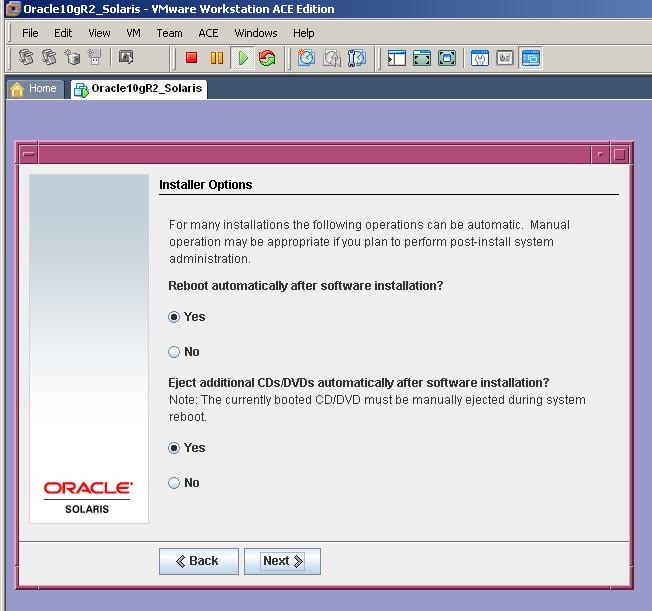
Click Next
Click Next
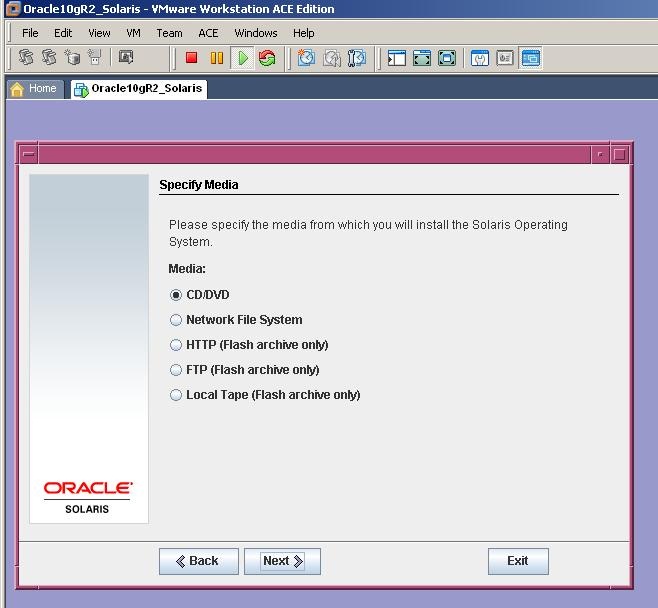
Select CD/DVD and click Next
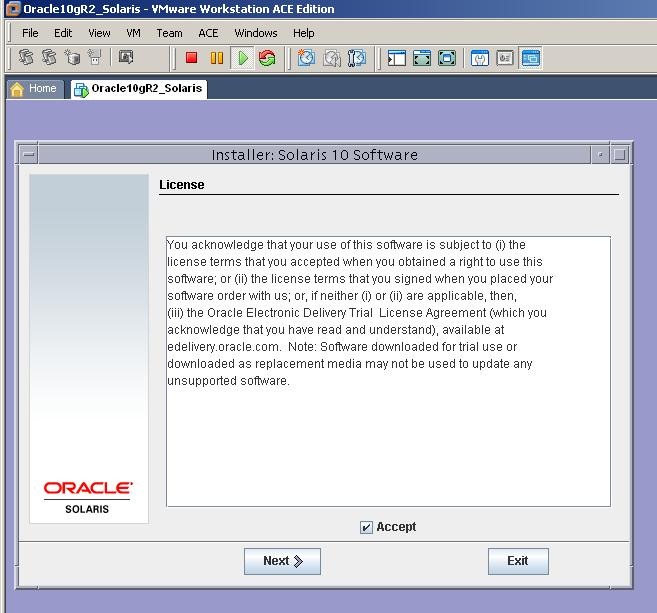
Select Accept and click Next
Select Default Installation and click Next
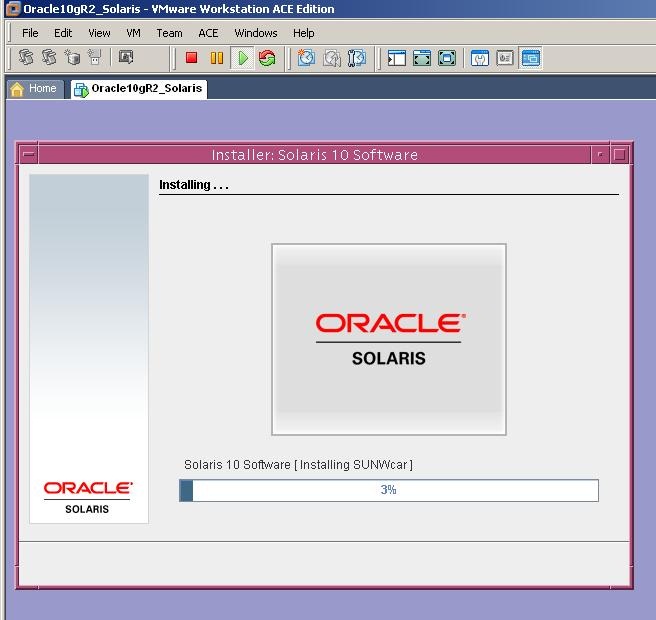
Click Install Now to start the installation
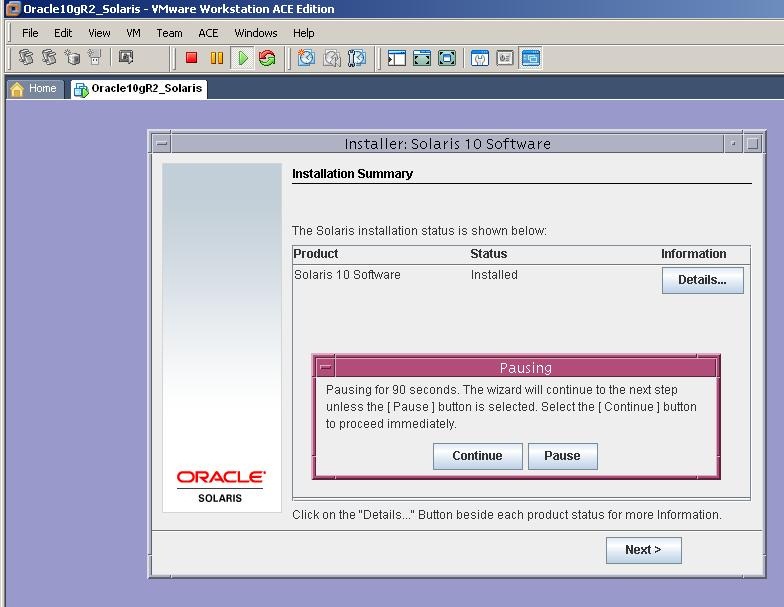
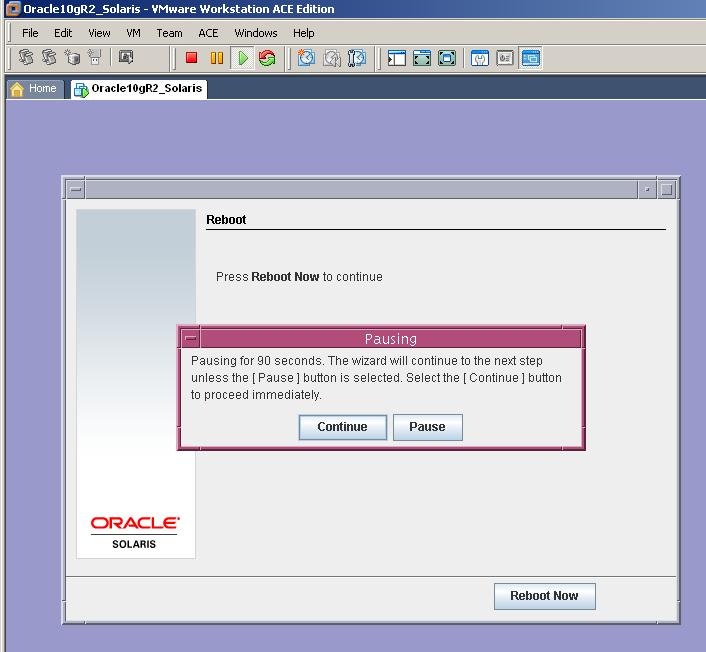
After installation completed, you get the following screen. Click on Continue and Next
Click on Continue and Reboot Now button
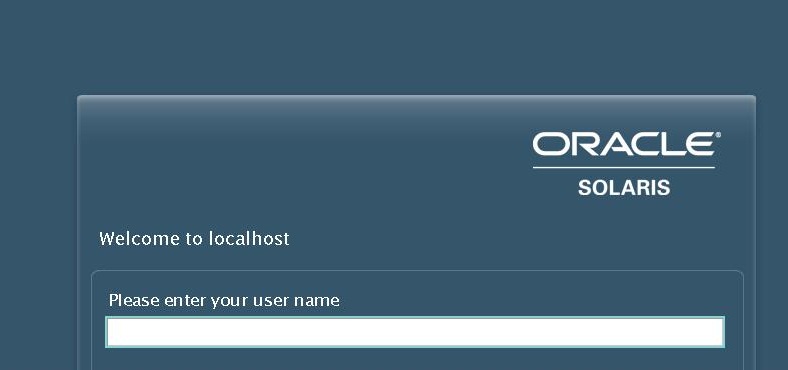
After reboot you get the following screen. Press Enter
Wow. Oracle Solaris welcome screen! Login with the root user and the password that you’ve provided during the installation and login to the system
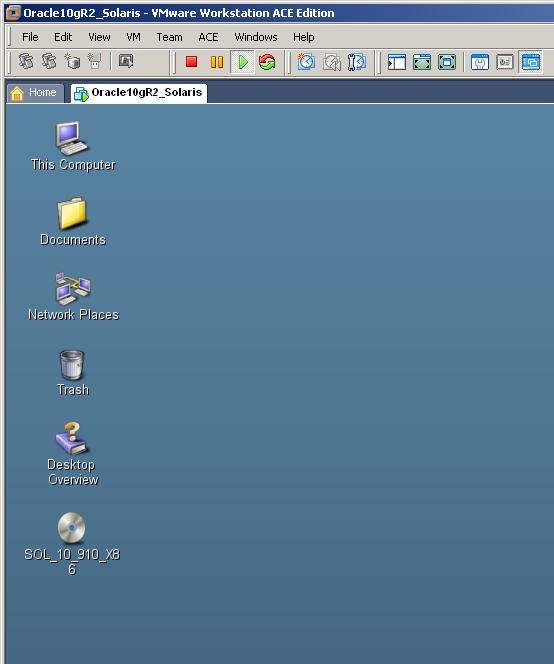
Here’s the Oracle Solaris desktop
Now open new Terminal and check size of RAM, swap space and /tmp directory
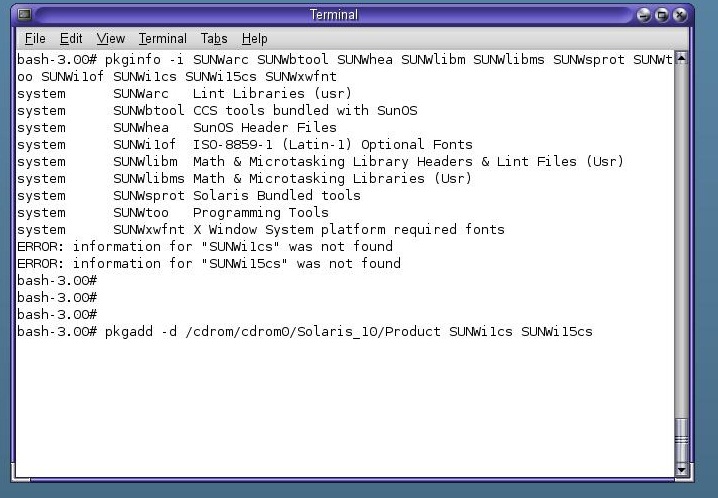
Now check whether you’ve installed all packages that are required for Oracle installation
pkginfo -i SUNWarc SUNWbtool SUNWhea SUNWlibm SUNWlibms SUNWsprot SUNWtoo SUNWi1of SUNWi1cs SUNWi15cs SUNWxwfnt
As you see from the output, you’re missing two packages. So install it using pkgadd command and check the packages again:
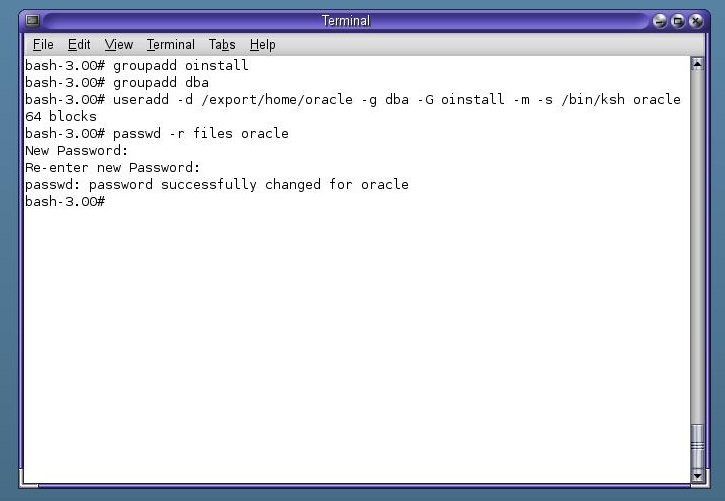
Ok, now you need to create a group and a user:
groupadd oinstall
groupadd dba
useradd -d /export/home/oracle -g dba -G oinstall -m -s /bin/ksh oracle
passwd -r files oracle
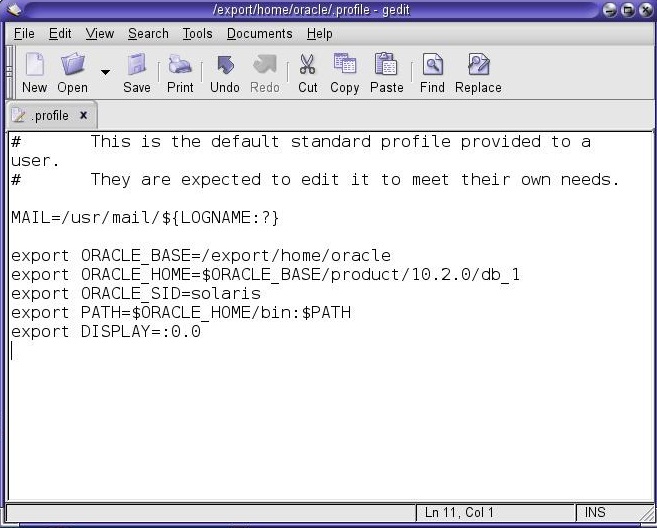
Now change the profile of the “oracle” user and set environemnt variables:
gedit /export/home/oracle/.profile
export ORACLE_BASE=/export/home/oracle
export ORACLE_HOME=$ORACLE_BASE/product/10.2.0/db_1
export PATH=$ORACLE_HOME/bin:$PATH
export ORACLE_SID=solaris
export DISPLAY=:0.0
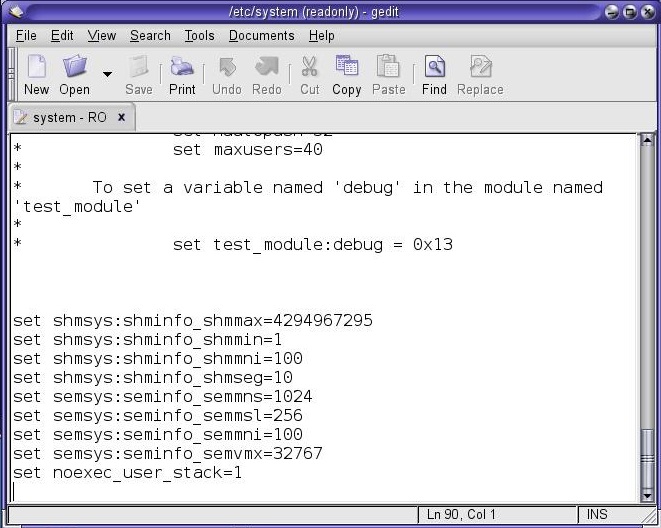
Next, change kernel parameters by editing /etc/system file as follows:
set shmsys:shminfo_shmmax=4294967295
set shmsys:shminfo_shmmin=1
set shmsys:shminfo_shmmni=100
set shmsys:shminfo_shmseg=10
set semsys:seminfo_semmns=1024
set semsys:seminfo_semmsl=256
set semsys:seminfo_semmni=100
set semsys:seminfo_semvmx=32767
set noexec_user_stack=1
Restart the virtual machine, login with oracle user and add 1g of swap space (with root user)
Create a directory for Oracle installation :
mkdir –p /export/home/oracle/product/10.2.0/db_1
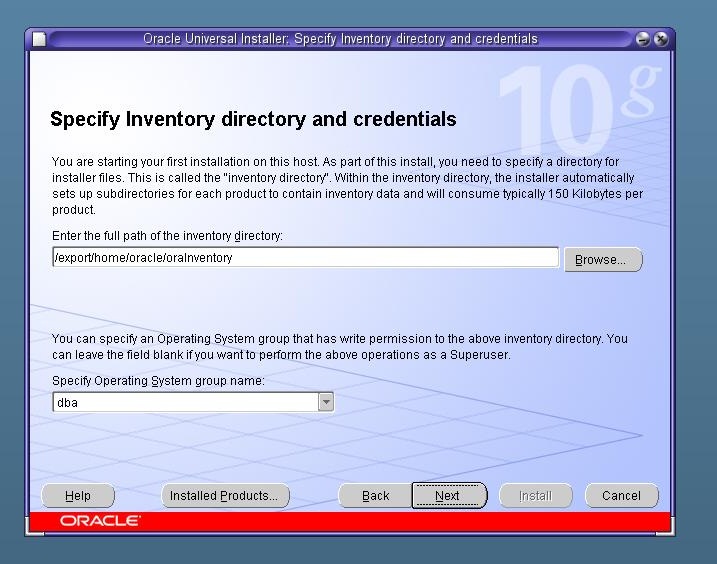
Then copy Oracle installation to /export/home/oracle folder, unzip it, switch to unzipped directory called database and start the installed with ./runInstaller command:
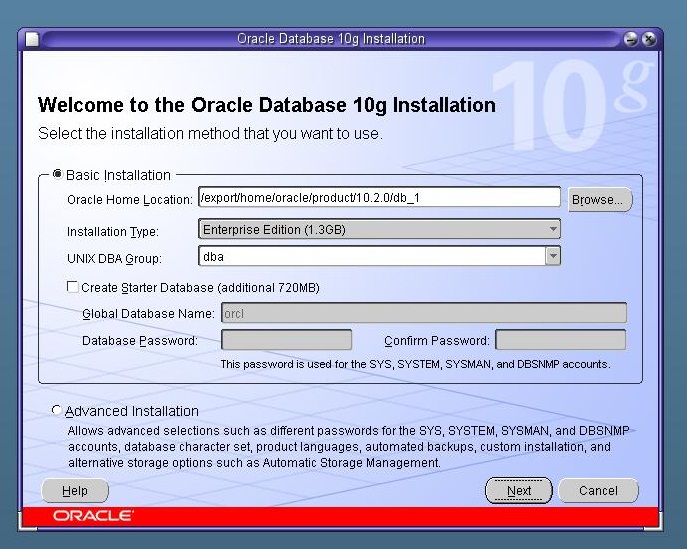
Uncheck “Create Starter Database” option and click Next
Click Next
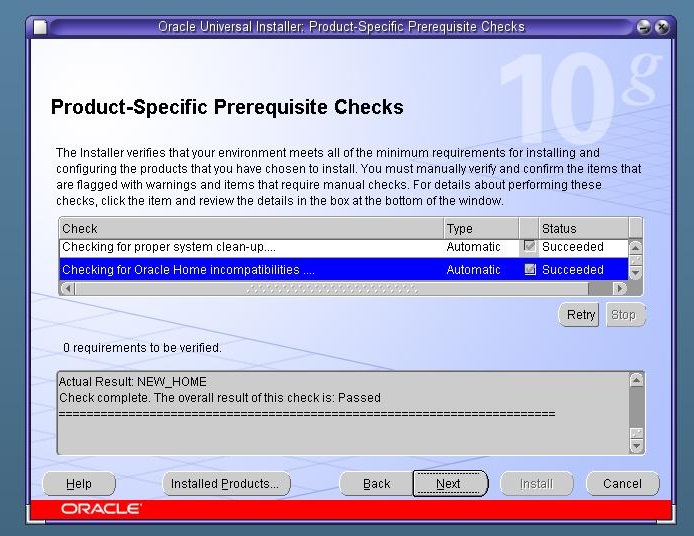
The installer checks all pre-requsit configurations and should Succeed. If so, click Next
Click Install button to start the installation
Please don’t press “Stop Installation” button 
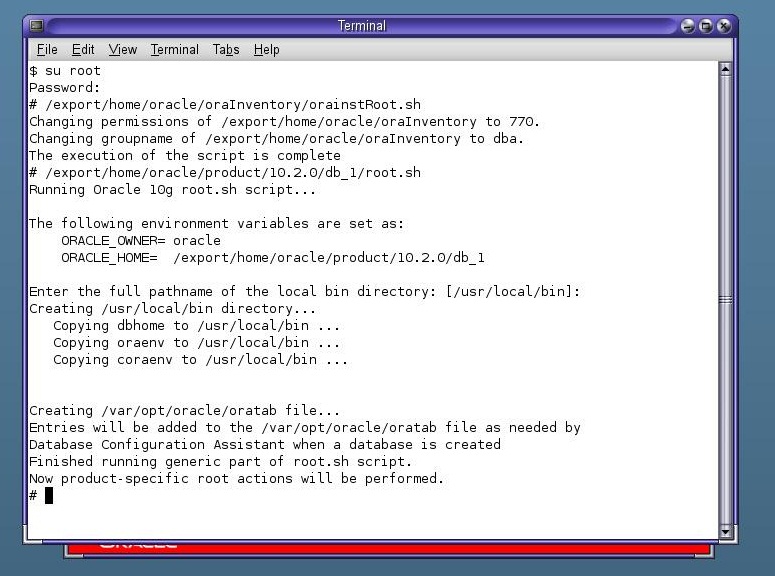
When the installation completes, you’ll be asked to run the following shell scripts with root user.
Login with root user from the new terminal and run them
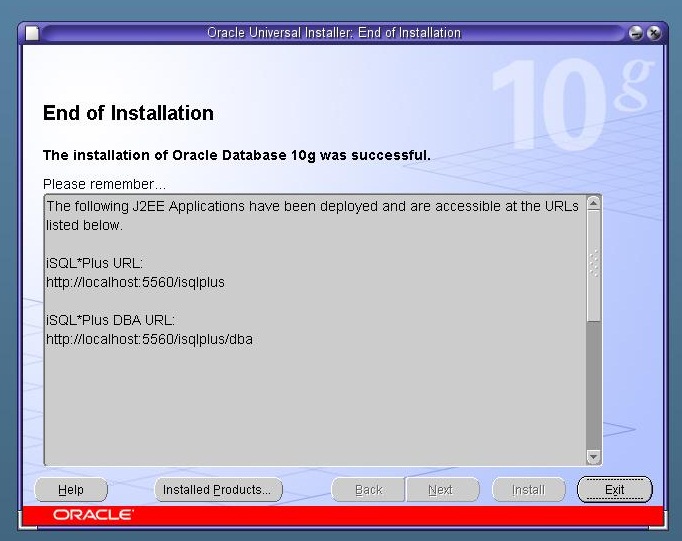
The installation completed! Congratulations! 
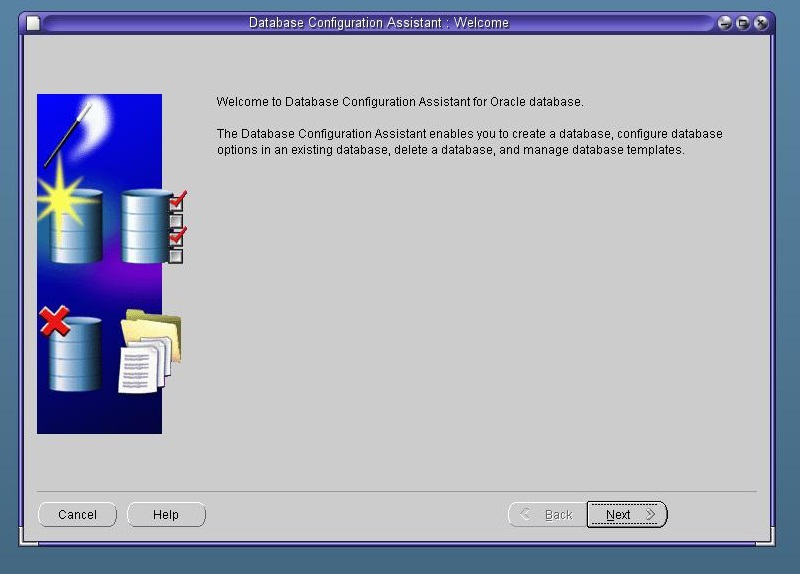
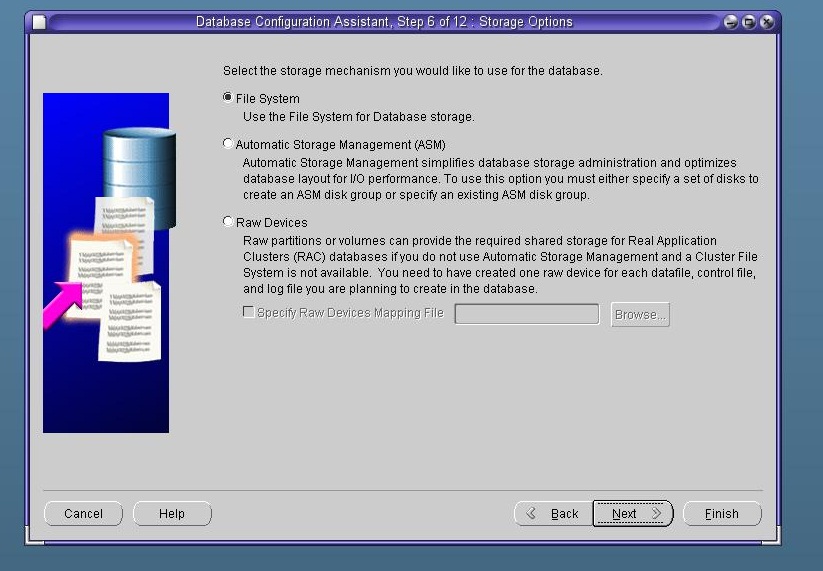
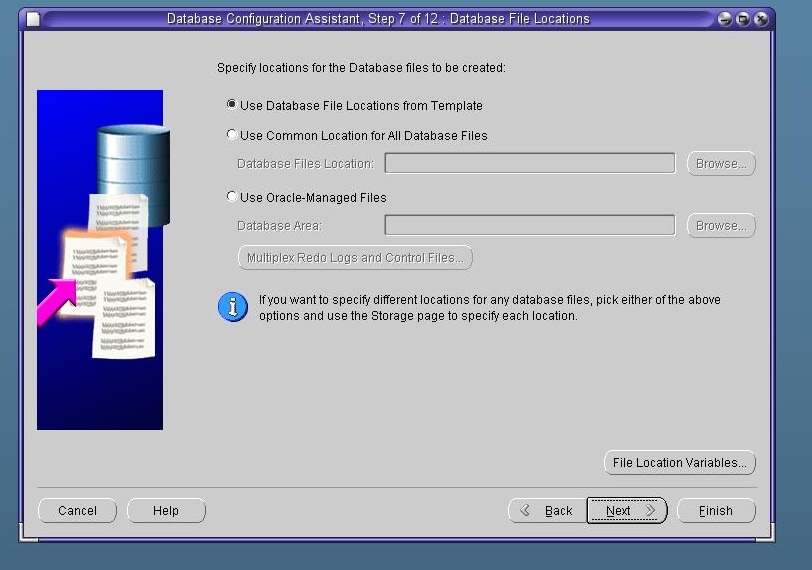
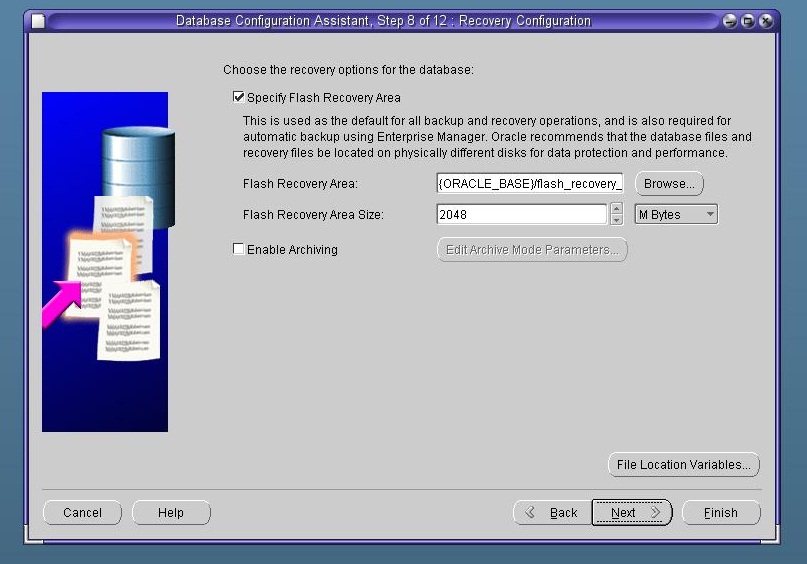
Now let’s create a database. Open new terminal and run dbca (Database Configuration Assistant) command to create a database
Click Next
Select “Create a database” and click Next (Don’t select “Delete a Database”, ups.. you can’t even select it  )
)
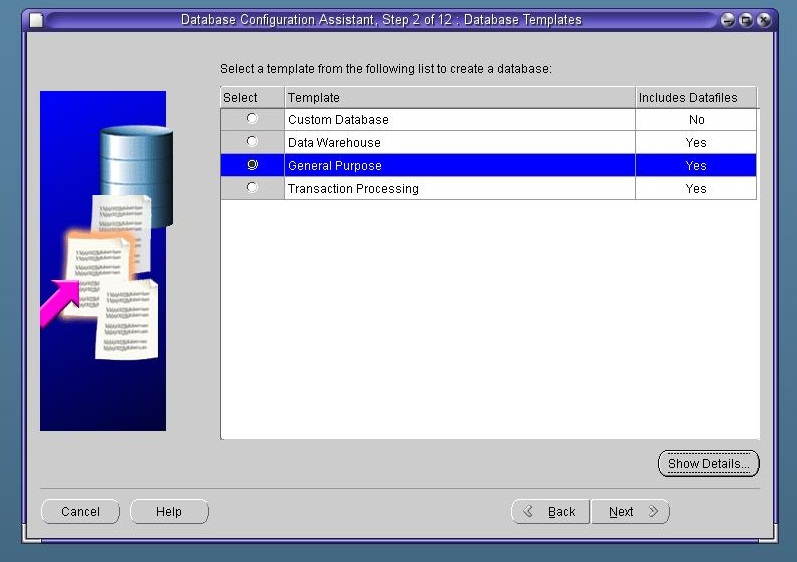
Select “General Purpose” and click Next
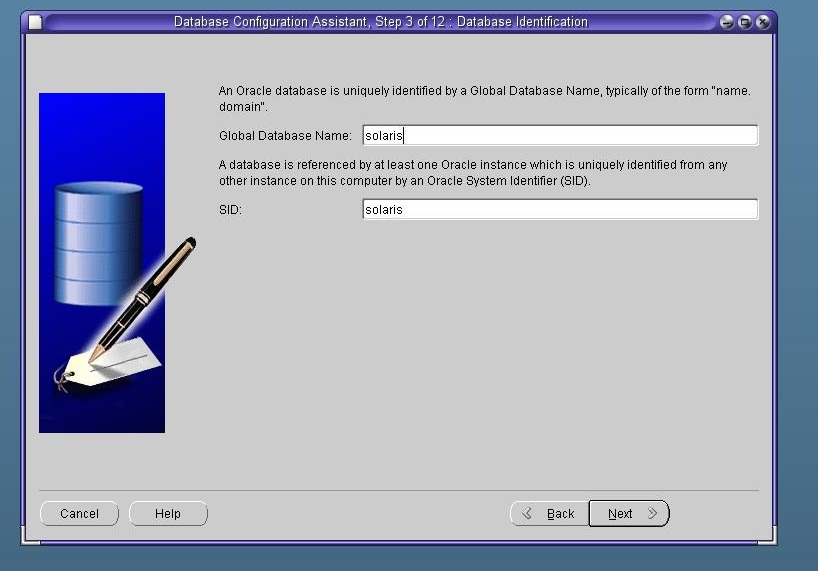
Provide a database name and click Next
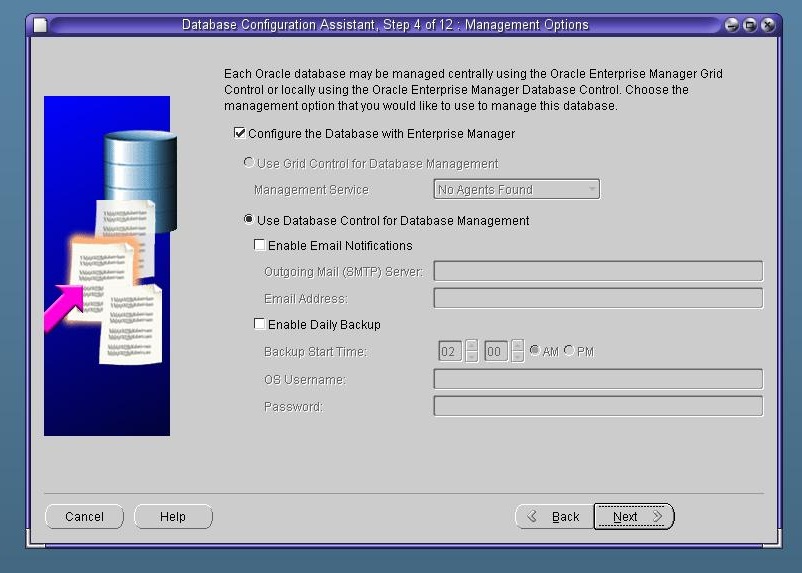
Click Next
Provide a password for SYS user and click Next
Click Next
Click Next
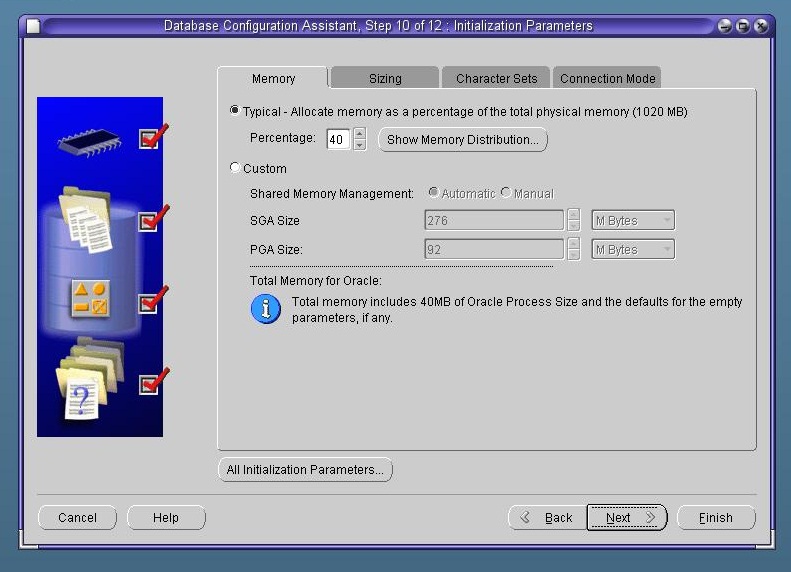
Click Next
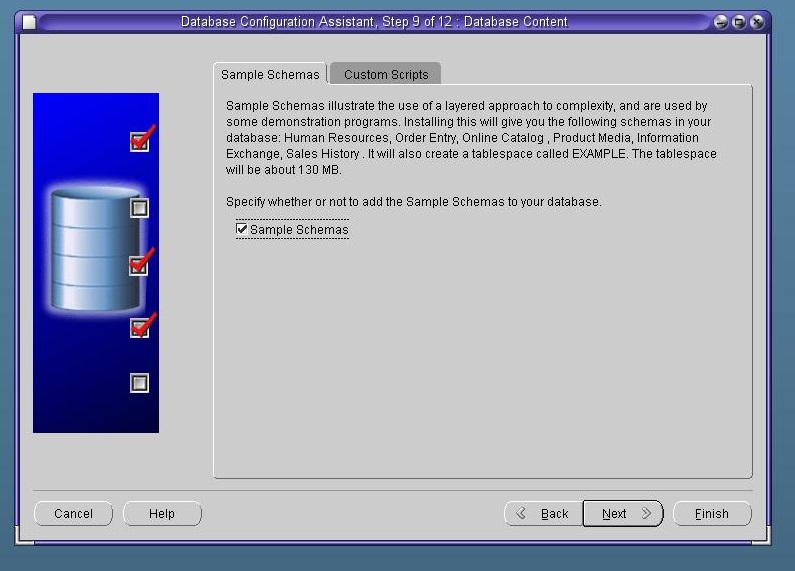
If you want to install sample schemas, then select this option and click Next
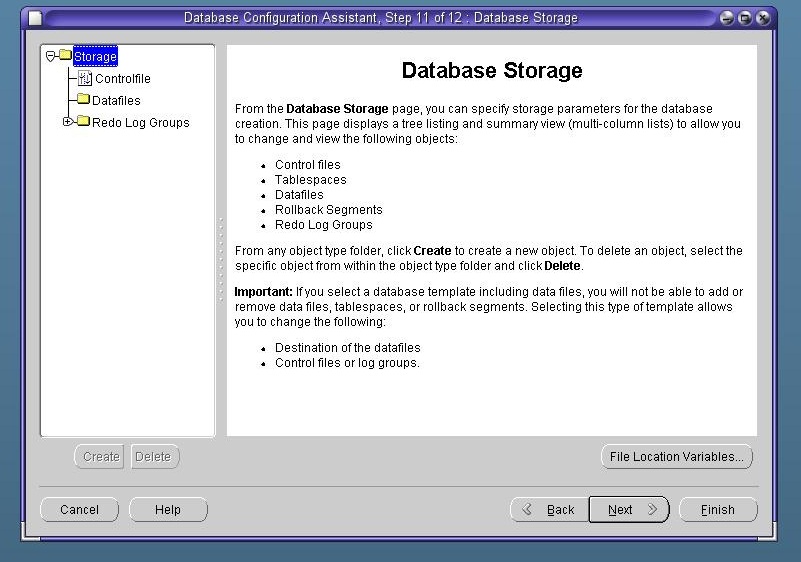
Click Next
Click Next
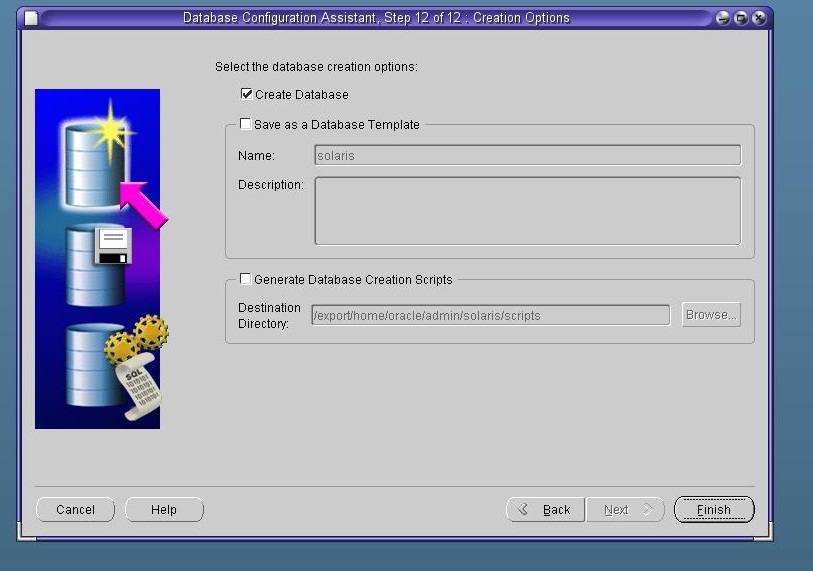
Click Finish and start the database creation
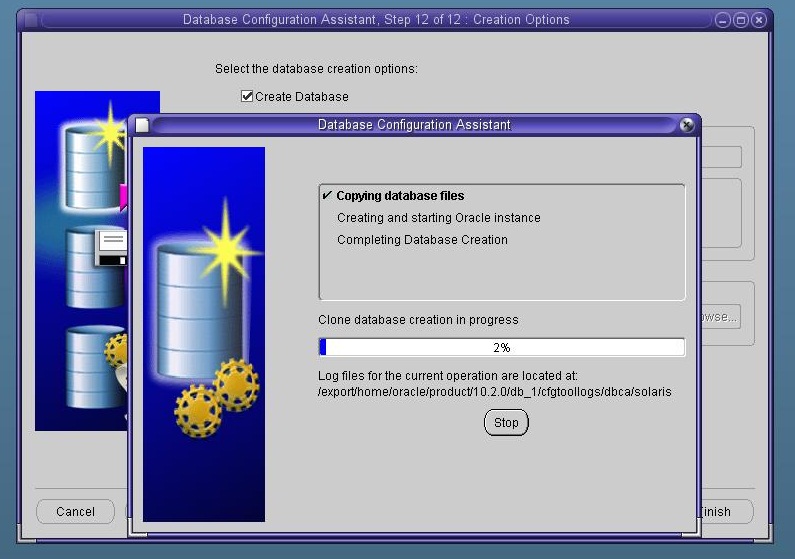
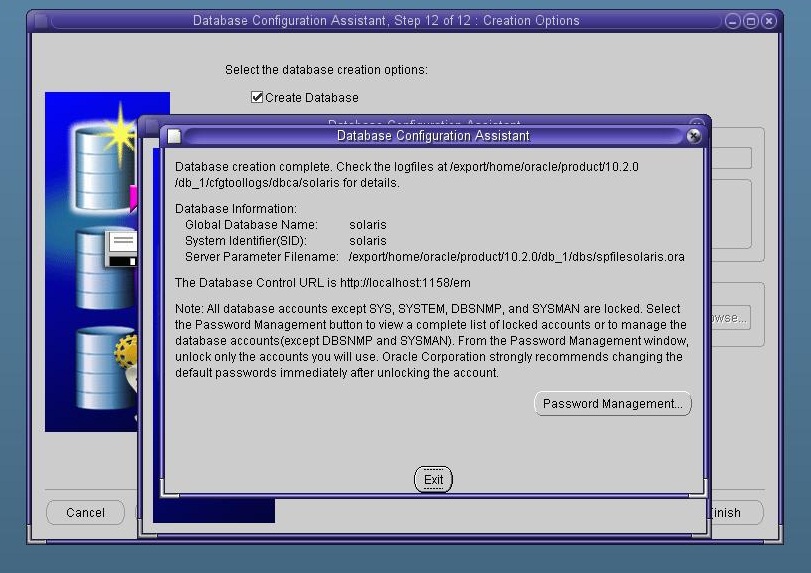
The database creation process has started
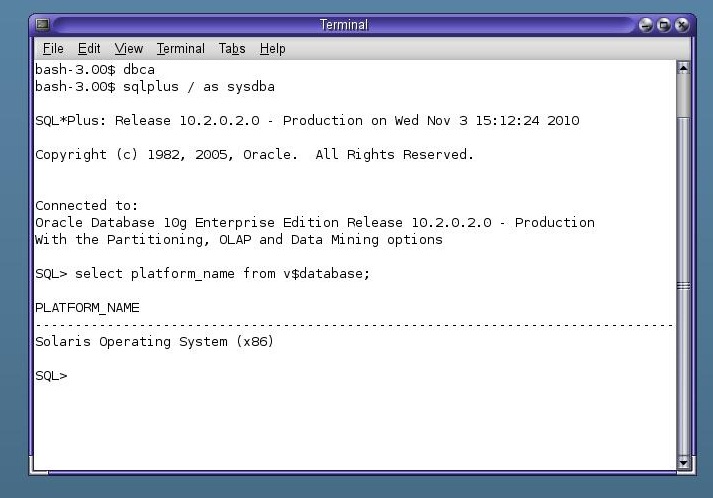
You got the message that the database has successfully created. Let’s check it!
Wooou!!!! Congratulations again!! At the end, you’ve successfully installed Oracle Solaris, Oracle Database on Solaris and created a database! That’s great!
Don’t forget to post a feedback!
Posted in Administration | 75 Comments »


