


Configure and practice backup and recovery for Oracle Database in Cloud (DBaaS)
Posted by Kamran Agayev A. on 14th December 2016
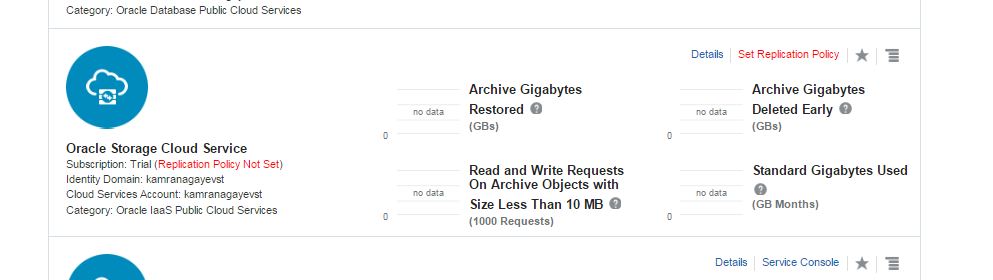
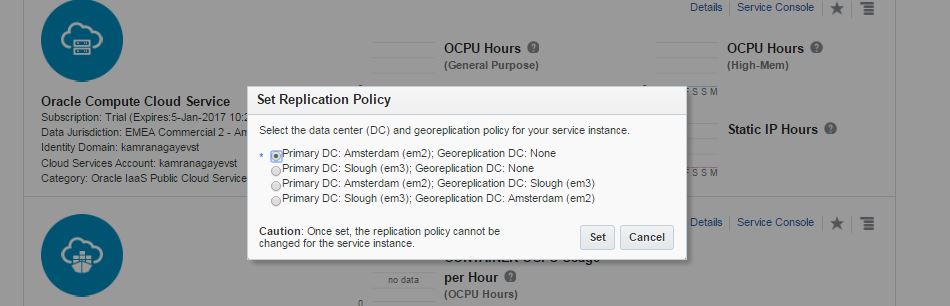
In this post I will show you how to configure backup for Oracle Database in Cloud. First of all, make sure you use Oracle Storage Cloud Service and you set the replication policy. Open the following link, scroll down to Oracle Storage Cloud Service section and click “Set Replication Policy” link:
https://myservices.em2.oraclecloud.com/mycloud/faces/dashboard.jspx?showOld=true
Select the data center and click Set
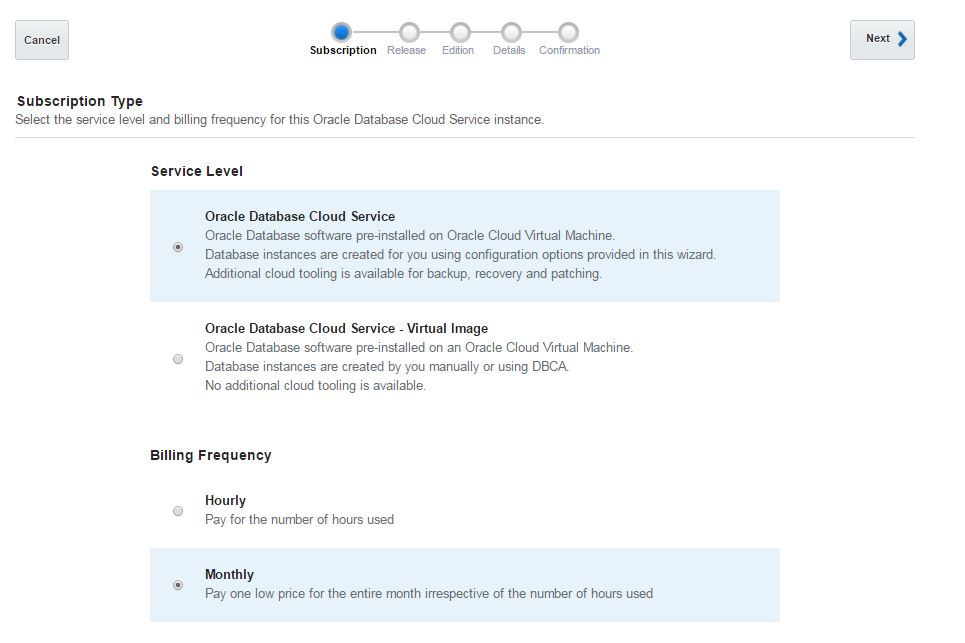
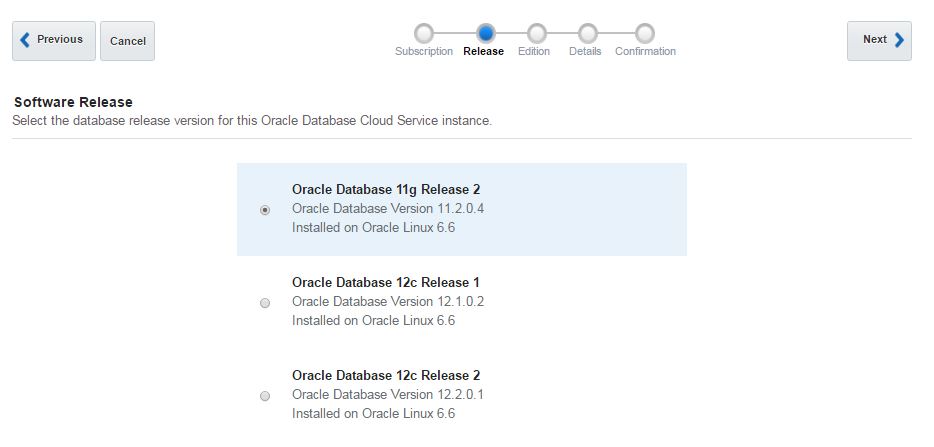
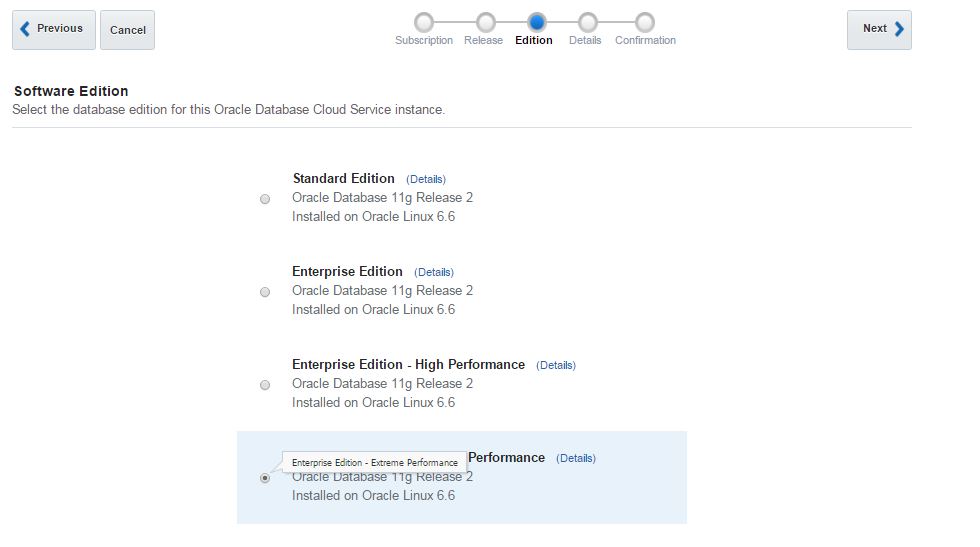
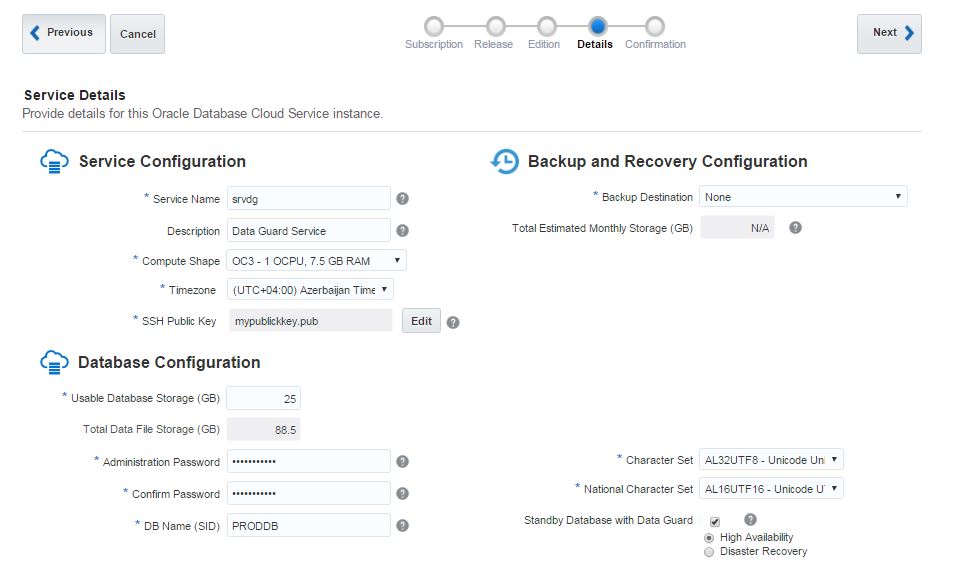
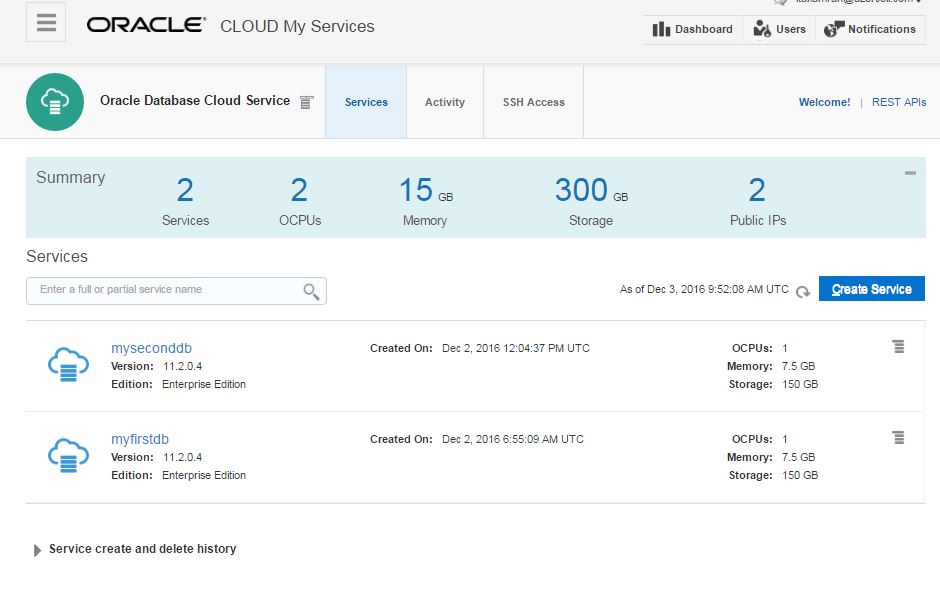
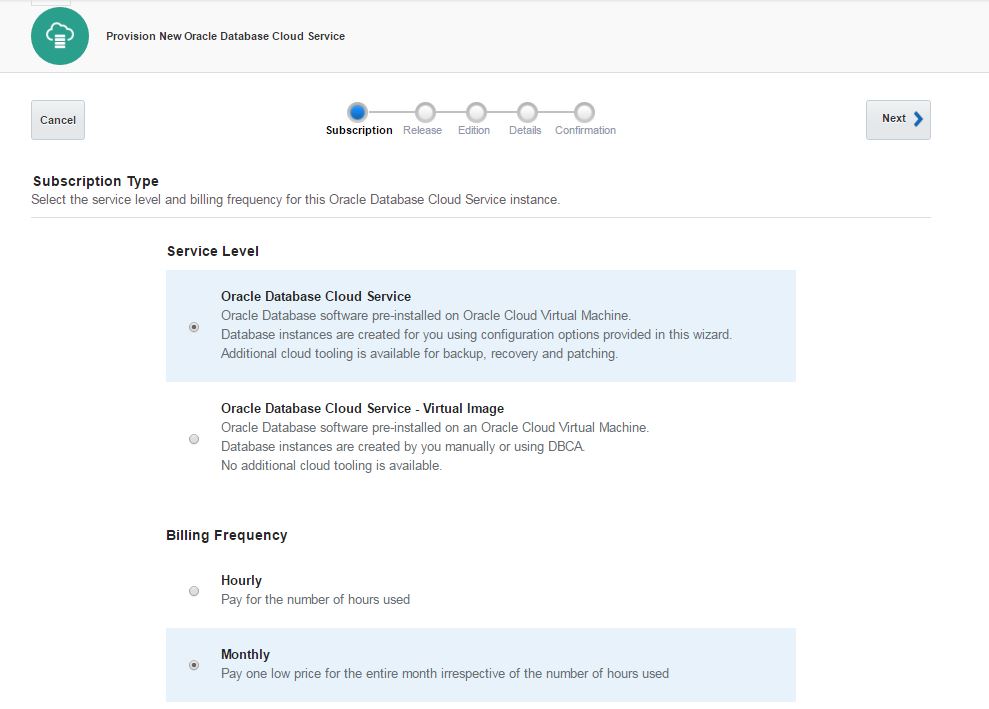
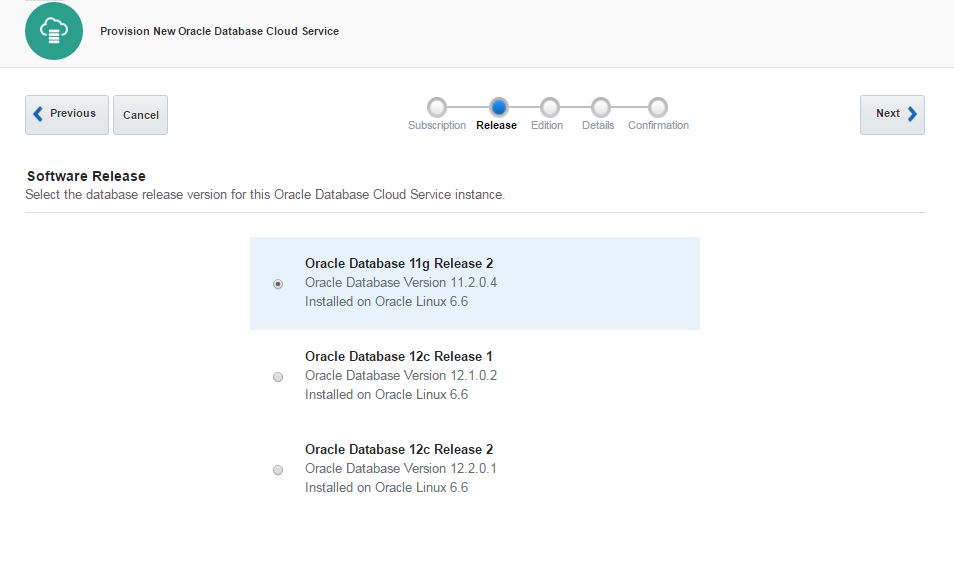
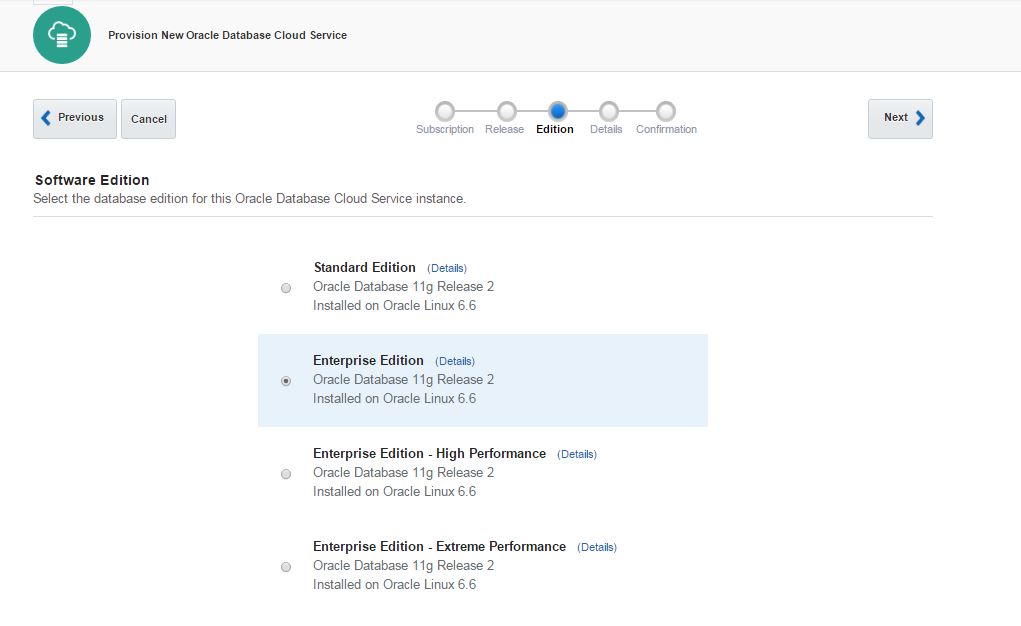
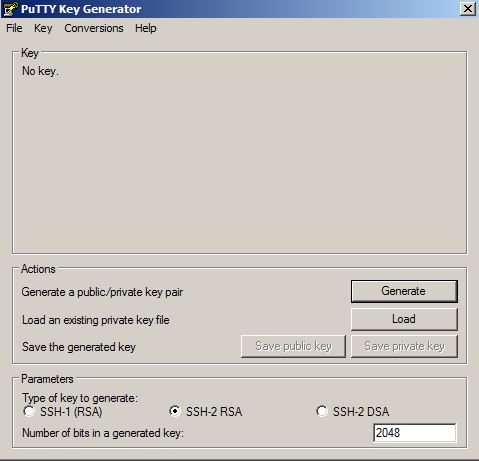
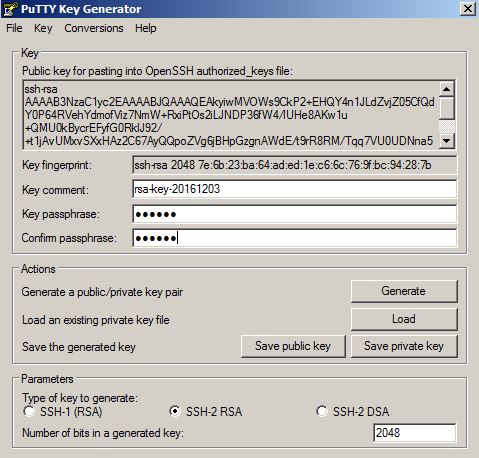
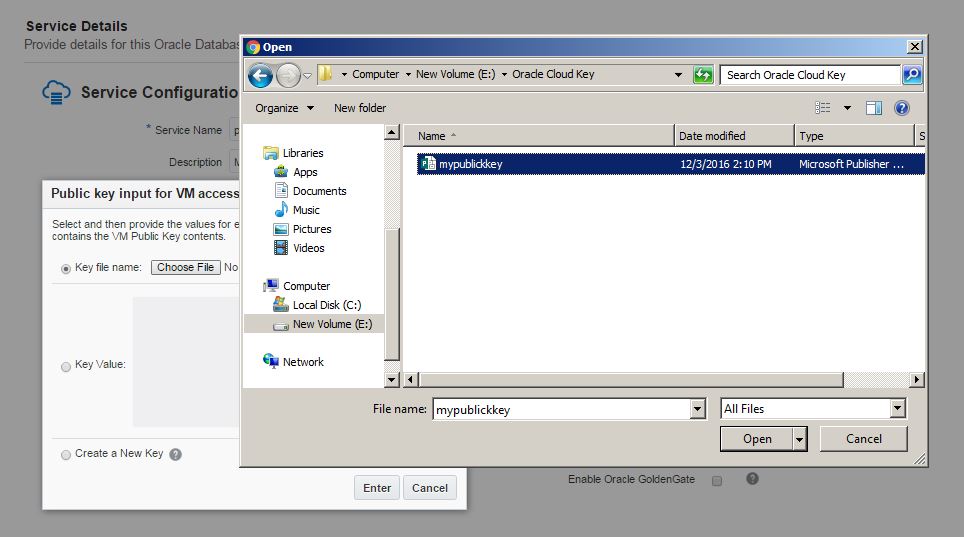
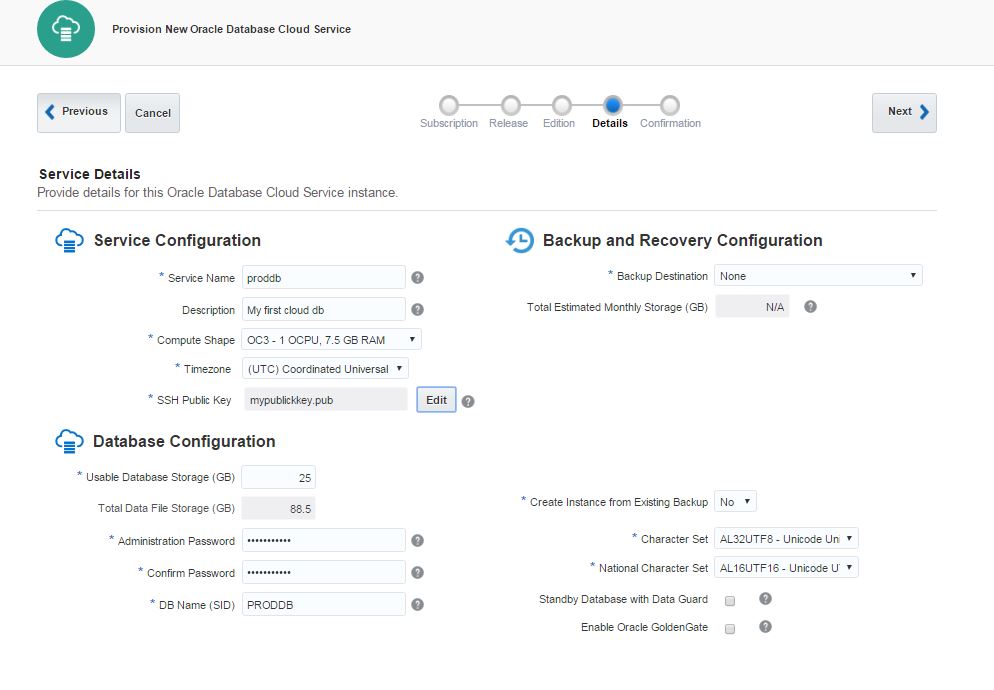
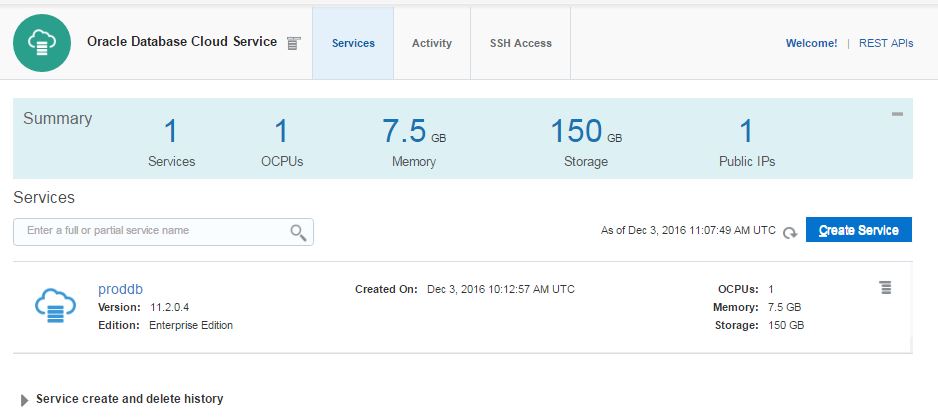
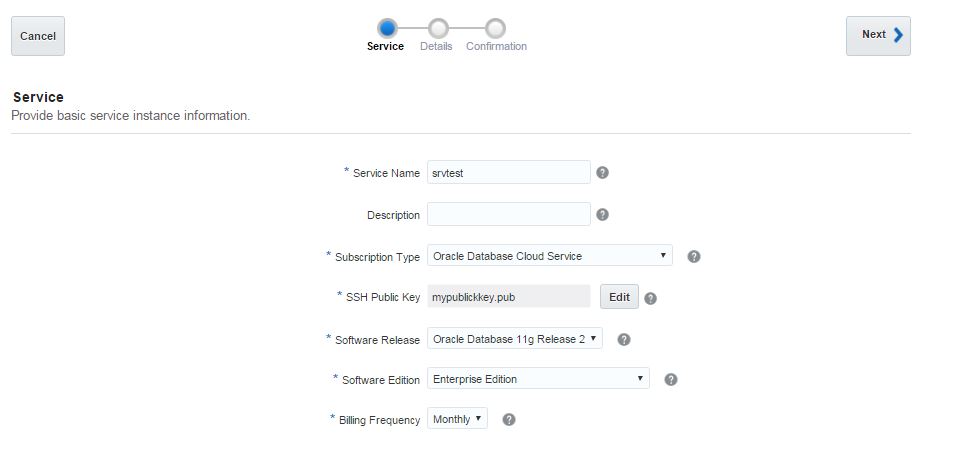
Next, open Oracle Database Cloud Service and create a new service. The GUI has changed and we have only 3 steps to create a database in the cloud. Provide the service name, software version and edition, upload SSH public key and click Next
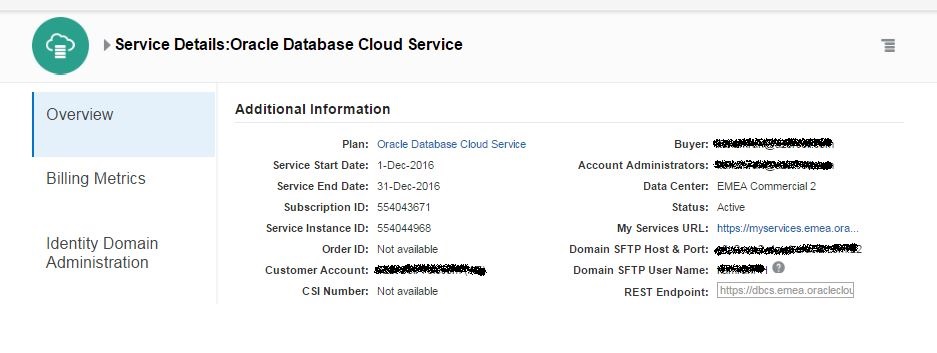
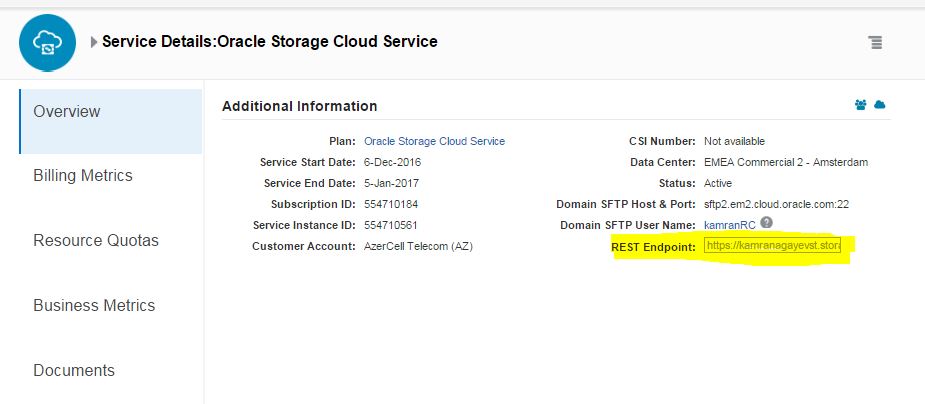
In order to enable the automatic backup of the database in the cloud, you have to create a cloud storage container. Before creating a cloud storage container, switch to Oracle Storage Cloud Service details and get the REST Endpoint:
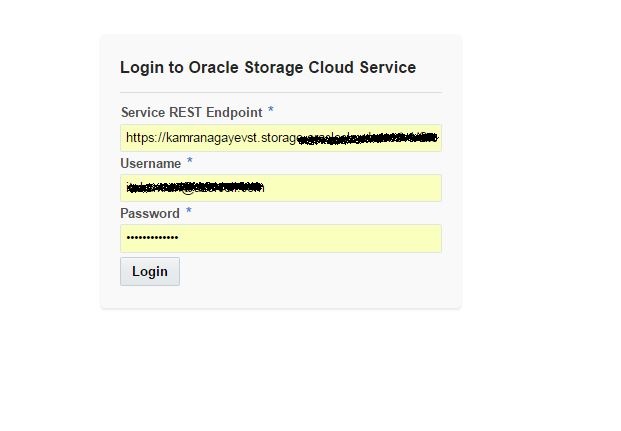
Next, open https://storageconsole.em2.oraclecloud.com/ link, provide the Service REST Endpoint and login to Oracle Storage Cloud Service:
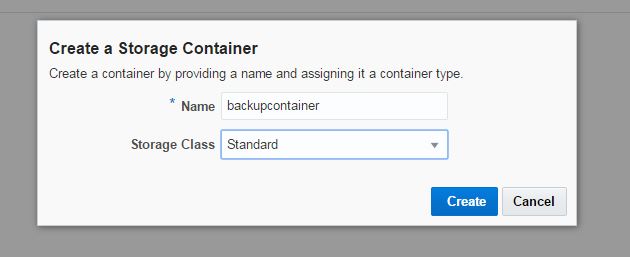
Create a new storage container:
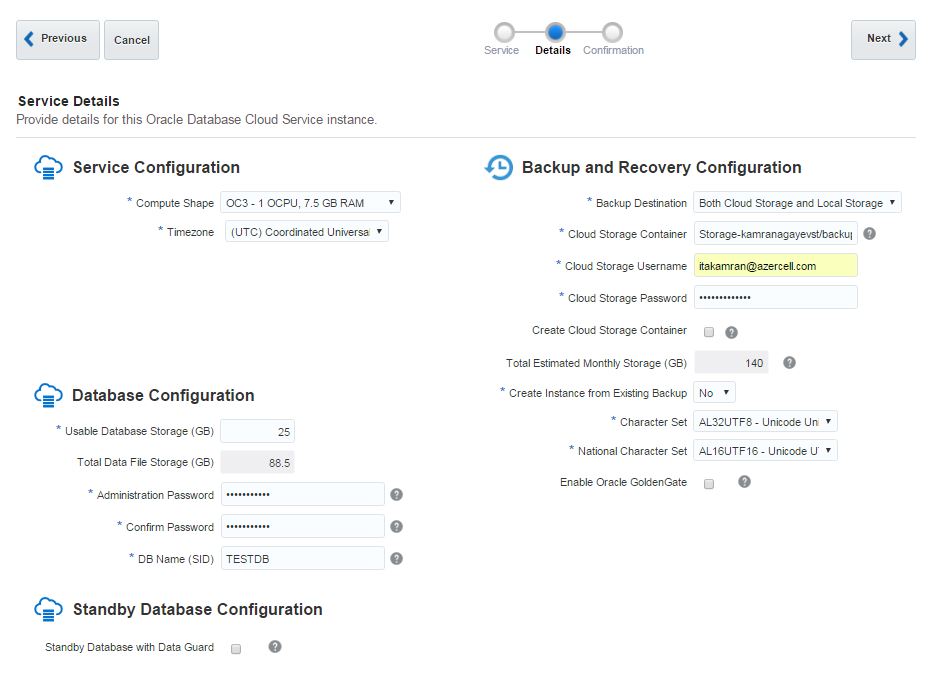
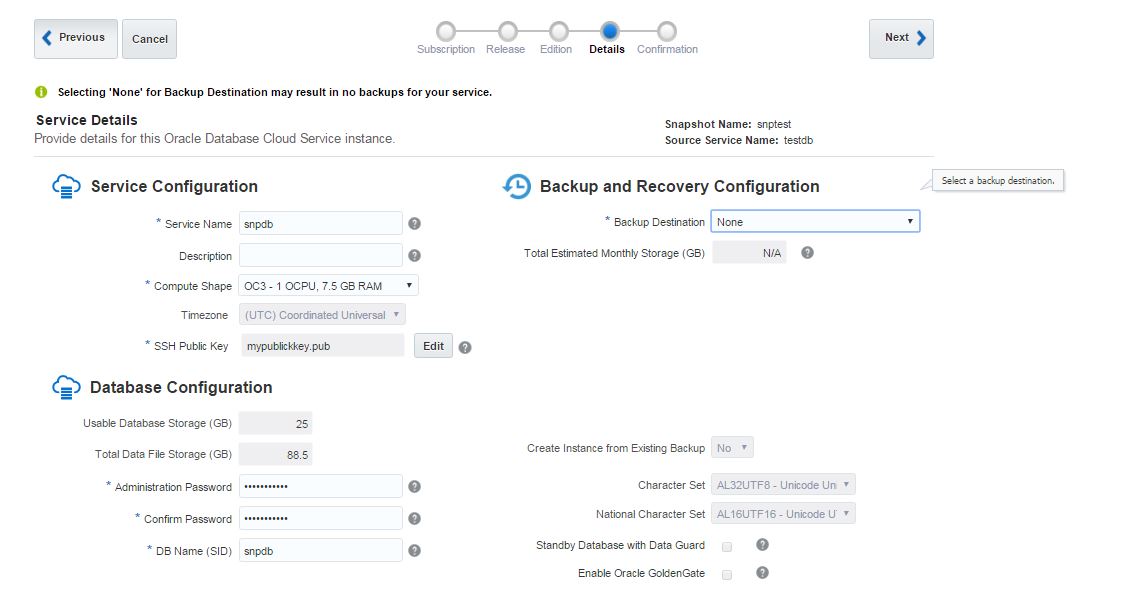
In the second screen of database service creation page, select “Both Cloud Storage and Local Storage” option as a Backup Destination, provide cloud storage container name, username and password and click Next.
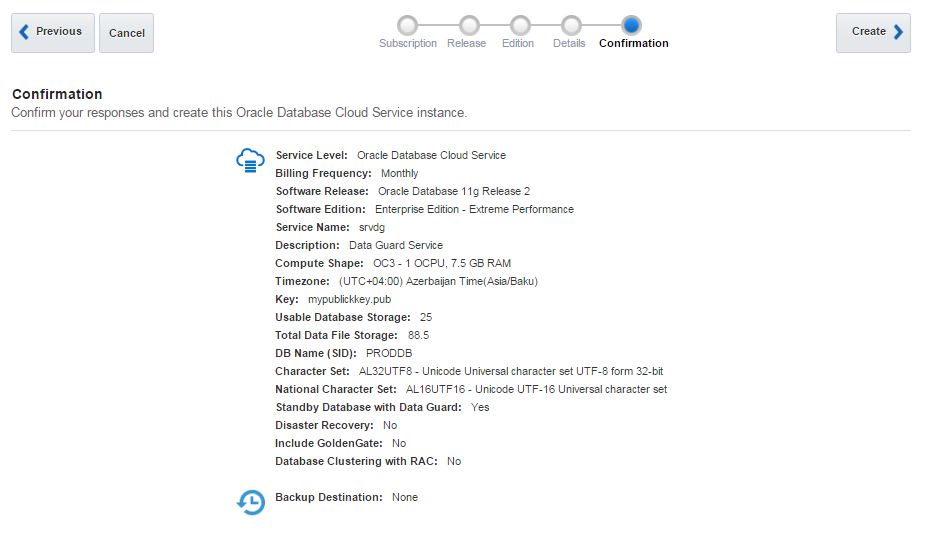
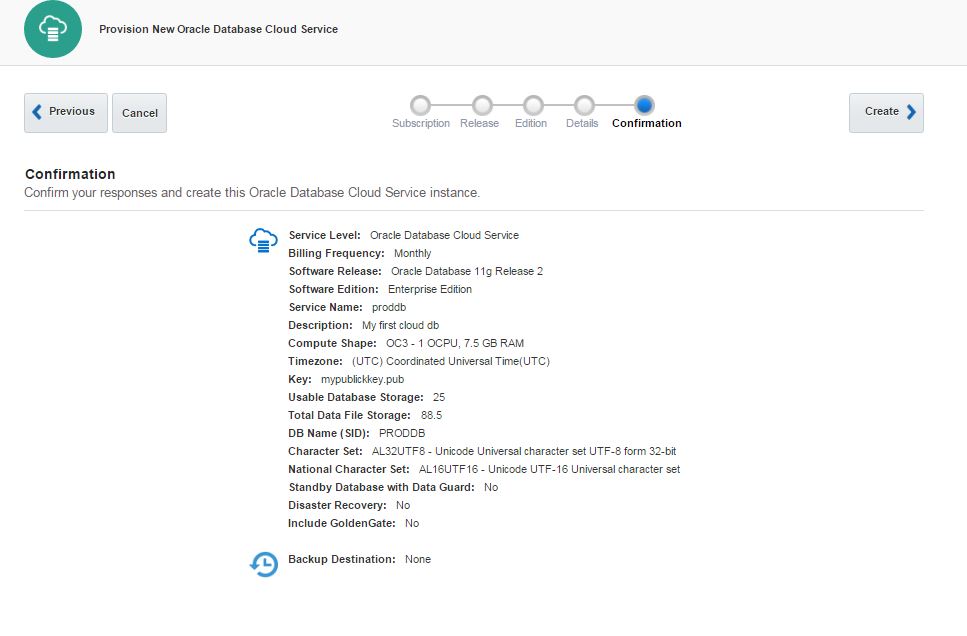
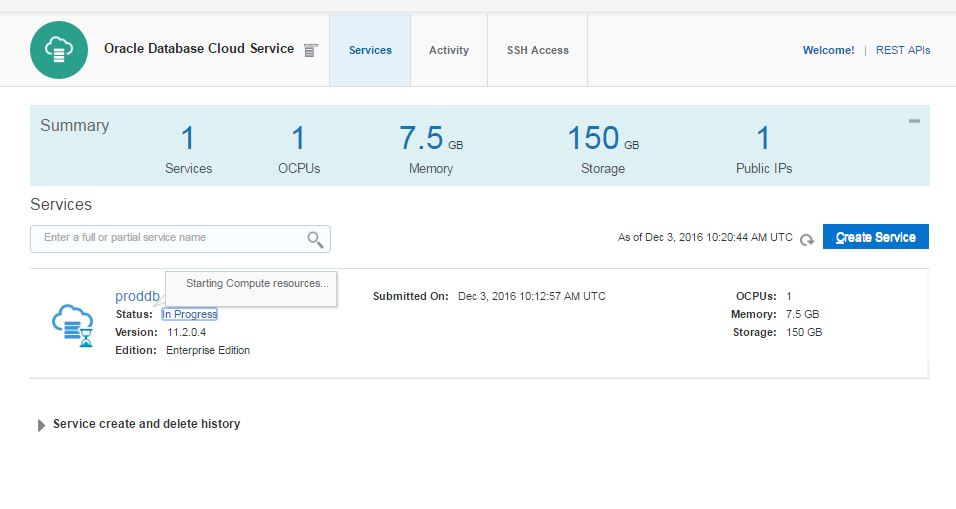
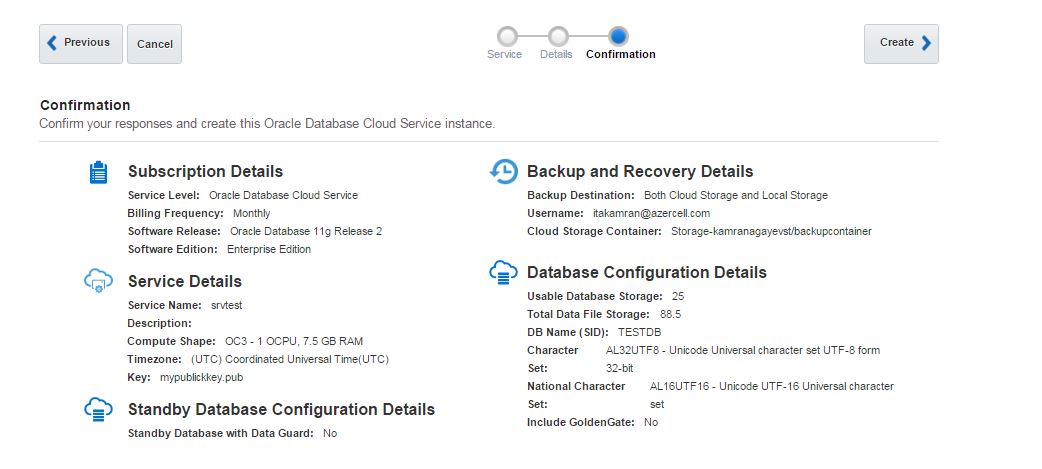
Review the configuration and click Create button.
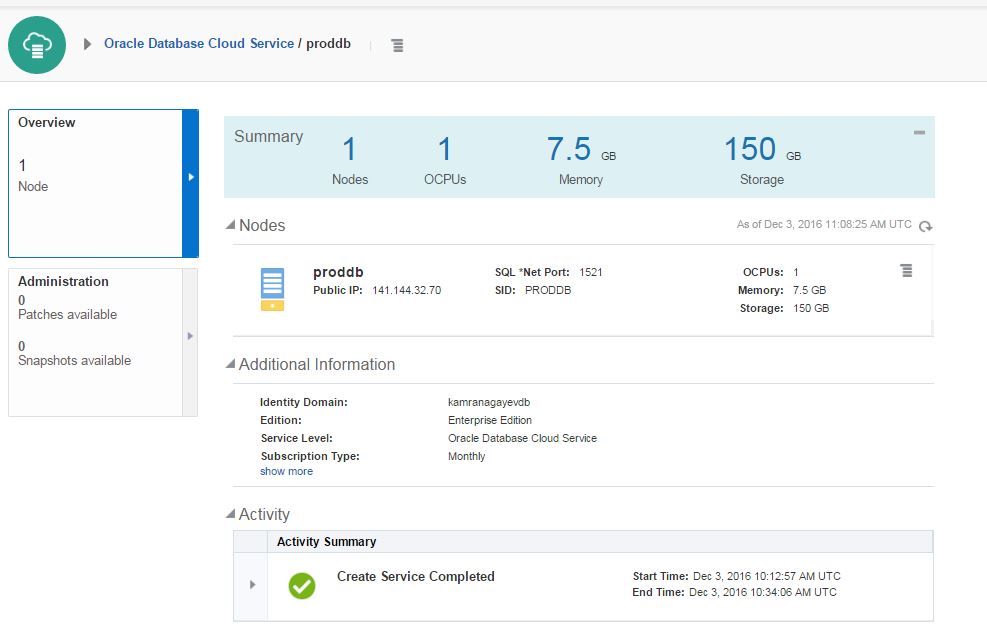
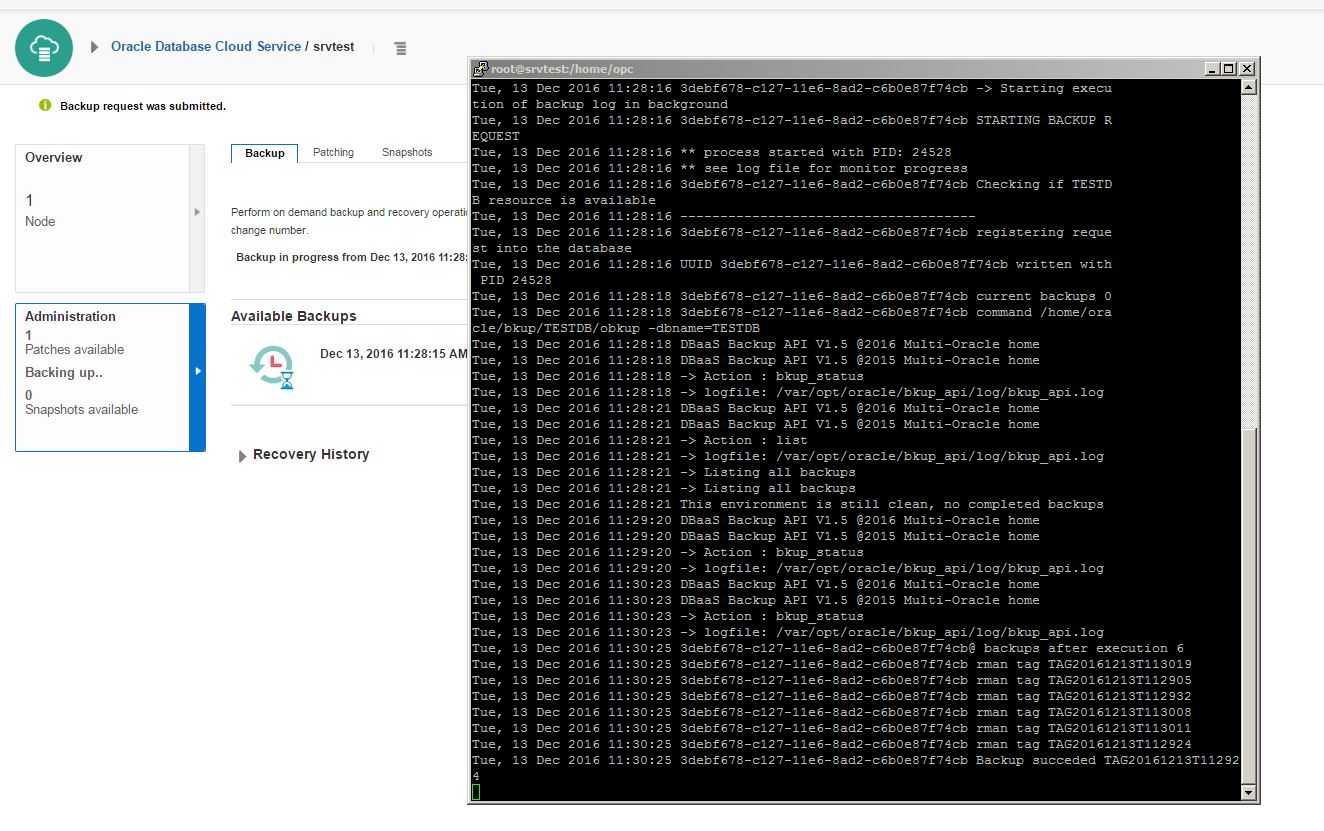
After creating the service successfully, open it and click on Administration section. From the Backup tab click on Backup Now button to create a backup of the database. You can use RMAN and schedule your own backups as well.
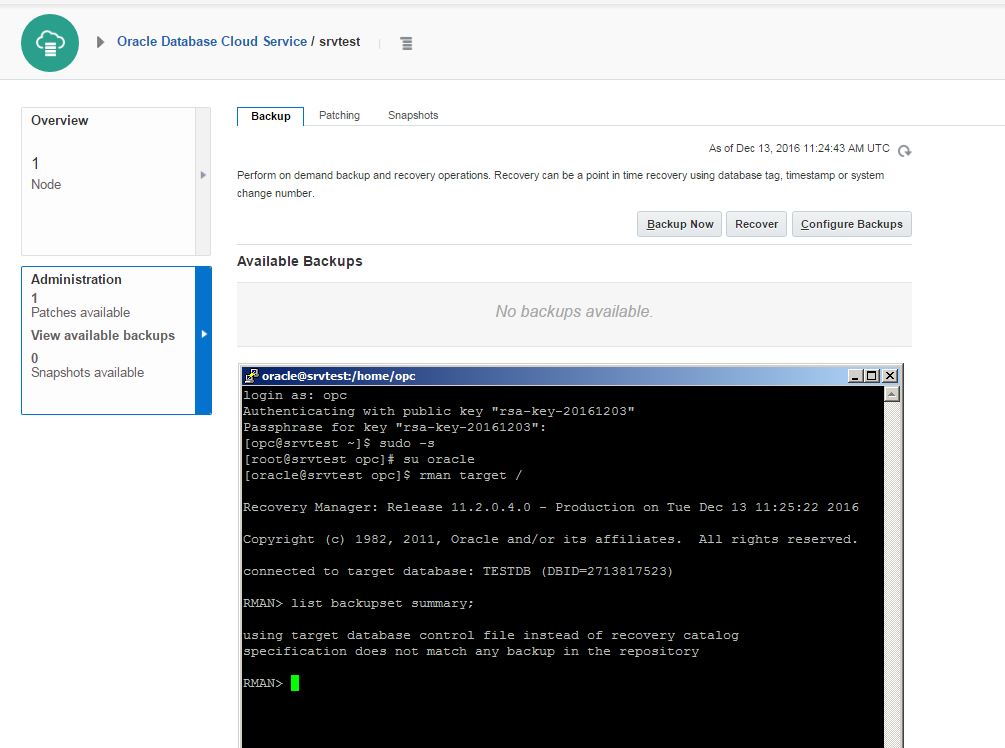
Click Backup Now and check the log file for more information:
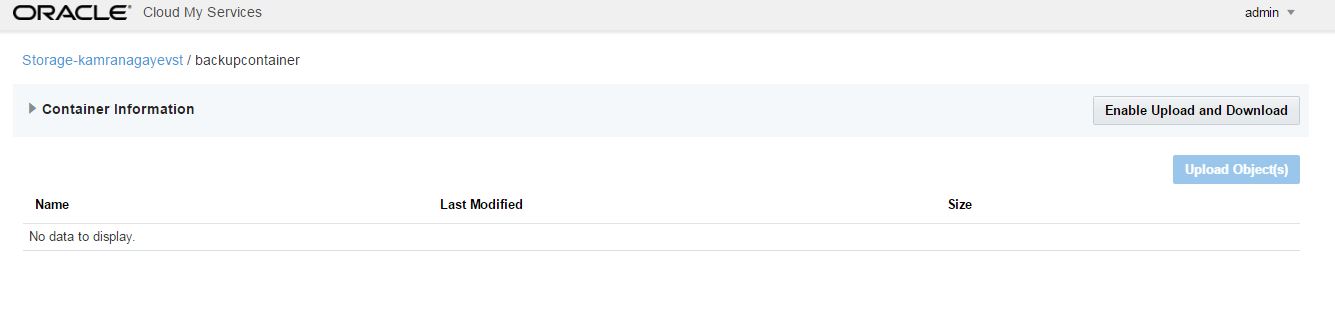
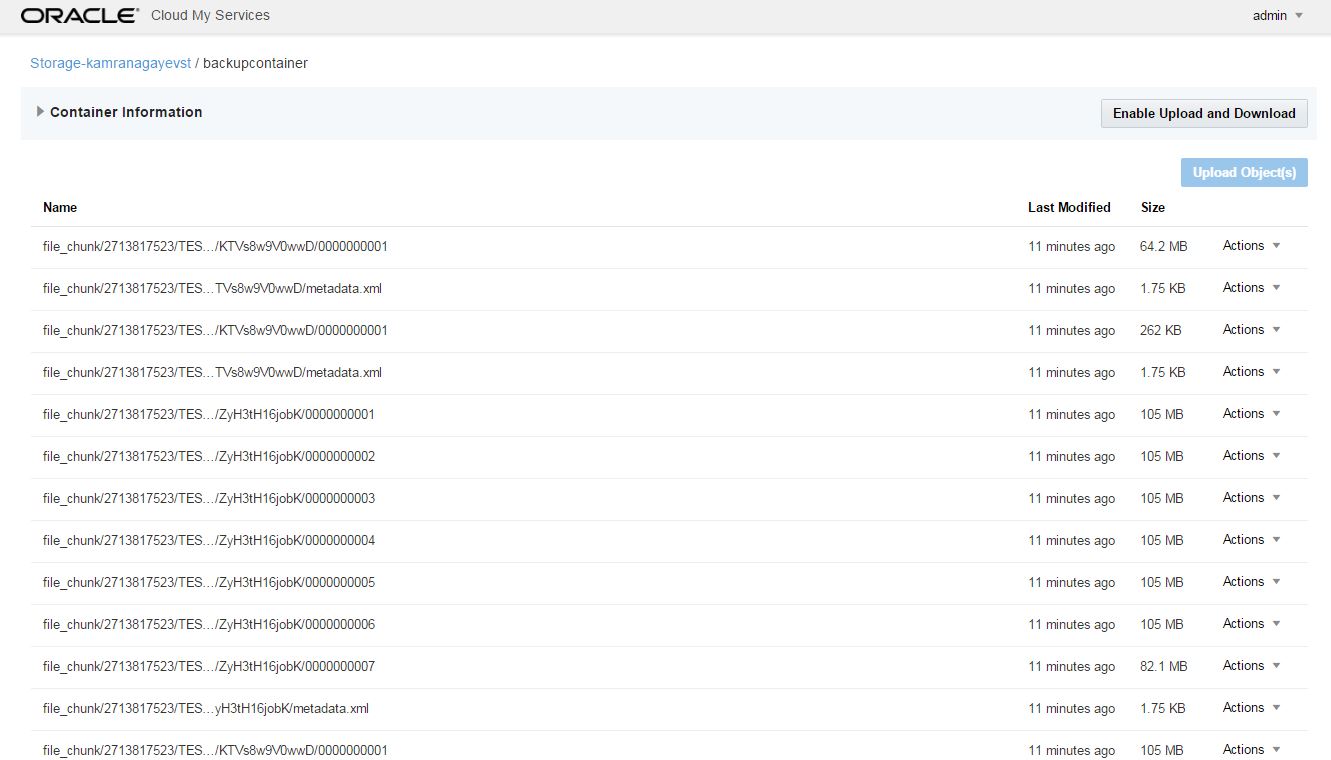
If you switch to the storage container, you will see bunch of files created
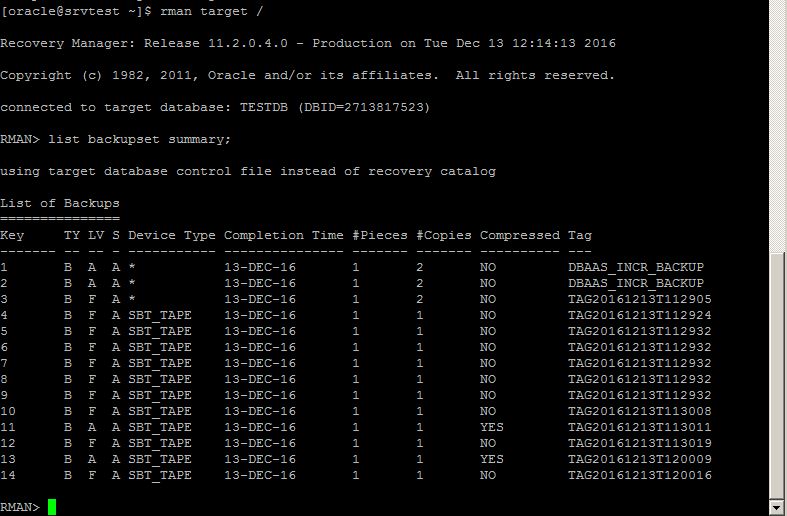
Open RMAN and run LIST BACKUPSET SUMMARY command to get list of backupsets:
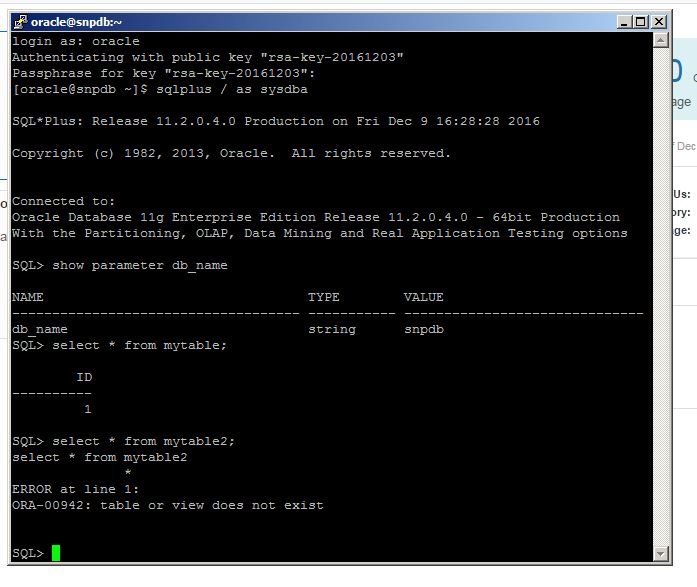
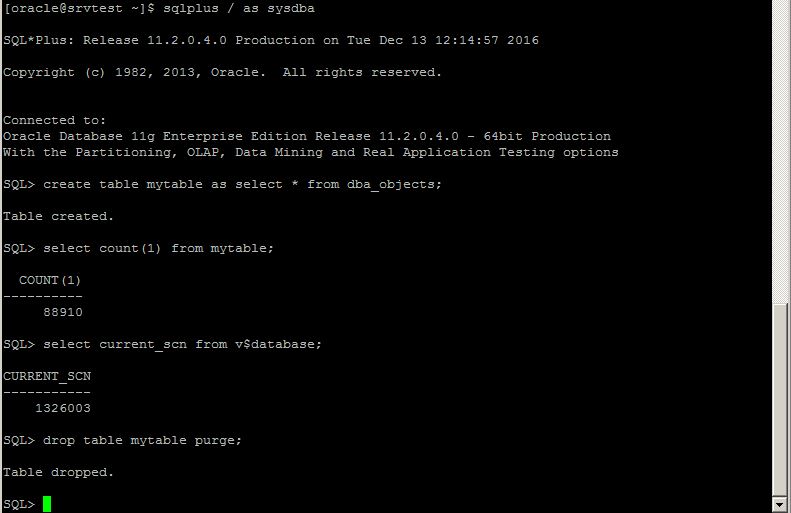
Now let’s try to recover the database to the specific point in time using DBaaS wizard. For this, create a new table with some data, get the current SCN number and drop the table.
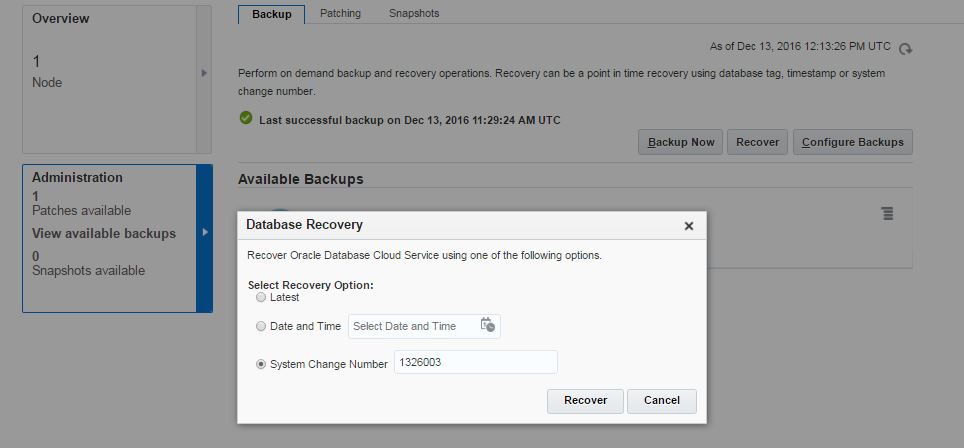
Next, switch to DBaaS backup page, click Recover, provide the SCN number and click Recover
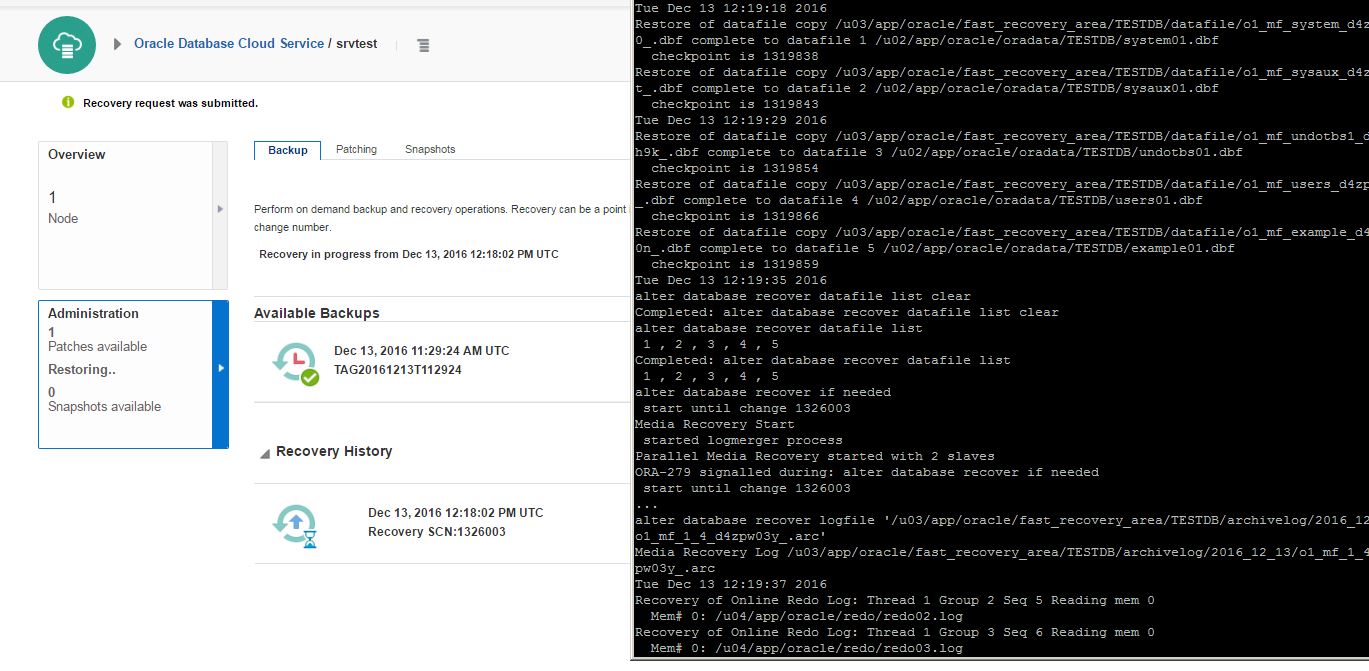
The recover process will run in the background automatically. Check alert.log file of the database for more information:
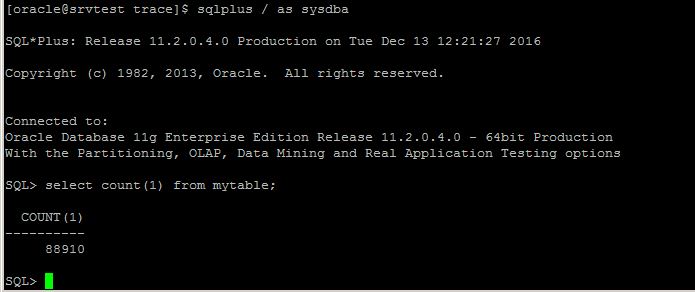
After the recover process is completed successfully login to the database and query the table
You can also take backup and recover the database from command line interface using bkup_api utility. Now let’s delete all backups, take a new backup and try the recovery.
Delete all available RMAN backups:
RMAN> delete backup;
Use bkup_api utility with bkup_start parameter to take a backup from CLI:
[root@srvtest spool]# /var/opt/oracle/bkup_api/bkup_api bkup_start
DBaaS Backup API V1.5 @2016 Multi-Oracle home
DBaaS Backup API V1.5 @2015 Multi-Oracle home
-> Action : bkup_start
-> logfile: /var/opt/oracle/bkup_api/log/bkup_api.log
UUID d6bf0bde-c130-11e6-8534-c6b0e87f74cb for this backup
** process started with PID: 16524
** see log file for monitor progress
————————————-
[root@srvtest spool]#
Check the log file for more information:
[root@srvtest spool]# tail -f /var/opt/oracle/bkup_api/log/bkup_api.log
Tue, 13 Dec 2016 12:36:58 ** process started with PID: 16524
Tue, 13 Dec 2016 12:36:58 ** see log file for monitor progress
Tue, 13 Dec 2016 12:36:58 ————————————-
Tue, 13 Dec 2016 12:36:58 d6bf0bde-c130-11e6-8534-c6b0e87f74cb Checking if TESTDB resource is available
Tue, 13 Dec 2016 12:36:58 d6bf0bde-c130-11e6-8534-c6b0e87f74cb has a lock TESTDB
Tue, 13 Dec 2016 12:36:58 UUID d6bf0bde-c130-11e6-8534-c6b0e87f74cb written with PID 16524
Tue, 13 Dec 2016 12:36:58 d6bf0bde-c130-11e6-8534-c6b0e87f74cb The process is no longer running removing
lock
Tue, 13 Dec 2016 12:36:58 d6bf0bde-c130-11e6-8534-c6b0e87f74cb registering request into the database
Tue, 13 Dec 2016 12:37:00 d6bf0bde-c130-11e6-8534-c6b0e87f74cb current backups 0
Tue, 13 Dec 2016 12:37:00 d6bf0bde-c130-11e6-8534-c6b0e87f74cb command /home/oracle/bkup/TESTDB/obkup -dbname=TESTDB
Tue, 13 Dec 2016 12:38:51 d6bf0bde-c130-11e6-8534-c6b0e87f74cb@ backups after execution 4
Tue, 13 Dec 2016 12:38:51 d6bf0bde-c130-11e6-8534-c6b0e87f74cb rman tag TAG20161213T123750
Tue, 13 Dec 2016 12:38:51 d6bf0bde-c130-11e6-8534-c6b0e87f74cb rman tag TAG20161213T123729
Tue, 13 Dec 2016 12:38:51 d6bf0bde-c130-11e6-8534-c6b0e87f74cb rman tag TAG20161213T123758
Tue, 13 Dec 2016 12:38:51 d6bf0bde-c130-11e6-8534-c6b0e87f74cb rman tag TAG20161213T123834
Tue, 13 Dec 2016 12:38:51 d6bf0bde-c130-11e6-8534-c6b0e87f74cb Backup succeded TAG20161213T123834
Now having valid backups, let’s create a new table, drop it and recover it using dbaascli utility.
[oracle@srvtest opc]$ sqlplus / as sysdba
SQL> create table mytable2 as select * from dba_objects;
Table created.
SQL> select count(1) from mytable2;
COUNT(1)
———-
88911
SQL> select current_scn from v$database;
CURRENT_SCN
———–
1333654
SQL> drop table mytable2 purge;
Table dropped.
SQL> exit
Now use dbaascli utility and provide the SCN number to perform SCN based incomplete recovery:
[root@srvtest opc]# dbaascli orec –args -scn 1333654
DBAAS CLI version 1.0.0
Executing command orec –args -scn 1333654
–args : -scn 1333654
OREC version: 16.0.0.0
Starting OREC
Logfile is /var/opt/oracle/log/TESTDB/orec/orec_2016-12-13_13:41:18.log
Config file is /var/opt/oracle/orec/orec.cfg
DB name: TESTDB
OREC:: RUNNING IN NON DATAGUARD ENVIRONMENT
OREC:: Verifying scn validity…
PITR using SCN: 1333654
OREC:: Catalog mode: Disabled
OREC:: Checking prerequirements before recovery process.
OREC:: DB Status : OPEN
OREC:: Changing instance to MOUNT stage.
OREC:: Shutting down the database… Completed.
OREC:: (RMAN) Startup MOUNT… Completed.
OREC:: Checking for PDBs directories.
OREC:: Checking for REDO logs.
OREC:: Restablishing DB instance to the original stage.
OREC:: Shutting down the database… Completed.
OREC:: Starting up database… Completed.
OREC:: Testing RMAN connection.
OREC:: Verifying backups dates ..
:: OK
OREC:: Performing PITR using SCN number 1333654 …
INFO : DB instance is up and running after recovery procedure.
OREC:: Completed.
[root@srvtest opc]#
Now connect to the database and check if the table is recovered:
[oracle@srvtest opc]$ sqlplus / as sysdba
SQL> select count(1) from mytable2;
COUNT(1)
———-
88911
SQL>
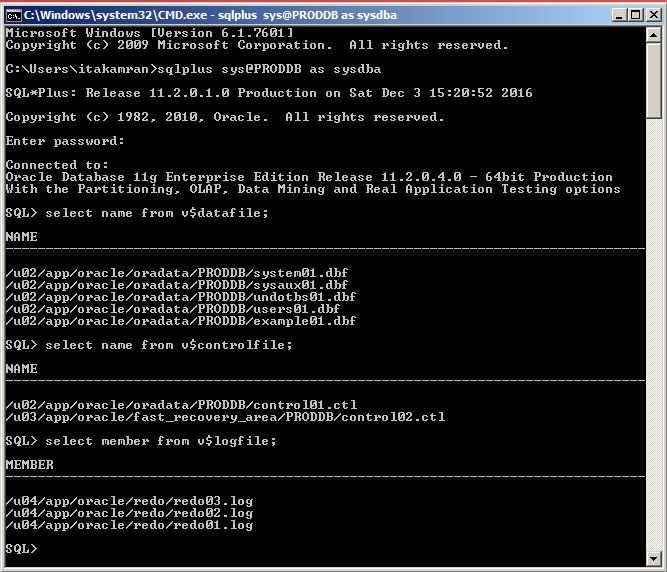
The database backups are also stored in the flash recovery area  in the database host:
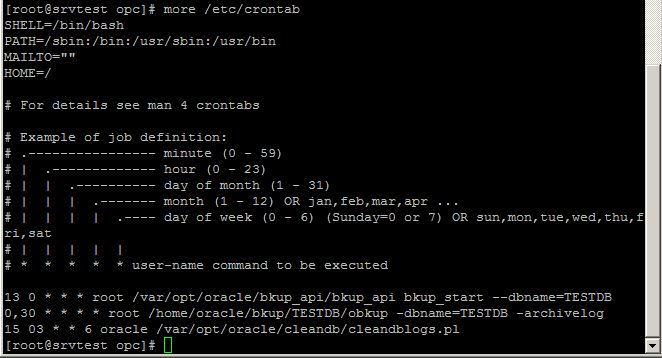
If you want to change the automatic backup schedule, edit /etc/crontab file with a root user. Below you can see the current schedule of the database backup:
You can use a DBaaS backup wizard, DBaaS command line interface commands and RMAN to perform backup and recovery for Oracle Database in Cloud
Posted in Oracle Cloud | No Comments »
 dministration section
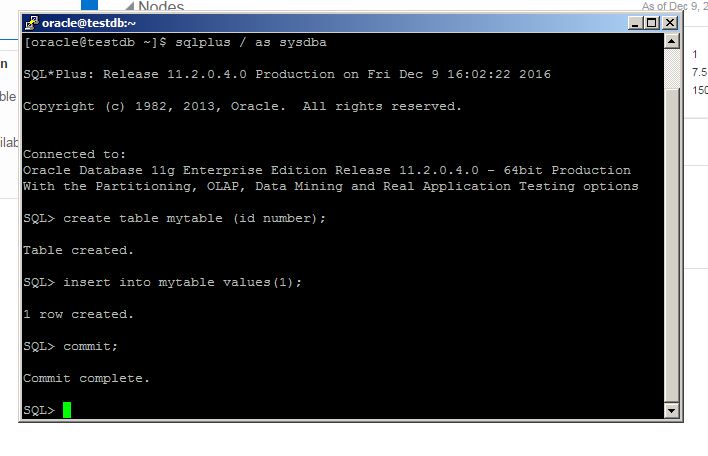


 l be created