


Install VMware – Step by step
Posted by Kamran Agayev A. on 31st December 2008
As we know, if you want to setup Oracle Server – especially for testing purpose – it would be better to setup it on your “virtual PC”, not on PC directly. For this purpose, you can use software named “VMware” to achieve this aim. In this document, firstly we discuss how we can use VMware, how we can setup it, create a new “Virtual PC”. On the next articles, we’ll discuss how to install OS (as an operating system, I’m using Centos) on this virtual machine. CentOS is a freely-available operating system that is based on Red Hat Enterprise Linux system. Then we’ll try to setup Oracle Server (10g Release 2) on this virtual machine
In this article, let’s show how we can setup and create new VMware Virtual machine and prepare it for further OS installation
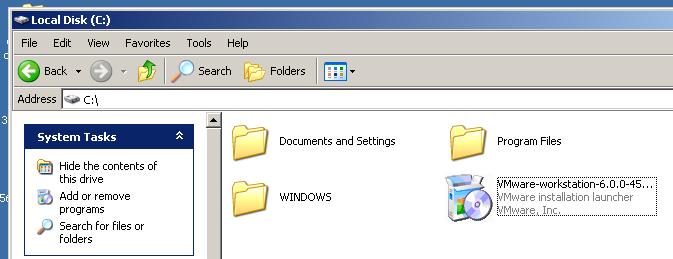
1. First of all, enter to the official site of VMware and download VMware Workstation with a 30-day free evaluation from this address:
https://www.vmware.com/tryvmware/?p=workstation-w
Currently I’m using version 6.0.0 and all these examples are compatible and tested with this version
2. After downloading VMware workstation, install it on your PC
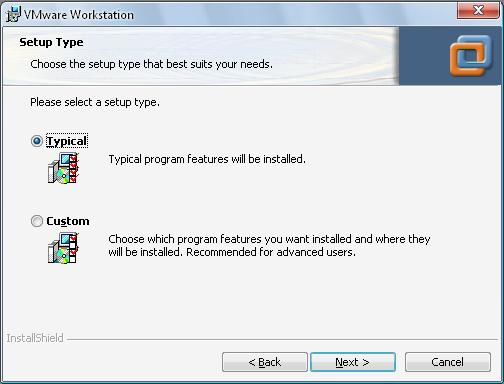
3. Setup will open Welcome Screen
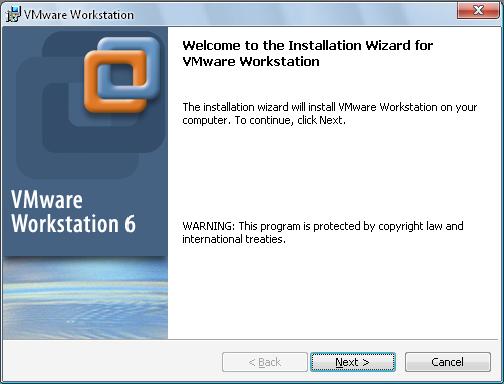
Click on Next button and choose Typical option
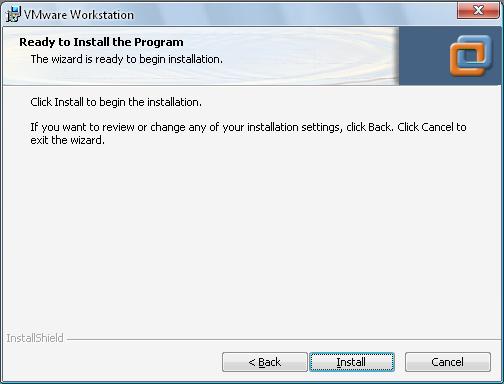
4. By clicking “Next” buttons, to begin the installation, click on Install button at the end
5. This will install VMware Workstation software on your PC, After installation complete, click on Finish button. Then restart your PC. Then open this software

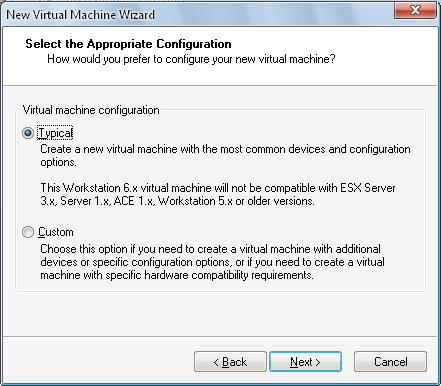
6. In this step we try to create new “virtual machine”. Enter to File menu, then New-> Virtual Machine
Click on Next button, then check Typical option as below
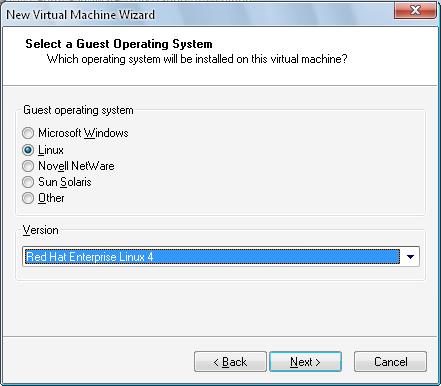
Then click Next button, and check your OS version. In this example, as we’re going to setup Oracle server on CentOS, we’ll check Linux option and from “version” option we’ll check Red Hat Enterprise Linux 4
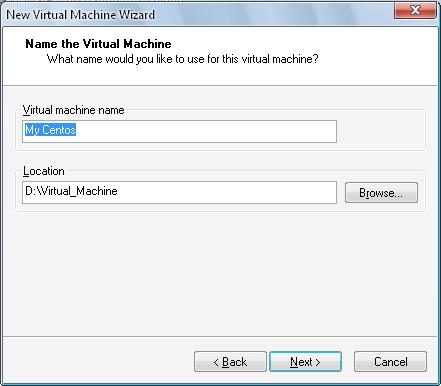
By clicking Next button, we’ll give a name to our virtual machine, and give directory to create this new virtual machine
Then select Use bridged networking option and click Next.

Then you’ve to define size of hard disk by entering its size. I’ll give 15 GB hard disk space and please check Allocate all disk space now option. Although it will take longer to create new hard disk, you’ll see high performance of your virtual machine when installing new applications and adding new files. If you uncheck this option, new hard disk will be created automatically, but when you install new applications, it will impact your performance, because it will allocate space each time new files added or applications installed
That’s all. Your virtual machine is ready to use

Here, you can delete Sound Adapter, Floppy and USB Controller by entering “Edit virtual machine settings”. If you’re going to setup Oracle Server, please make sure you’ve increased your Memory (RAM) to 1GB
In the next article, we’ll show how to setup CentOS on this newly created virtual machine. It’s very easy, believe me J
Posted in Oracle on Linux | 29 Comments »