


Step by step guide to create an Oracle Database in the Cloud
Posted by Kamran Agayev A. on December 5th, 2016
In this blog post I will share the steps to create an Oracle Database in Cloud. We will create a database service, create a second database in the same machine in a silent mode, access to the cloud machine with SSH and monitor the database with OEM.
First of all, make sure you have an Oracle account. Open oracle.com and click on Register link to get a free oracle account. Next, open cloud.oracle.com, select “Compute” from Infrastructure menu and click “Try It” button to get a free trial account for 1 month. Next, login with your oracle account and register for cloud account. Make sure you don’t apply with generic email addresses like hotmail, gmail and etc. Instead, use your company address.
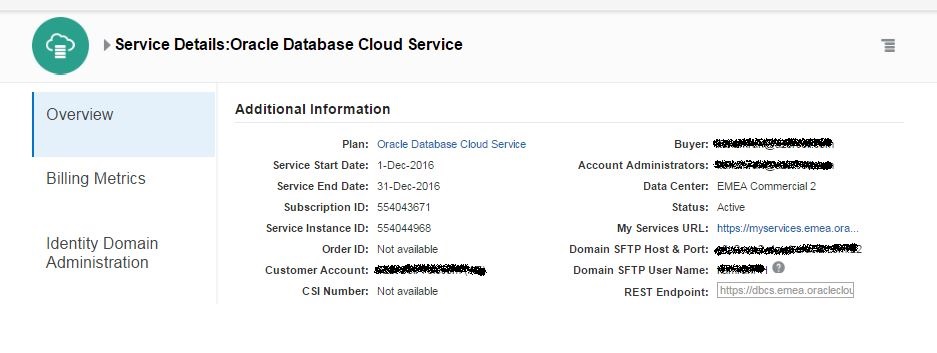
After successfully registering you will get an email with your credential information. Click on the link specified in the email, provide username/password and login to your cloud account. Click Oracle Database Cloud Service link.
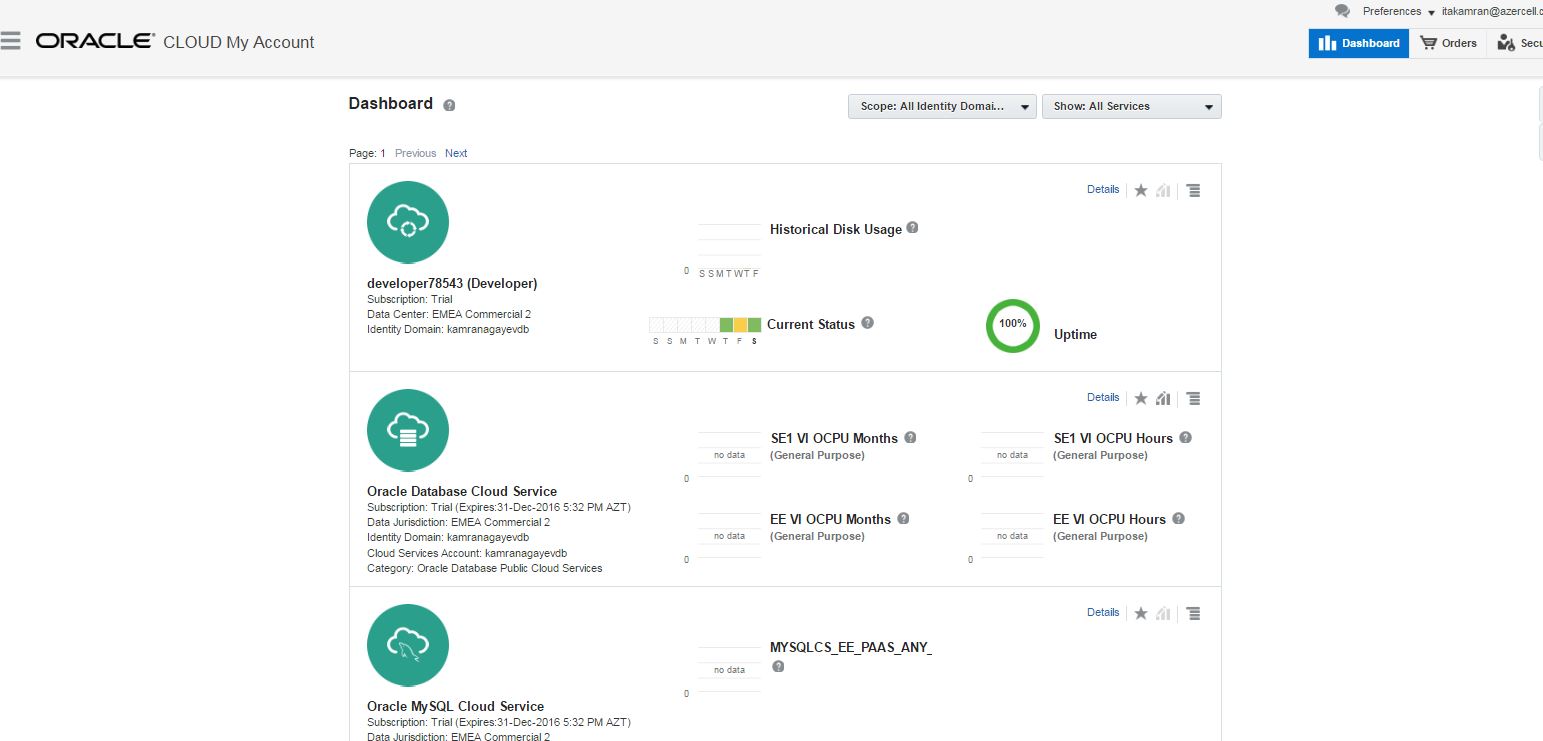
Click on the link under “My Service URL” to access list of cloud services you have.
If you haven’t signed in yet, sign in page will appear. Use the username and password provided in the email you got during the registration and login

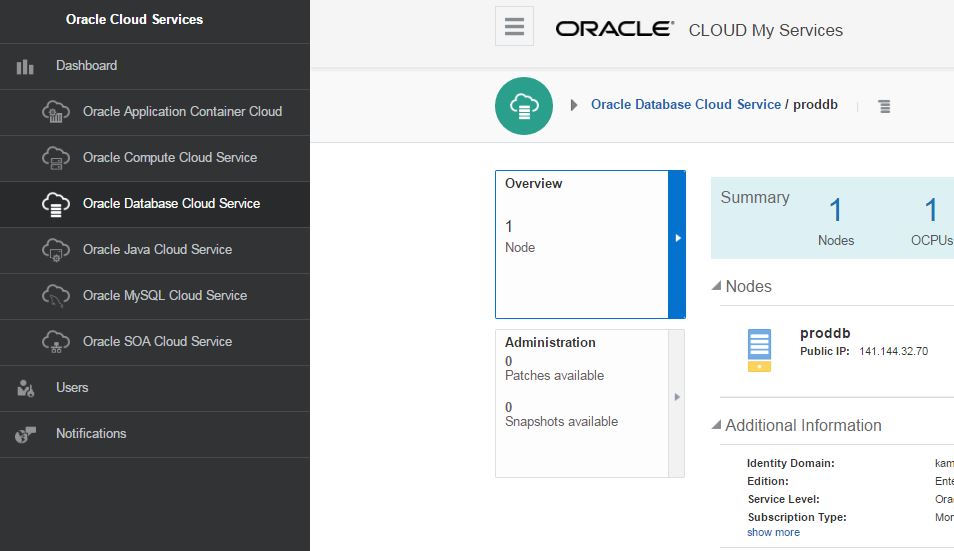
Next, Oracle Cloud Services dashboard will appear.
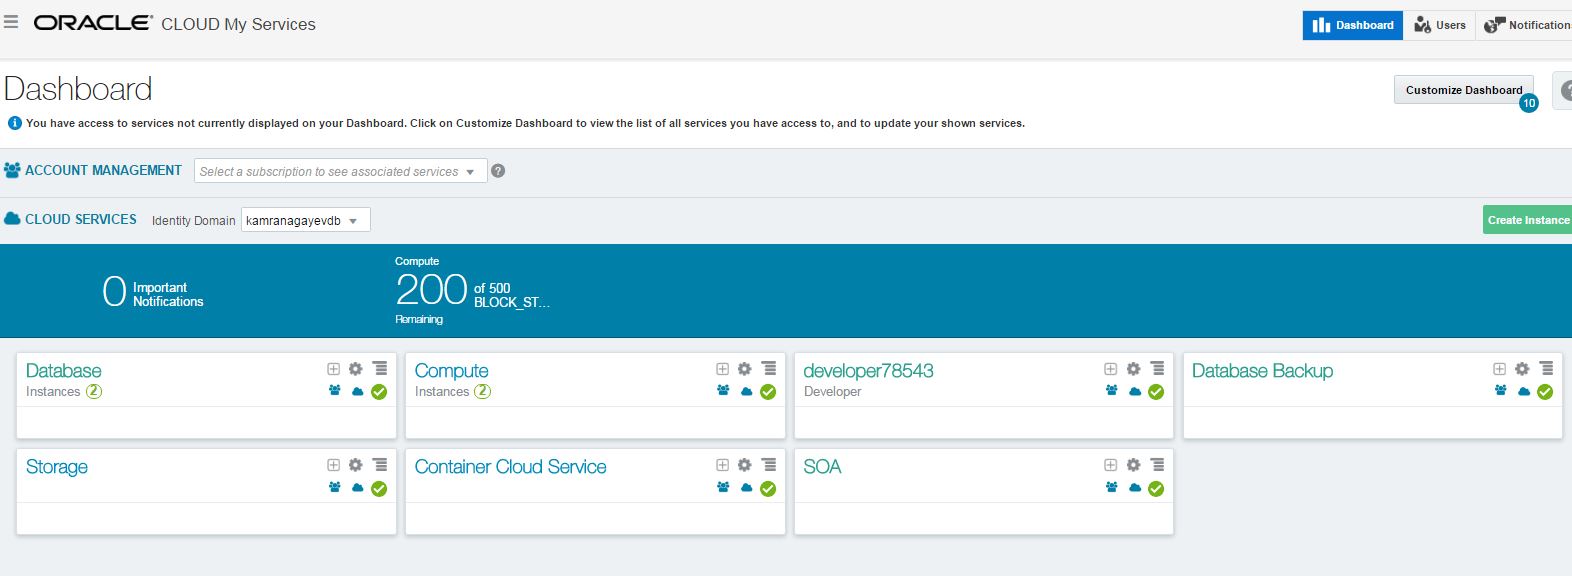
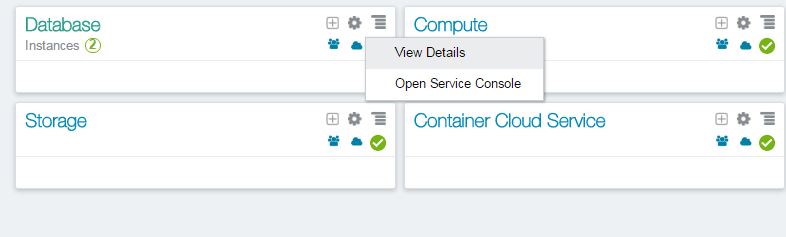
To create and manage database instances, click on the “Open Service Console” menu of the Database tab as shown below:
In this page you will get list of database services. Here, I have two database services (myfirstdb, myseconddb). I have 7.5G memory and 150gb of storage provided for each service.
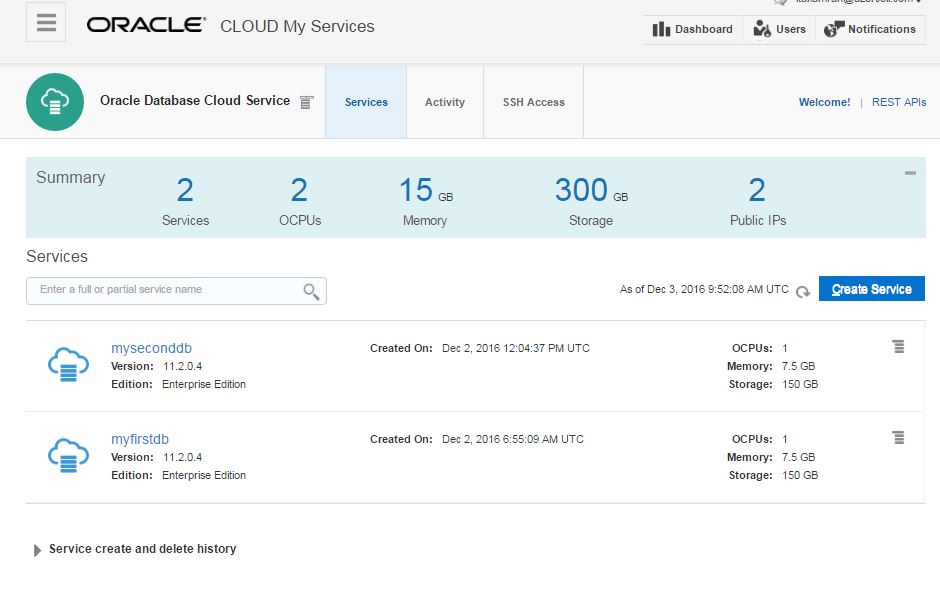
Click Delete on the drop down menu for each service and delete both services.

After successfully deleting available instances, click on “Create Service” button to create a new database instance:

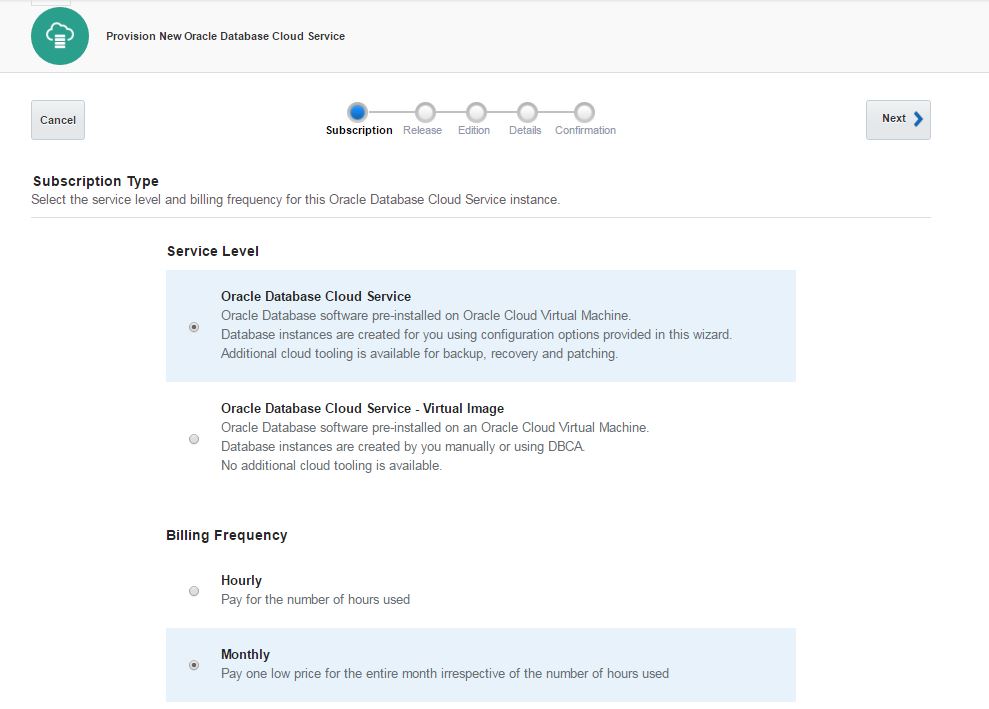
Select “Oracle Database Cloud Service” option to create a database using a wizard. For the billing frequency you have two options: Hourly and Monthly. It doesn’t make sense when you use a trial account. So select any of them and click Next.
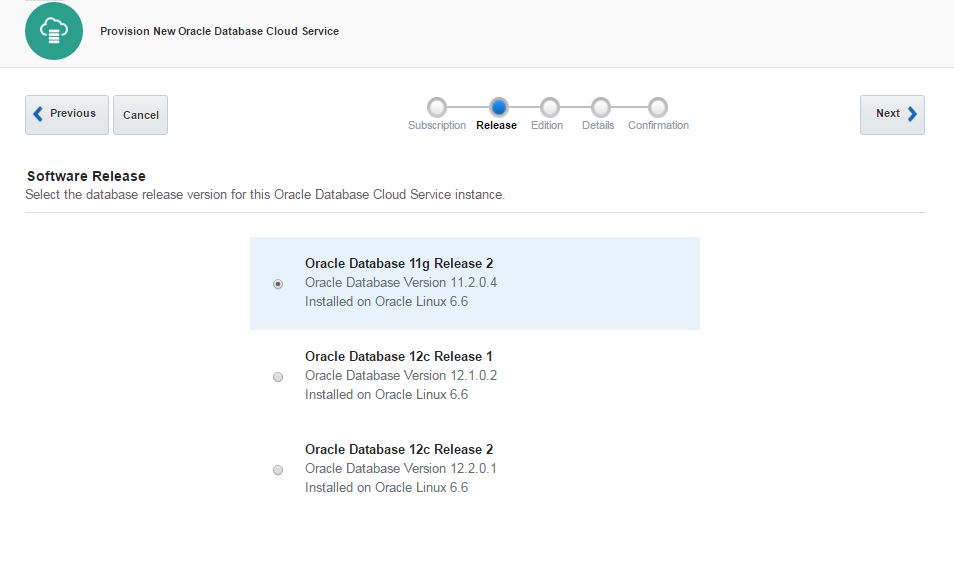
For the software release you have 3 options: 11.2, 12.1 and 12.2. Choose any of them and click Next.
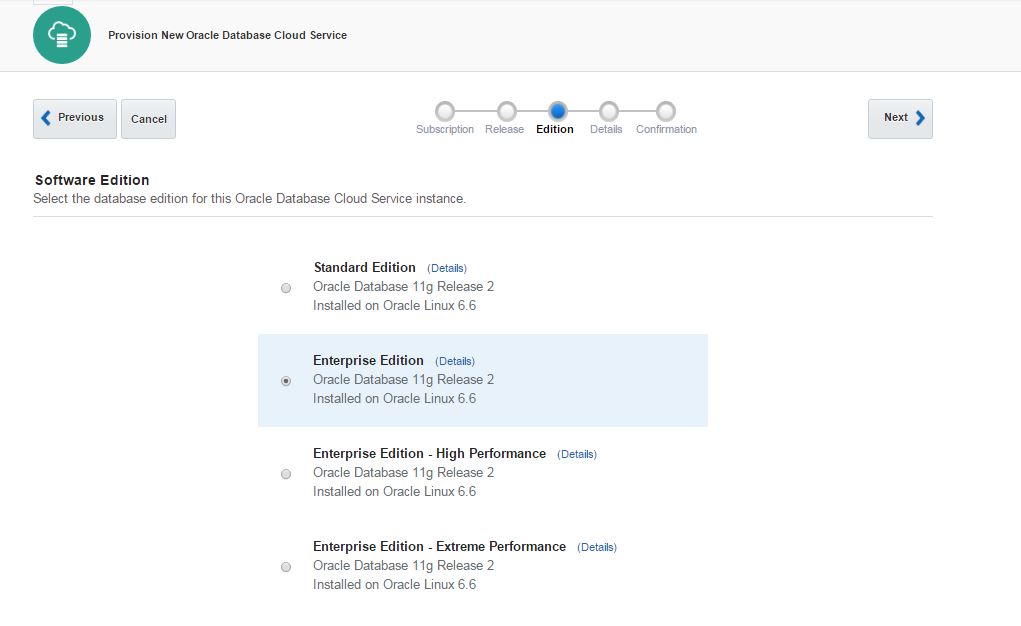
As a software edition, you have 4 options:
Standard Edition
Enterprise Edition
Enterprise Edition – High Performance
Enterprise Edition – Extreme Performance
To get more information and features that each edition provides, check the following documentation:
Home / Cloud / Oracle Database Cloud Service/ Using Oracle Database Cloud Service/ About Database Cloud Service Database Deployments/ Oracle Database Software Package
Select “Enterprise Edition” option and click Next
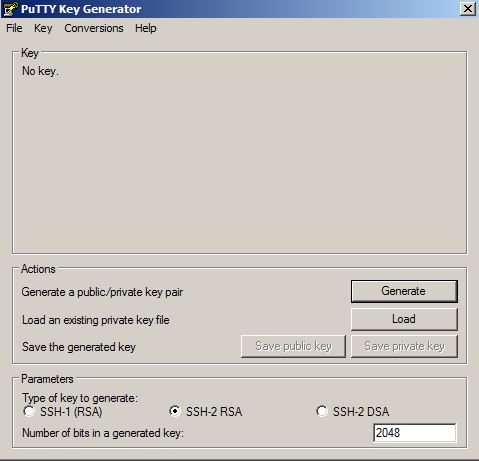
In the next page you will be asked to provide a SSH Public Key for the cloud service. For this, use Putty Key Generator executable to generate a SSH public key. Click on Generate button, move your mouse over the blank are to generate some action.
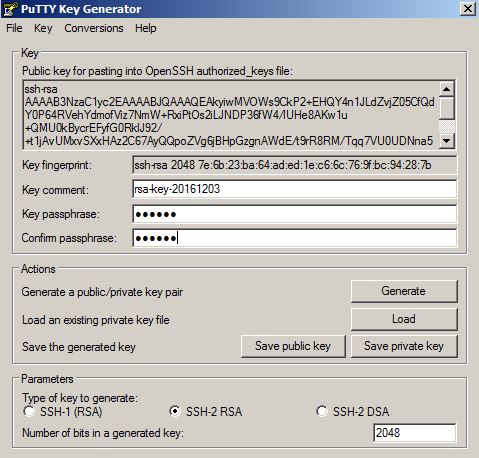
The SSH key will be generated as follows. Provide a password and click on “Save private key” button to save this key as a private key
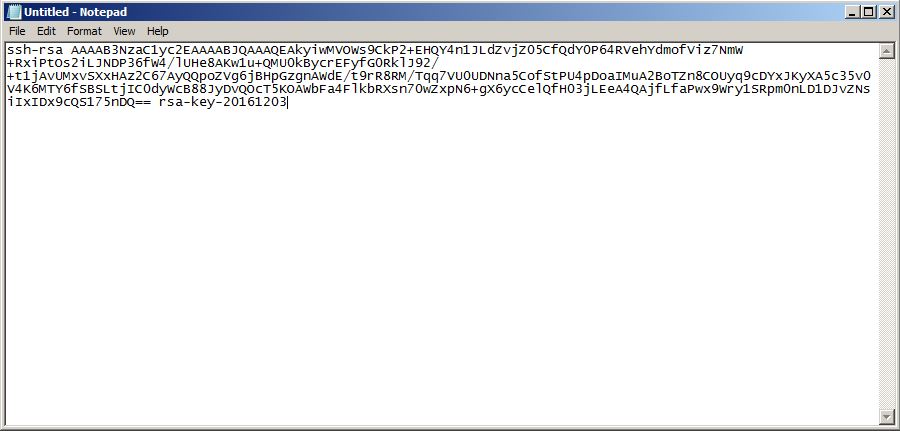
To save a key as a public key, copy the text and save it.
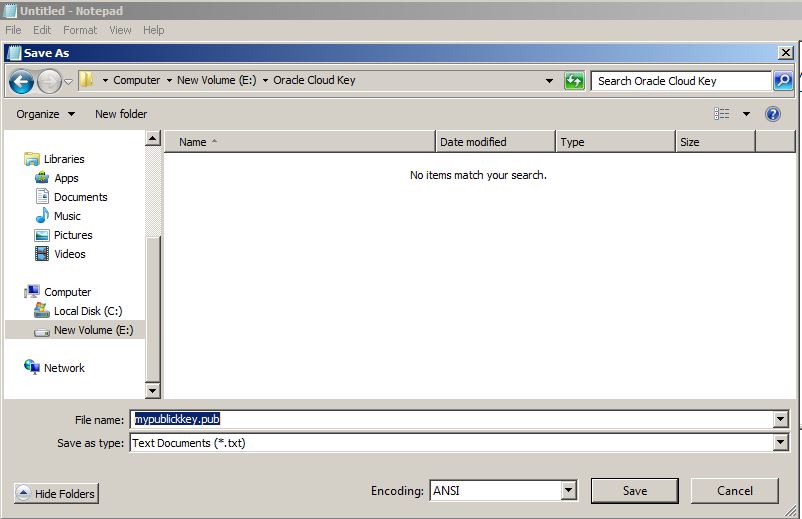
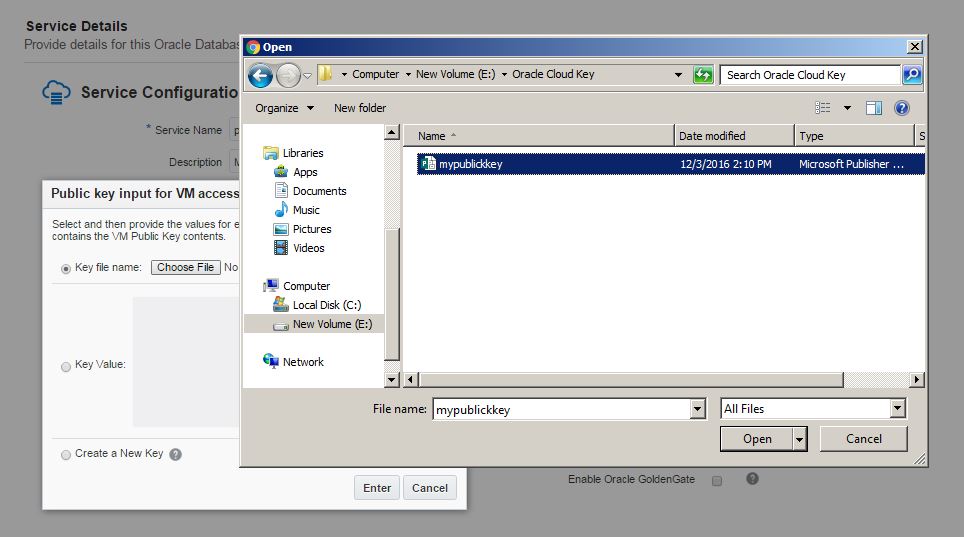
Provide this file for the “SSH Public Key” field of the database service creation wizard.
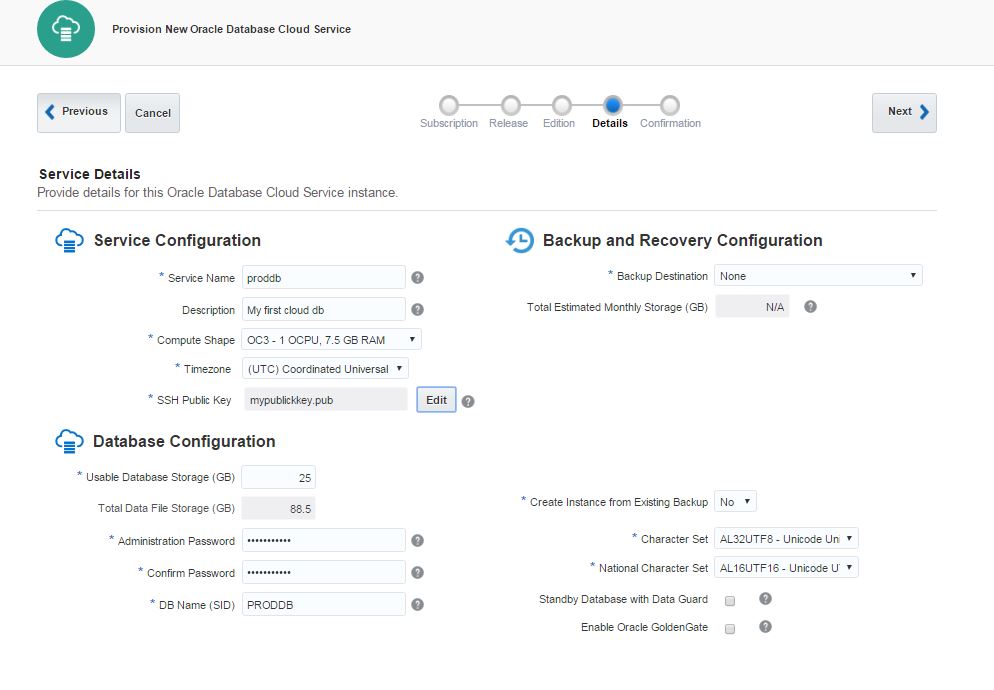
Provide the service name, database storage, select necessary compute shape and click Next.
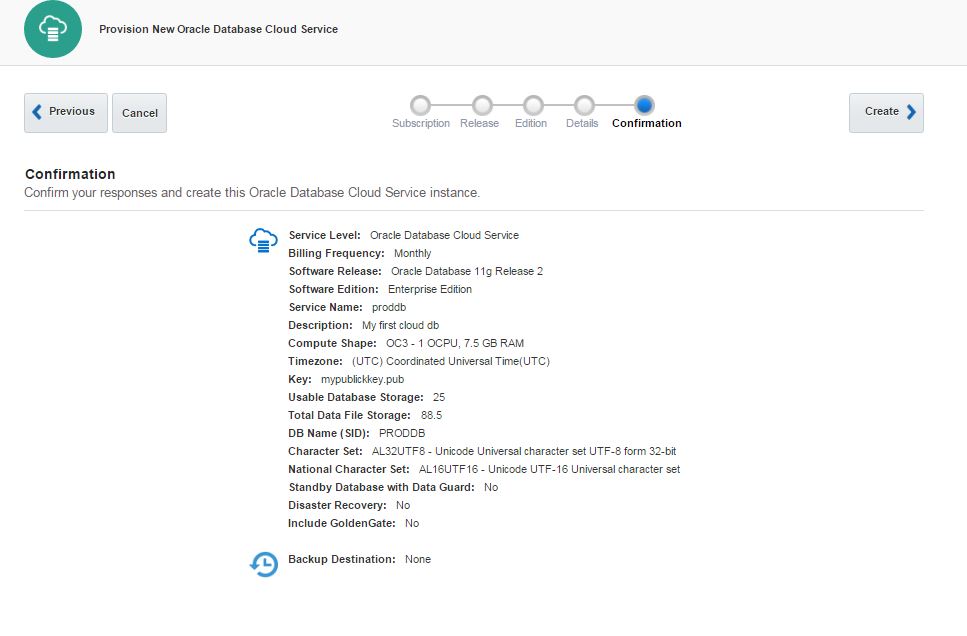
Review the information and click Create button to create a service
Click “In Progress” link to check the service creation progress.
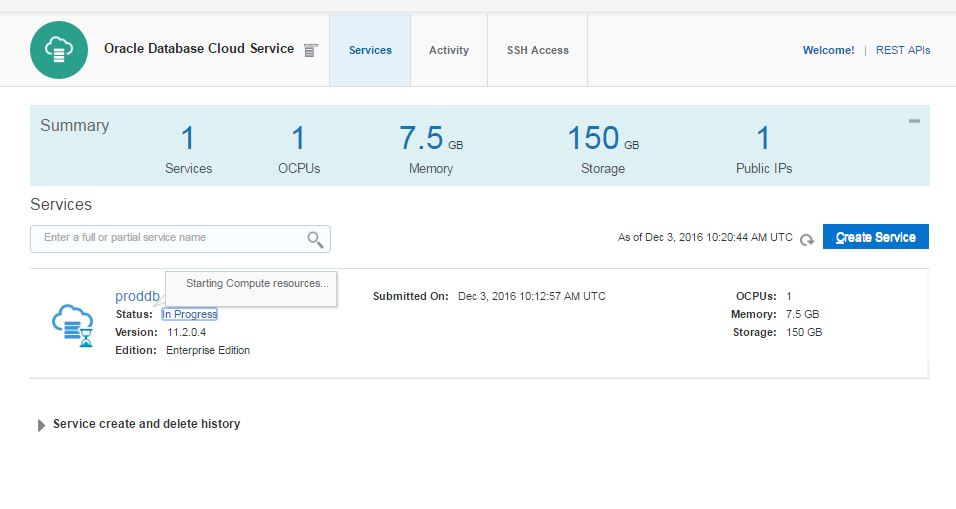
After a while, the service will be created successfully.
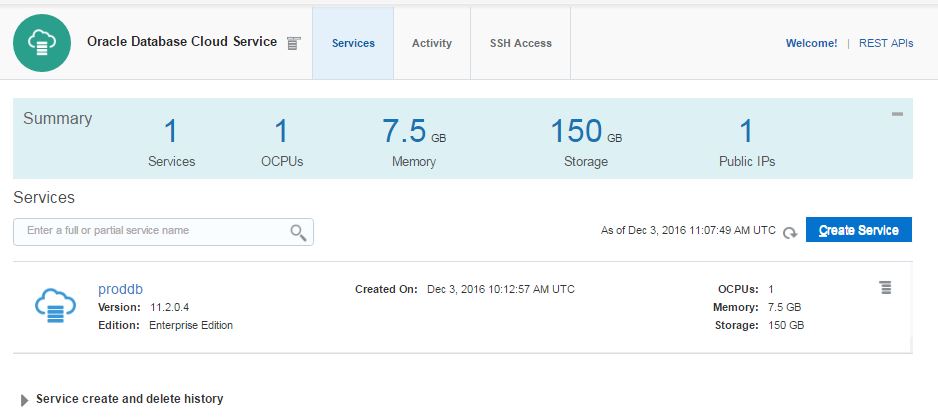
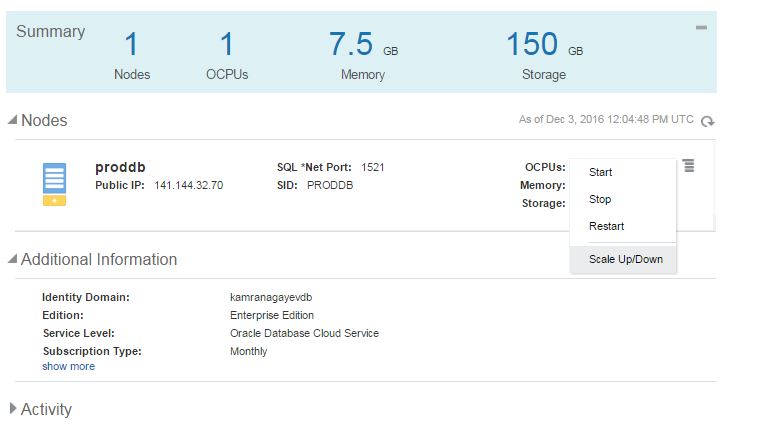
Click on proddb link to open the service.
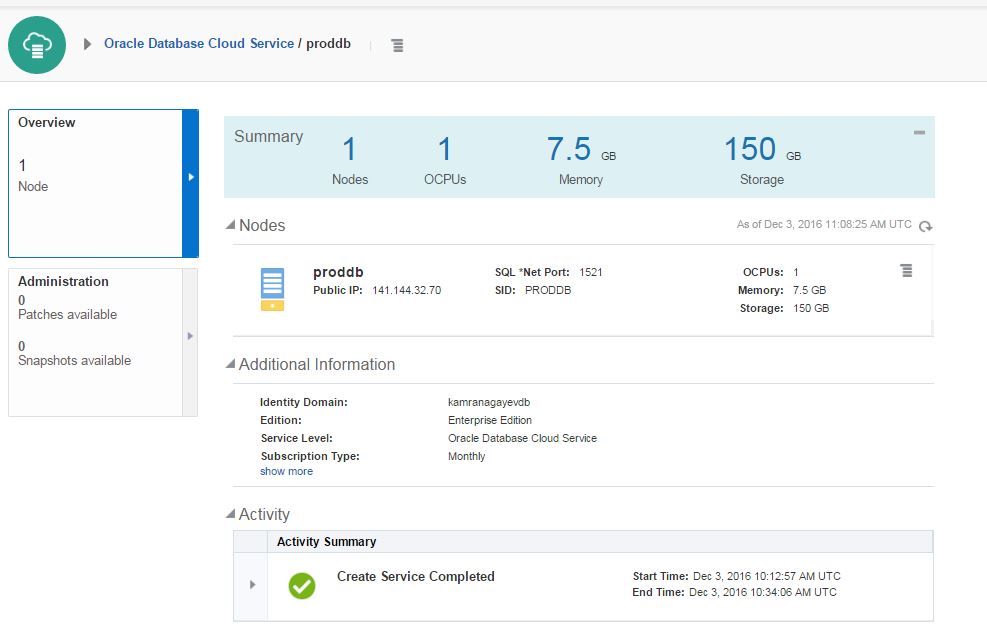
Before trying to connect to the database in the cloud from outside, you should enable dblistener security rule. Open “Oracle Database Cloud Service” dashboard.
Click on Network tab
When you click on Network tab, you will get list of security roles.
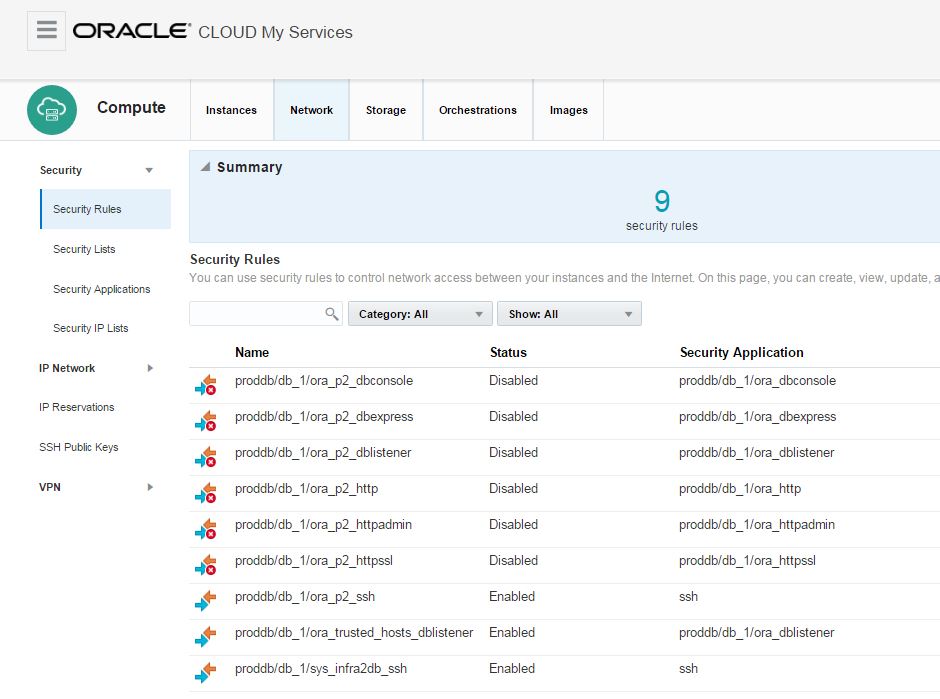
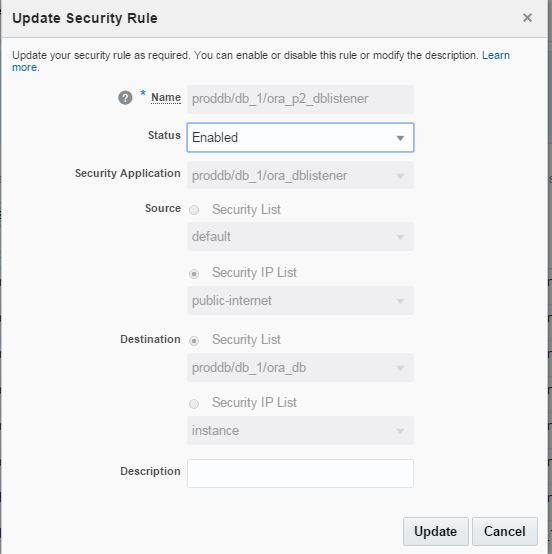
Click on the menu icon for ora_p2_dblistener role and select Update.

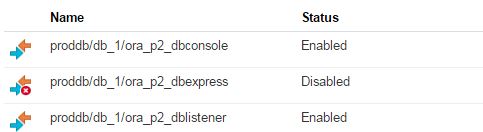
Enable the status of this security role
Enable the ora_p2_dbconsole security role to get access to OEM.
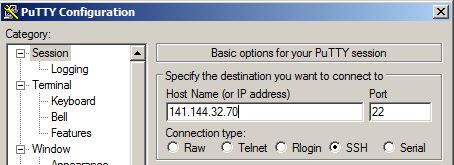
Now, let’s connect to the database from SSH. Provide the private key that was saved above
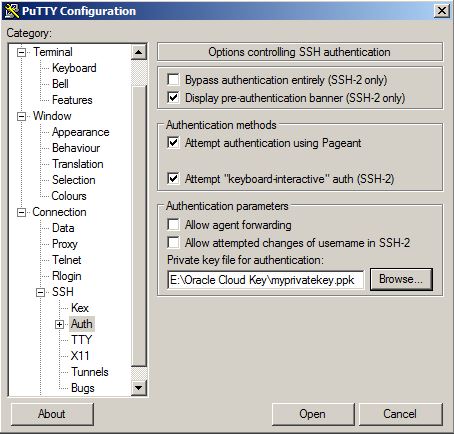
Provide the IP of the virtual machine that is provided in the main page of the database cloud service and click Open.
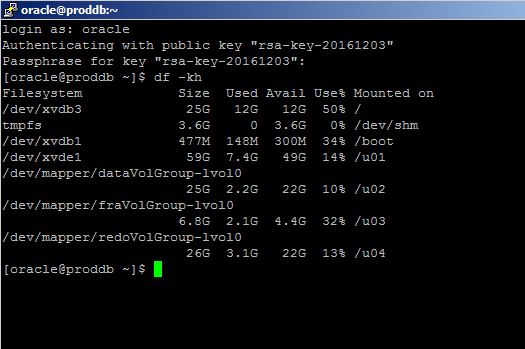
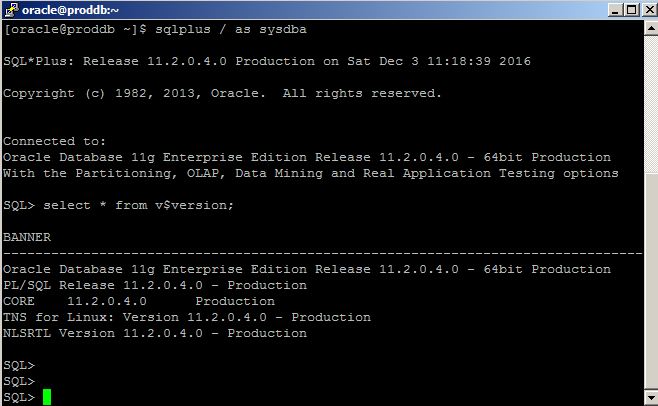
Provide username as “oracle” and password that was provided when generating a private key using PuTTy Key Generator tool and login to the server where the database is running. Connect to SQL*Plus and run SQL commands:
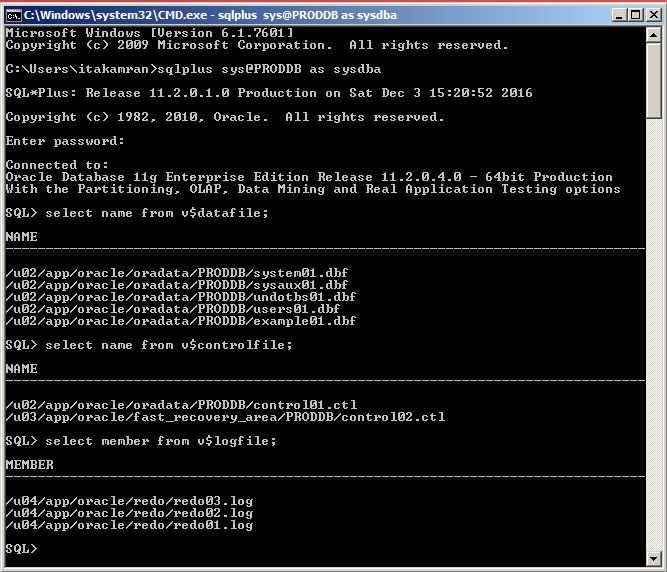
No open tnsnames.ora file and add the following entry:
tnsnames.ora
PRODDB =
(DESCRIPTION =
(ADDRESS = (PROTOCOL = TCP)(HOST = 141.144.32.70)(PORT = 1521))
(CONNECT_DATA =
(SID = PRODDB)
)
)
Open a command prompt, login to the database in the cloud and run SQL commands:
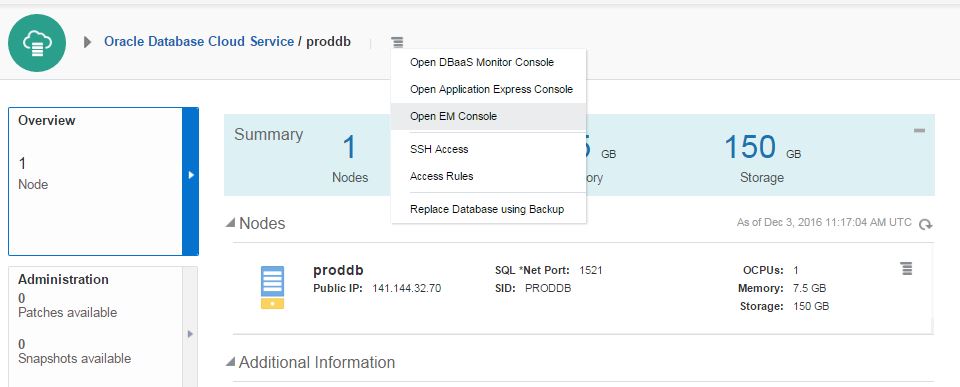
To open an OEM, click on the menu icon on the Database Cloud Service home page and select “Open EM Console”
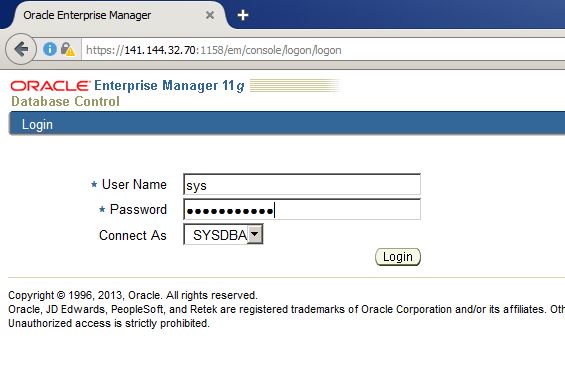
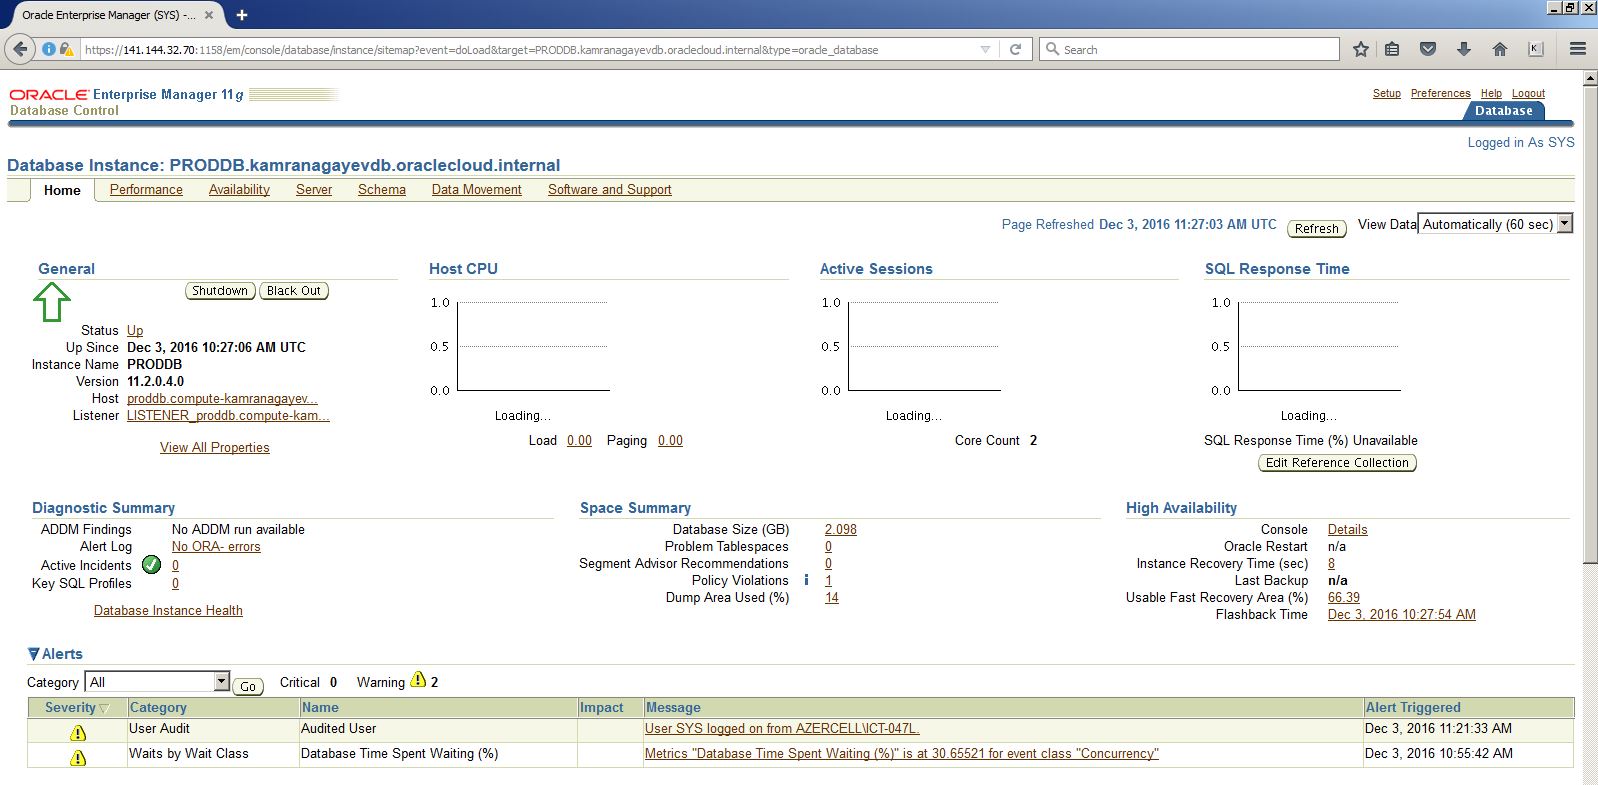
Provide the username and password and login
After creating and configuring a database using a wizard, I decided to create a new database in a silent mode in the same machine as follows:
[oracle@proddb dbhome_1]$ dbca -silent -createdatabase -gdbname mydb -templatename /u01/app/oracle/product/11.2.0/dbhome_1/assistants/dbca/templates/General_Purpose.dbc -sid mydb -syspassword oracle -systempassword oracle -emConfiguration none -datafileDestination /u02/app/oracle/oradata/mydb -memoryPercentage 40
Copying database files
1% complete
3% complete
11% complete
18% complete
26% complete
37% complete
Creating and starting Oracle instance
40% complete
45% complete
50% complete
55% complete
56% complete
60% complete
62% complete
Completing Database Creation
66% complete
70% complete
73% complete
74% complete
75% complete
76% complete
77% complete
88% complete
99% complete
100% complete
Look at the log file “/u01/app/oracle/cfgtoollogs/dbca/mydb/mydb.log” for further details.
[oracle@proddb dbhome_1]$
Check if the database is up and running and connect to it:
[oracle@proddb dbhome_1]$ ps -ef | grep smon
oracle 7040 1 0 11:40 ? 00:00:00 ora_smon_mydb
oracle 7226 2625 0 11:40 pts/1 00:00:00 grep smon
oracle 11837 1 0 10:30 ? 00:00:00 ora_smon_PRODDB
[oracle@proddb dbhome_1]$ export ORACLE_SID=mydb
[oracle@proddb dbhome_1]$ sqlplus / as sysdba
SQL*Plus: Release 11.2.0.4.0 Production on Sat Dec 3 11:40:39 2016
Copyright (c) 1982, 2013, Oracle. All rights reserved.
Connected to:
Oracle Database 11g Enterprise Edition Release 11.2.0.4.0 – 64bit Production
With the Partitioning, OLAP, Data Mining and Real Application Testing options
SQL>
Run free command to check the free space of the machine. We have 2 databases running on this machine, so we have only 1g free memory.
[oracle@proddb dbhome_1]$ free
total used free shared buffers cached
Mem: 7397060 6295684 1101376 266948 66356 1364664
-/+ buffers/cache: 4864664 2532396
Swap: 4194300 29916 4164384
[oracle@proddb dbhome_1]$
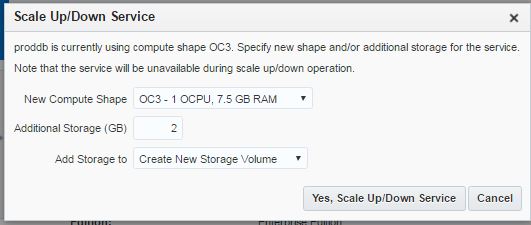
After having a database service with the specific parameters, you can change the parameters anytime. Let’s add 2gb free space to the machine. Switch to the home page of the database cloud service, click on the menu icon and choose “Scale Up/Down” link
Provide size of the new space and click “Yes, Scale Up/Down Service” button
The host will reboot and the required space will be added :

The new space is mounted to the new mount point (u05):
[oracle@proddb ~]$ df -kh
Filesystem Size Used Avail Use% Mounted on
/dev/xvdb3 25G 12G 12G 51% /
tmpfs 3.6G 0 3.6G 0% /dev/shm
/dev/xvdb1 477M 148M 300M 34% /boot
/dev/xvde1 59G 7.4G 49G 14% /u01
/dev/mapper/dataVolGroup-lvol0
25G 3.8G 20G 17% /u02
/dev/mapper/fraVolGroup-lvol0
6.8G 2.1G 4.4G 32% /u03
/dev/mapper/redoVolGroup-lvol0
26G 3.1G 22G 13% /u04
/dev/xvdg1 2.0G 3.1M 1.9G 1% /u05
[oracle@proddb ~]$
December 10th, 2016 at 8:02 am
How long it will take oracle to provide or an email with our credential information
regards,
Shanoj
December 12th, 2016 at 10:54 am
Hi Shanoj
I don’t have any information on this
February 5th, 2017 at 5:38 pm
Really awesome man, I compiled my database! 😀